[Updated 4-Sep-2021]
With the preparations out of the way, it’s time to install the DEM FlexEngine, install the DEM Management Console, configure DEM, and test with users accessing the published applications.
Install DEM
You must install the FlexEngine component of DEM on each master image and physical computer used for Horizon.
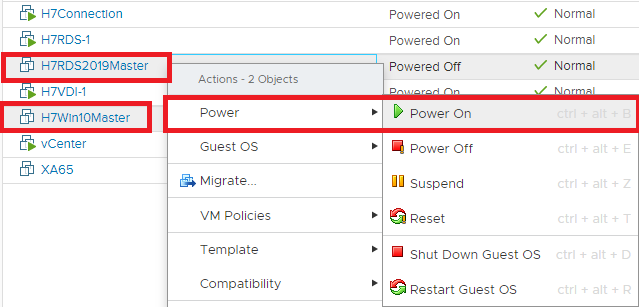
In the vCenter console, power on the Server 2019 and Windows 10 master image VMs.
I collapsed all the Horizon folders before starting.
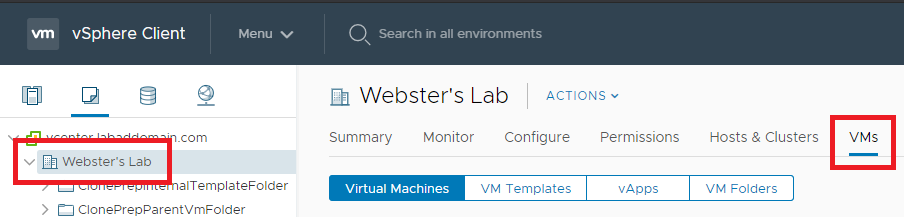
Select the cluster and, in the right frame, click VMs, as shown in Figure 1.
Select the two master images, right-click the two master images, click Power, and click Power On, as shown in Figure 2.
Copy the DEM installation file to the master images and the physical computer.
Right-click the DEM installation file and click Install, as shown in Figure 3.

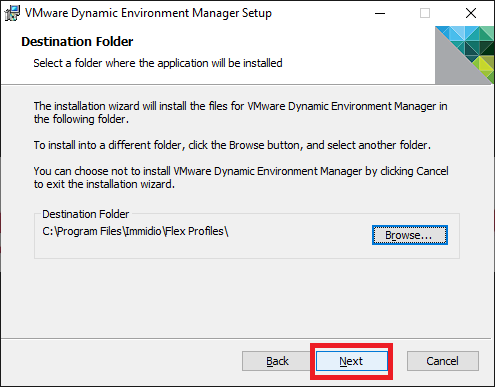
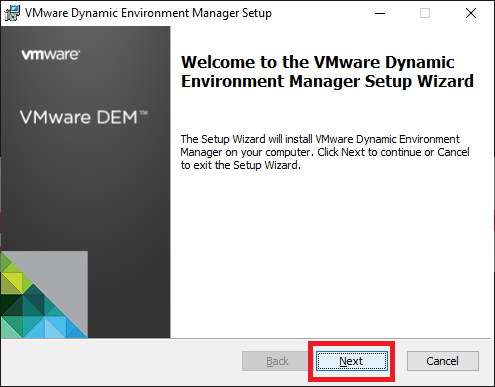
Click Next, as shown in Figure 4.

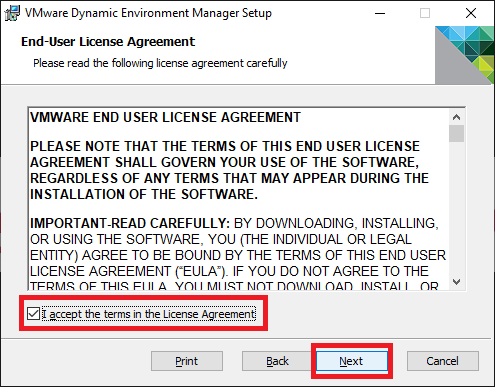
Select I accept the terms in the License Agreement and click Next, as shown in Figure 5.

Click Next, as shown in Figure 6.
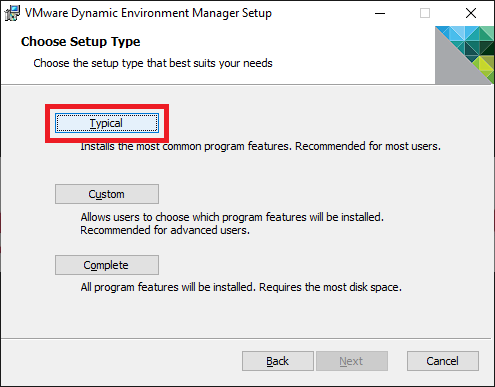
Click Typical, as shown in Figure 7.
The Typical install option installs the DEM FlexEngine, Application Migration, and Self-Support tool. It does not install the Management Console.
Click Next, as shown in Figure 8.
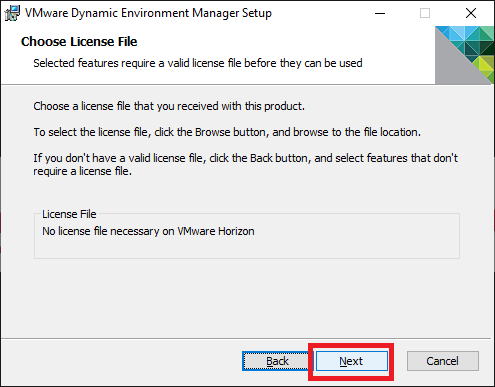
No DEM license file is required because the installer detected the Horizon Agent.
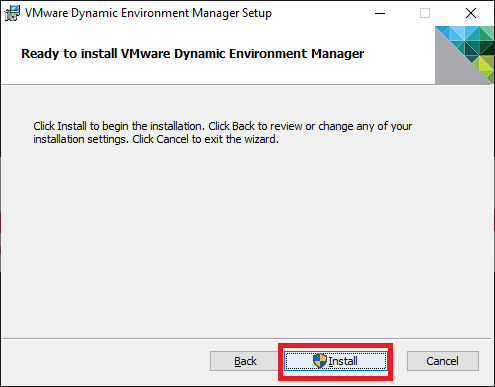
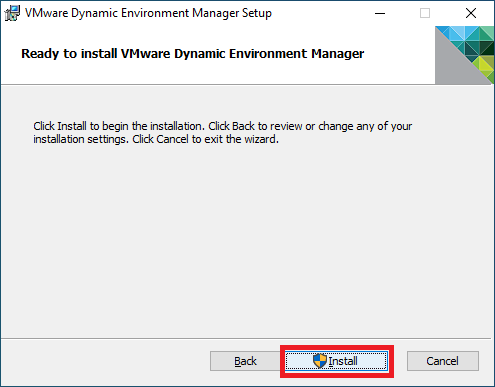
Click Install, as shown in Figure 9.
If UAC is enabled, click Yes.
Click Finish, as shown in Figure 10.

Follow the process from Part 11 (Image Updating) to update the desktop pools and farm.
Note: Do NOT try logging in to any machines with DEM installed until you install the DEM Management Console and complete the initial configuration. This is why we lab. So we don’t learn painful or embarrassing lessons in front of a customer. If you attempt to log in to a machine where you installed the DEM FlexEngine, the user immediately logs off. Why? There is a FlexEngine policy setting named Paths unavailable at logon. The policy setting help text states, “By default, VMware Dynamic Environment Manager logs users out in case the Flex config files path is not available at logon.” We haven’t installed or configured the DEM Management Console yet. Hence, there is no config files path available (the GENERAL folder doesn’t exist), so the user immediately logs off. Not that I know anything about this. I heard it from a friend.
Install the DEM Management Console
The DEM Management Console can be installed on any computer if the console user has full rights to the DEM Configuration share. As shown in previous Chapters, I have a Horizon 7 management computer. That is where I install the DEM Management Console.
Copy the DEM installation file to the management computer.
Right-click the DEM installation file and click Install, as shown in Figure 11.

Click Next, as shown in Figure 12.
Select I accept the terms in the License Agreement and click Next, as shown in Figure 13.
Click Next, as shown in Figure 14.

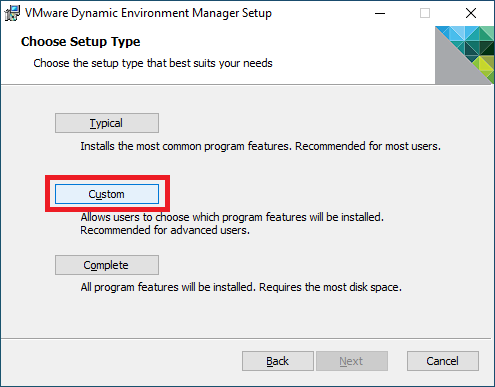
Click Custom, as shown in Figure 15.
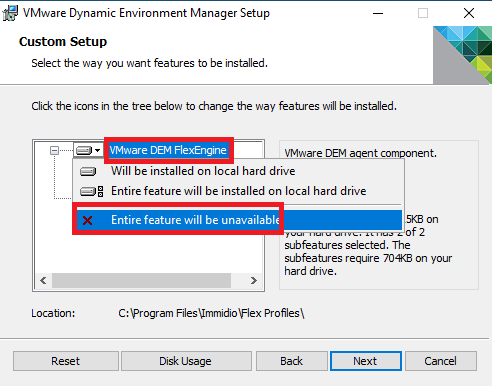
Click VMware DEM FlexEngine and click Entire feature will be unavailable, as shown in Figure 16.
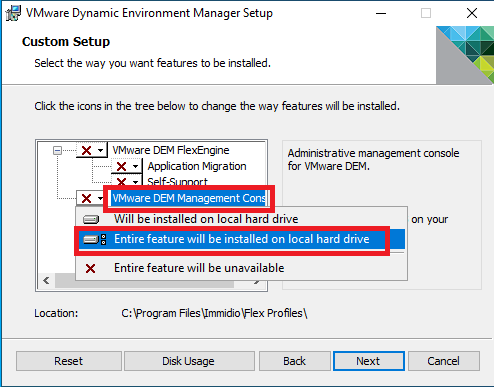
Click VMware DEM Management Console and click Entire feature will be installed on local hard drive, as shown in Figure 17.
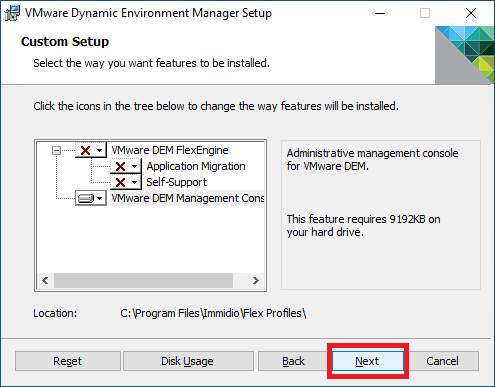
Click Next, as shown in Figure 18.
Click Install, as shown in Figure 19.
If UAC is enabled, click Yes.
Click Finish, as shown in Figure 20.

DEM Management Console Initial Configuration
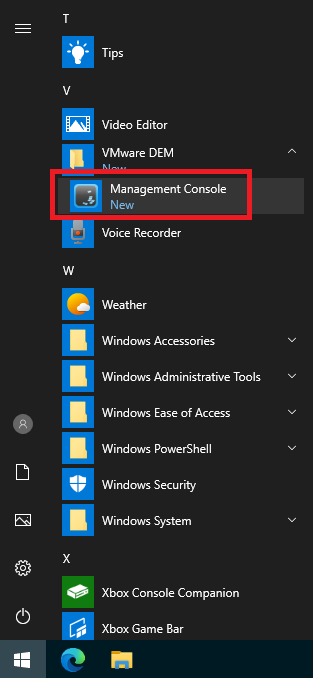
Launch the Management Console, as shown in Figure 21.
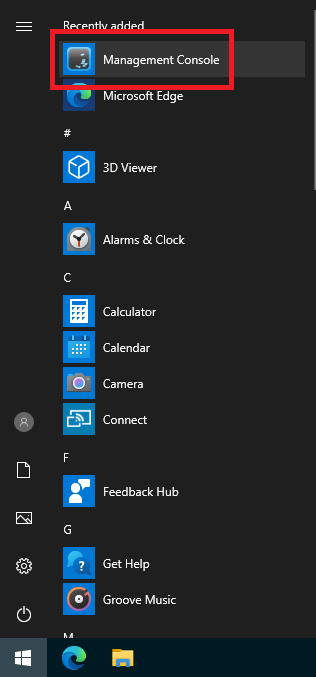
Or, as shown in Figure 22, from:
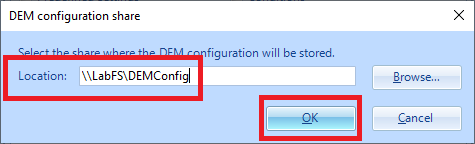
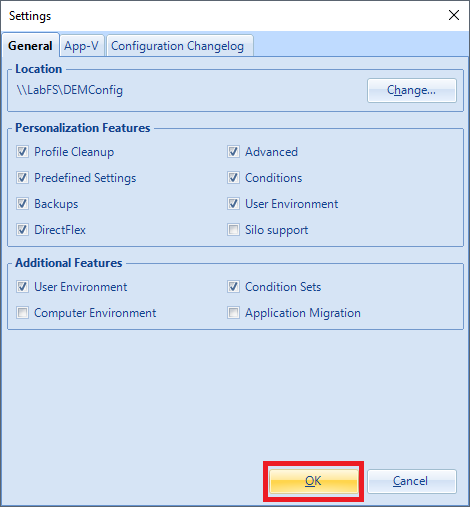
Enter the path to the DEM configuration share and click OK, as shown in Figure 23.
Select or deselect any options desired and click OK, as shown in Figure 24.
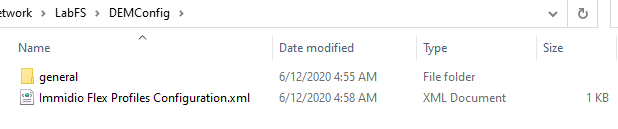
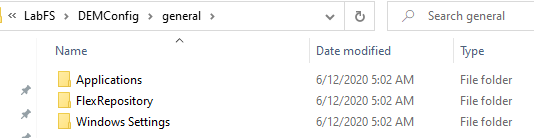
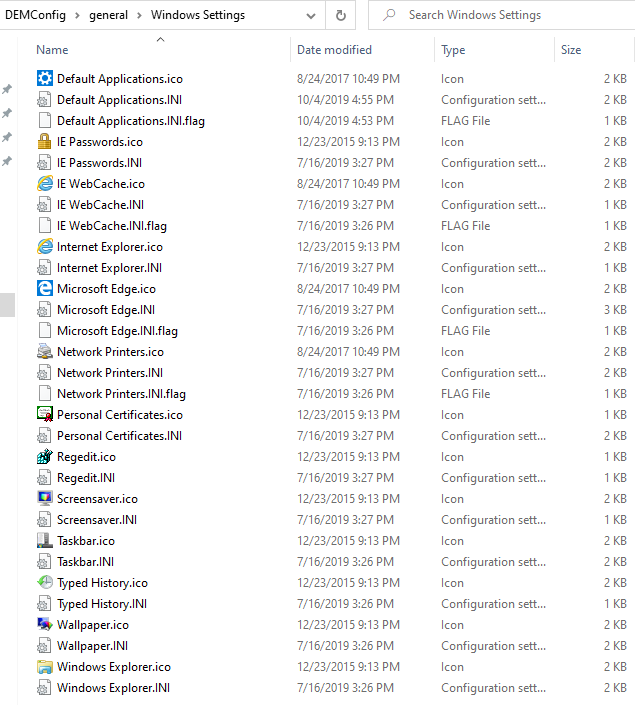
After clicking OK, look in the DEM configuration share, you see the general folder and configuration XML file, as shown in Figure 25.
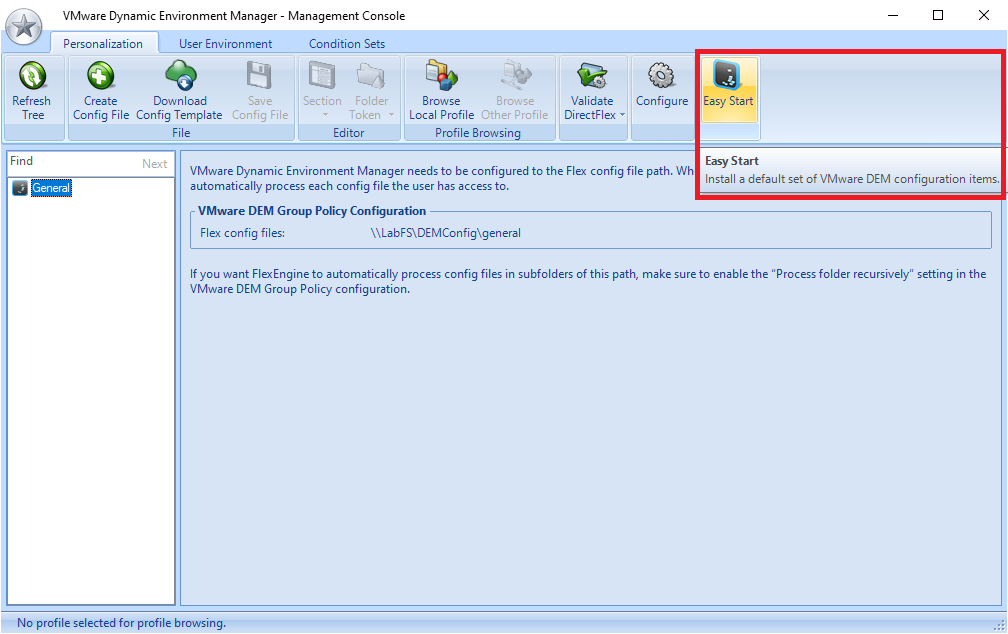
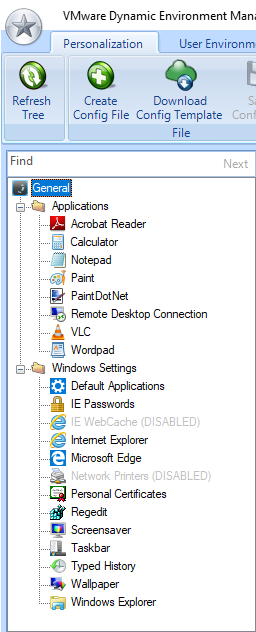
To get an easy start for a basic profile configuration, click Easy Start, as shown in Figure 26.
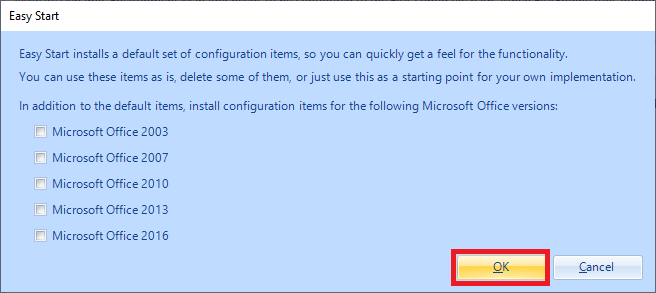
Select the desired Office product(s) and click OK if you want configuration items for Microsoft Office, as shown in Figure 27.
Click OK, as shown in Figure 28.

As seen in Figure 29, there are sample items available.
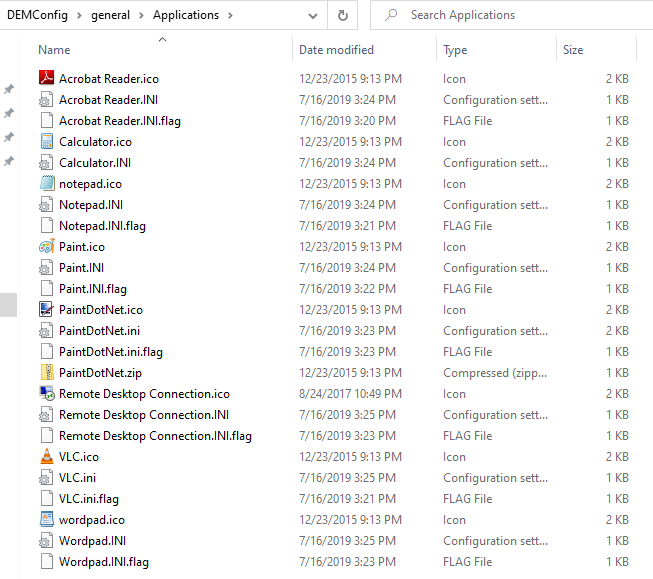
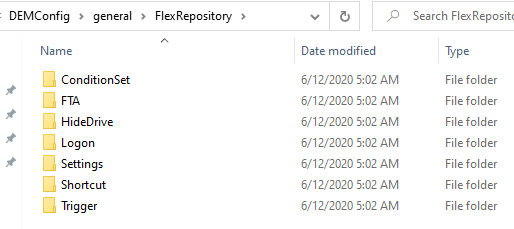
After the initial configuration set created by Easy Start, the DEM configuration share has more folders and files, as shown in Figures 30 through 33.
Once the update to the pools completes, as we did in Chapter 10, I logged in as each user on a different device. I launched the various published resources to build user-based application profiles and configurations. Test the applications by moving them to various positions in the HTML5 client window and making configuration changes.
As was mentioned in Part 10, I never saw the expected published application icons. This time I did, as shown in Figure 34.
I still have no idea why I see different icons for the published applications each time I log in.
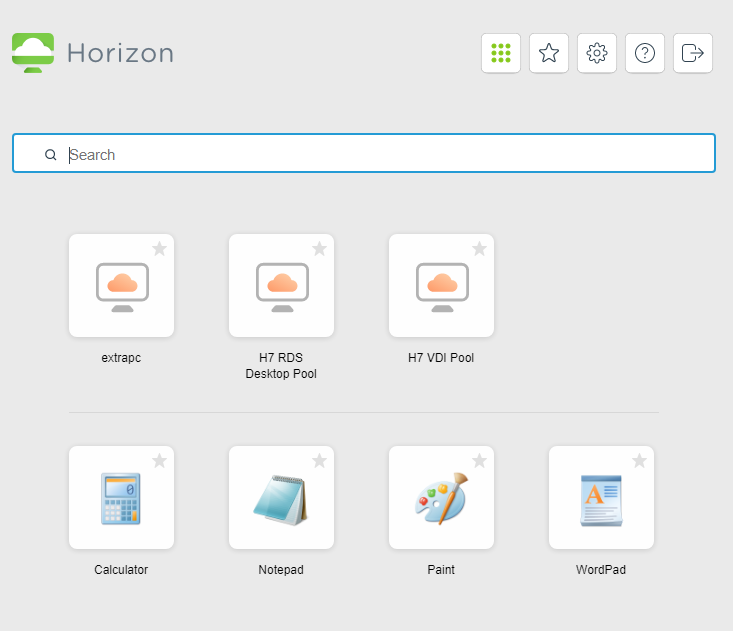
I set Calculator to either Scientific, Programmer, or Statistics mode for each of my three test users. For Notepad, I enabled Word Wrap and changed the font and font size. I then logged off and back on to verify that my application settings were saved. As shown in Figure 29, DEM Quick Start saves settings for the four published applications used for this lab: Calculator, Notepad, Paint, and WordPad.
Next, I restarted both RDS servers to make sure none of the applications stored their settings locally. I then logged in as each user to verify the changes made in each application were still there. They were.
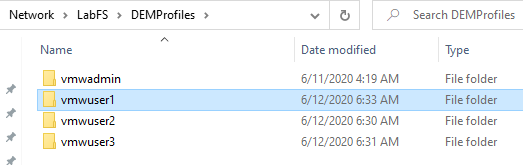
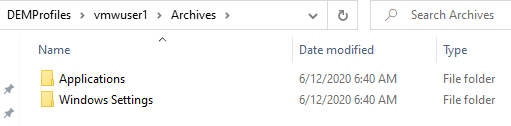
Figures 35 through 38 show the folders and files created for one of the users in the DEM Profile share.
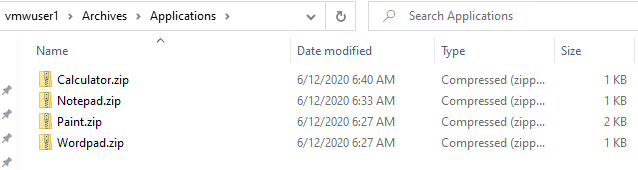
Each of the Zip files contains a registry (.reg) file named Flex Profiles.reg. Figure 39 shows the contents of the file for vmwuser1’s Calculator.zip.

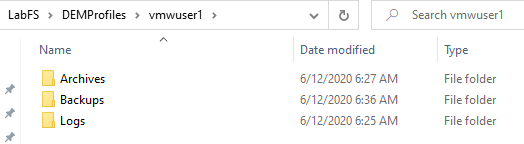
Continuing looking at folders in the DEM Profile share.
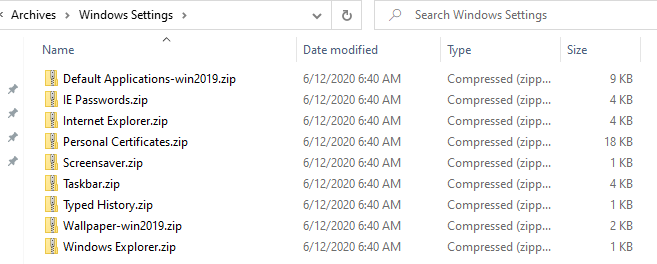
Each of these Zip files contains a folder structure and within each folder is an XML and a reg file.
Looking back at Figure 36, the Backups folder tree has a similar structure and content as the Archives folder tree.
The Logs folder contains log files, as shown in Figure 41.
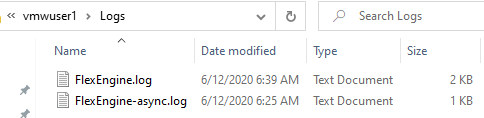
You can use these log files to understand what happens with the profiles or troubleshoot issues like why a user immediately logs off after trying to log in, as shown in Figure 42.

There are many other things that DEM can do for Horizon admins and users. Showing you all of its capabilities is probably a 16-part series by itself.
Leave the DEM Management Console open. We need it for the next Part.
Up next: DEM Helpdesk Support Tool
Hi Carl,
Great series! Thanks for putting a lot of effort into that! I think this is really helpful for a lot of people.
I wanted to let you know that I created a PowerShell script to speed up to process of creating shortcuts for Dynamic Environment Manager called “Convert-LNK2DEMXML”. It creates DEM XML shortcut files based on existing shortcuts (LNK). Those DEM XML files can simply be copied over to the DEM file share.
I created a blog post about it here:
https://www.ivandemes.com/bulk-convert-shortcuts-to-dynamic-environment-manager/
Keep up the the good work and thanks again.
Cheers,
Ivan