-
Updating the vCenter Server Appliance
December 21, 2019
The vCenter Server Appliance (VCSA), like all software, receives updates. The VCSA makes it drop-dead simple to update. Before you start, the first thing to do is to back up the VCSA. After you have a backup, you can continue with the update.
In the left pane, click Update, as shown in Figure 1.
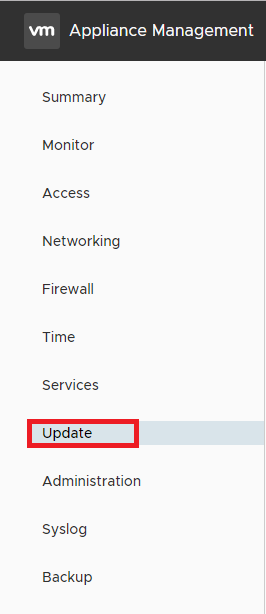
Figure 1 As noted on the Update screen, VCSA updates are cumulative.
Select the most recent update available and click STAGE AND INSTALL, as shown in Figure 2.

Figure 2 Select I accept the terms of the license agreement and click Next, as shown in Figure 3.
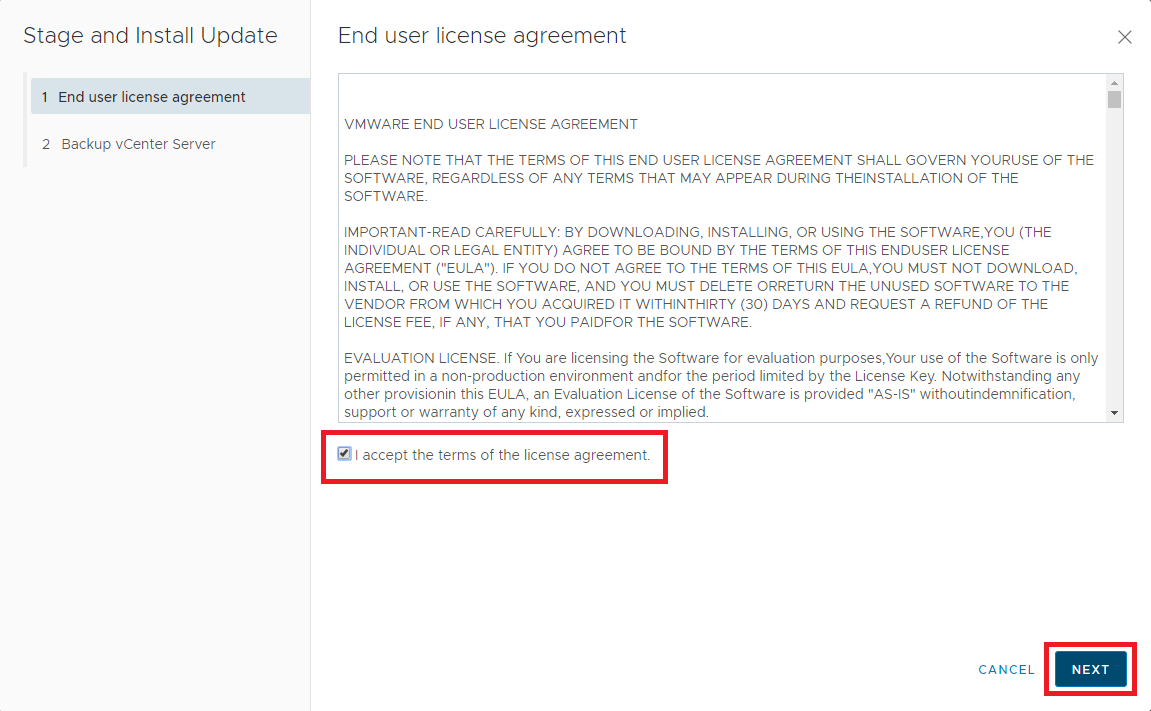
Figure 3 Select I have backed up vCenter Server and its associated databases and click Finish, as shown in Figure 4. I know you are not going to lie, you did a backup first, right?

Figure 4 The Staging and Installation begin, as shown in Figure 5.
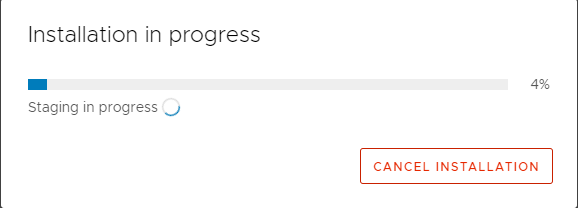
Figure 5 After about 10 to 20 minutes, you should be able to log in to the VCSA appliance management interface. The Installation shows success, as shown in Figure 6. Click Close.
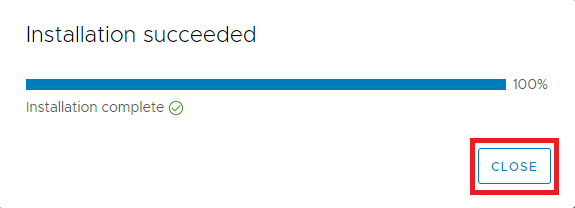
Figure 6 On the Update screen, you will see the VCSA’s current version and no Available updates, as shown in Figure 7.

Figure 7 You can configure the VCSA to automatically check for updates.
Click SETTINGS, as shown in Figure 8.

Figure 8 Select Check for updates automatically, enter the update check frequency, and click Save, as shown in Figure 9.
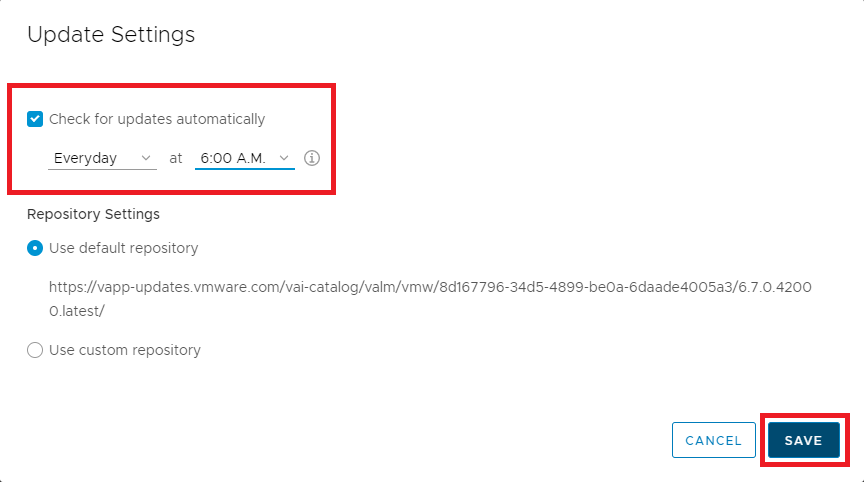
Figure 9 The only way to see the automatic check for updates schedule is to go back into SETTINGS.
Exit the VCSA management interface.
2 Responses to “Updating the vCenter Server Appliance”


January 27, 2020 at 6:02 pm
Do we have to update the Certs on Xenapp (7.x) every time VCSA is updated ?
January 30, 2020 at 2:43 pm
As long as the certificate is still valid AND the VCSA name has not changed, you should not have to do anything in Studio. I have not had to do anything in Studio.
Webster