-
Learning the Basics of VMware Horizon 7.12 – Part 2 – Evaluation Software
[Updated 4-Sep-2021]
As stated in Part 1, all the software used for this Horizon lab has free evaluation software and licenses available. Let’s start with VMware.
Note: For VMware product licenses, there is also VMUG Advantage and the EVALExperience. If you would like to try EVALExperience, Paul Braren has a 10% discount code on his site.
From your internet browser, browse to https://www.vmware.com/
Click Login and then click My VMware, as shown in Figure 1.

Figure 1 Click Sign up now, as shown in Figure 2.
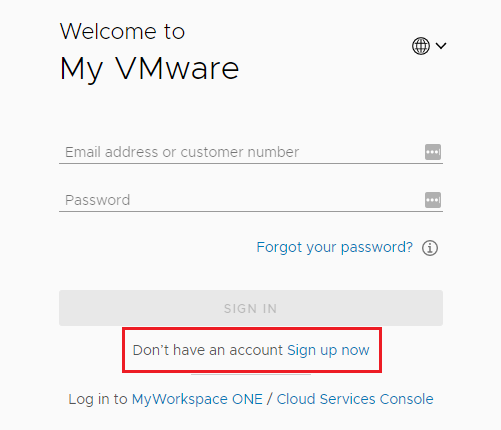
Figure 2 Fill in the requested information shown in Figure 3.
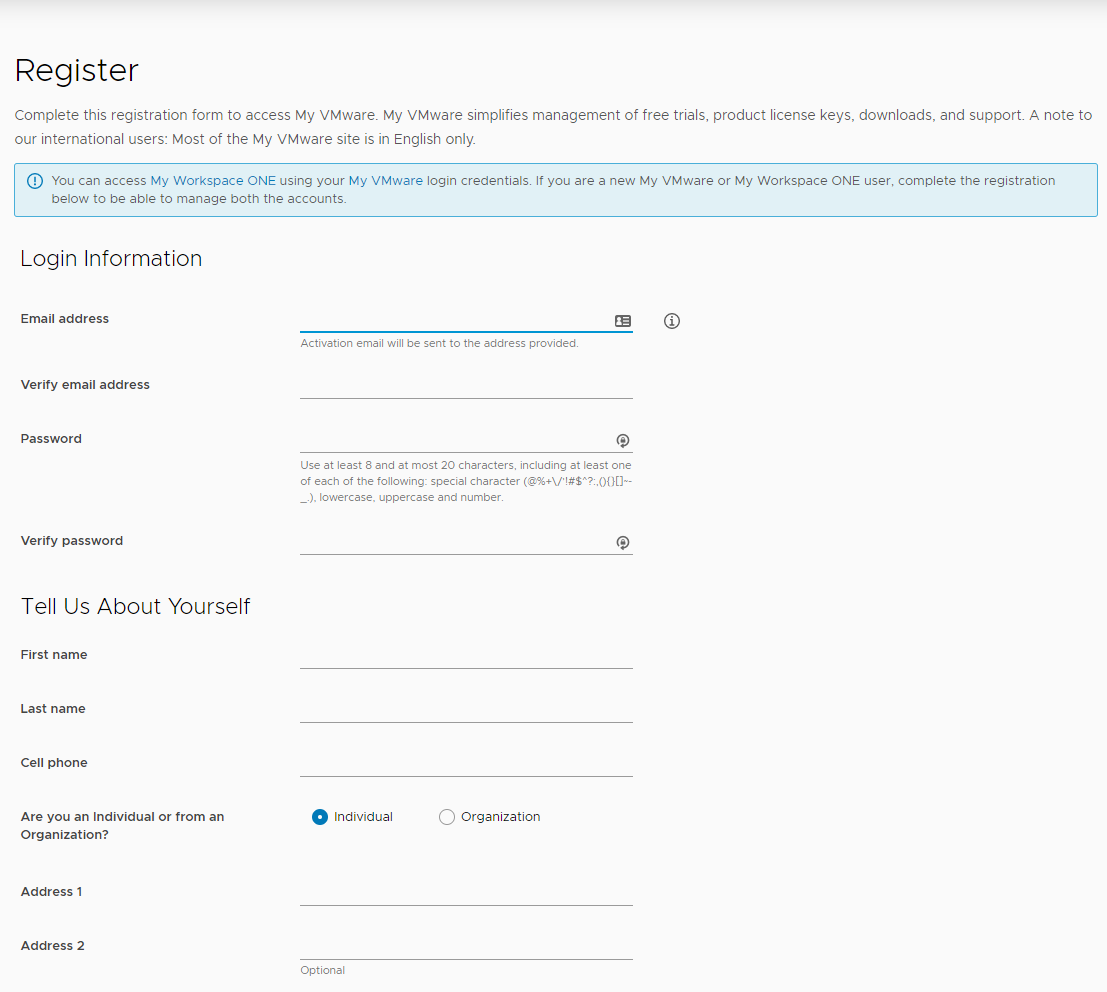
Figure 3 Scroll down, fill in the Captcha, select I agree to the terms and conditions…, decide whether to receive communications from VMware, and click SIGN UP, as shown in Figure 4.
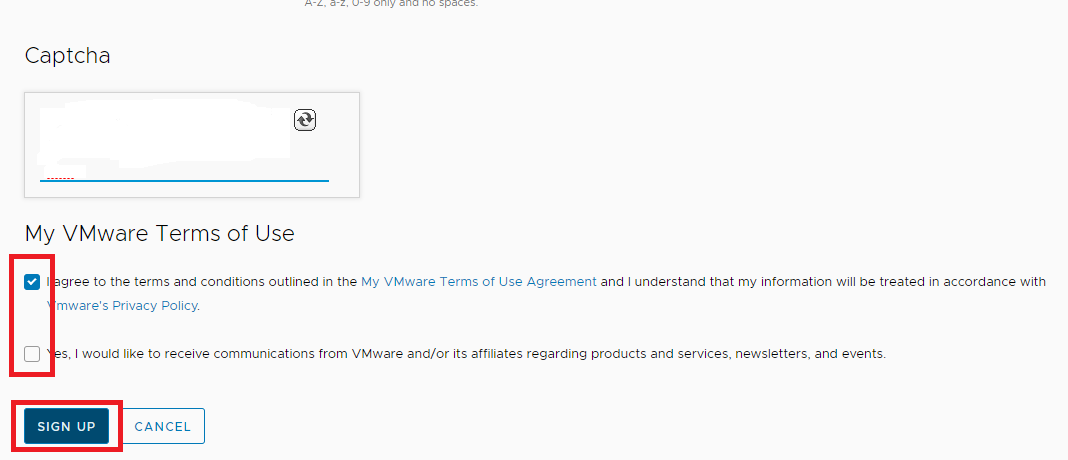
Figure 4 Soon, you should receive an activation email to the address supplied.
Click Activate Now in the email, as shown in Figure 5.
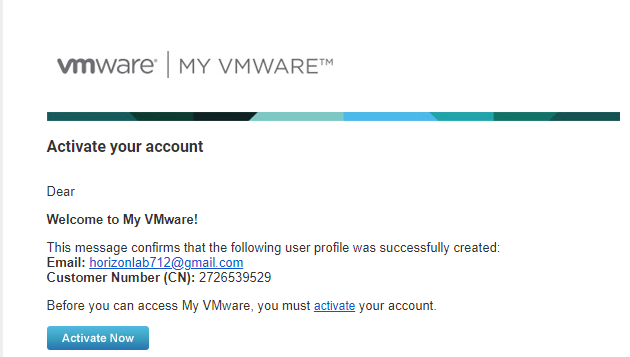
Figure 5 You are taken to the Evaluations download page. Scroll down and find VMware Horizon 7. Click Download Free Trial, as shown in Figure 6.
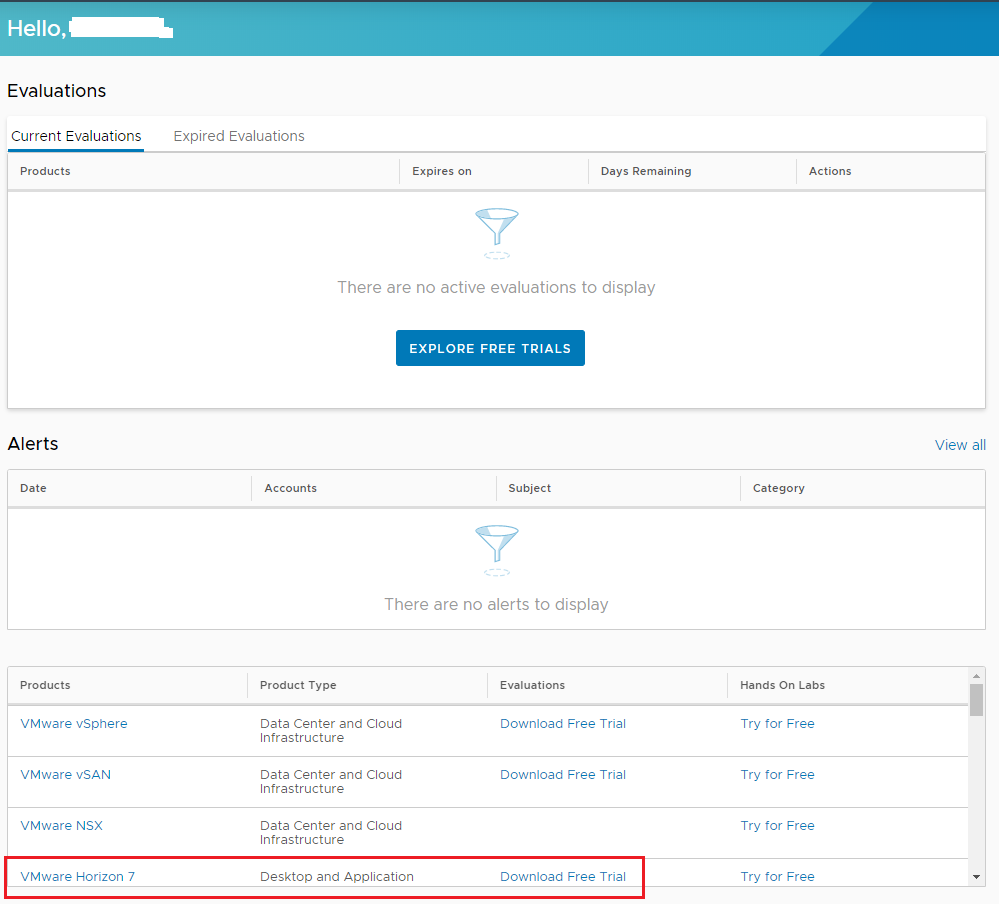
Figure 6 You are now taken to the Evaluation center, as shown in Figure 7.
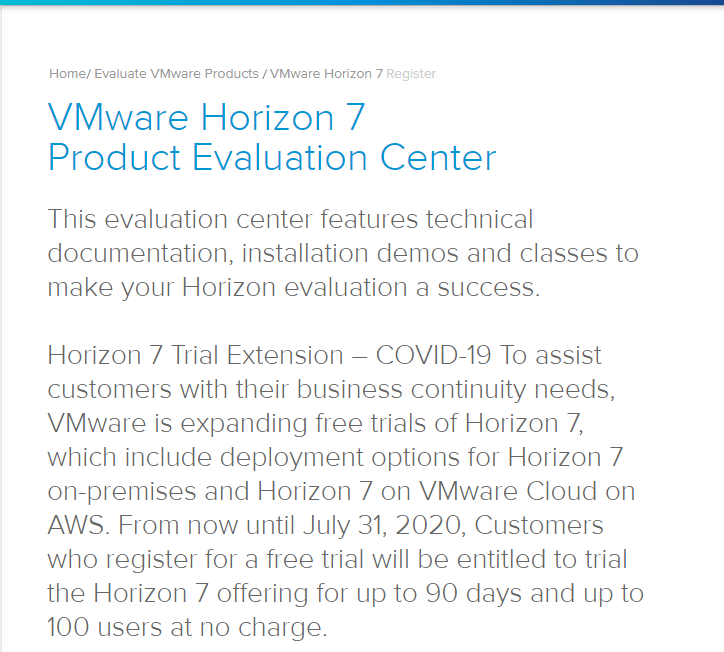
Figure 7 Click Register, as shown in Figure 8.

Figure 8 You are shown the EULA, as shown in Figure 9.

Figure 9 Scroll down and select I agree to the terms of the End User License Agreement. Decide whether to receive communication from VMware. Click START FREE TRIAL, as shown in Figure 10.

Figure 10 You are taken to the Horizon 7 evaluation center. Figure 11 shows your Horizon license keys.

Figure 11 Scroll down and download Horizon 7.12.0 View Agent (64-bit), as shown in Figure 12, and Horizon 7.12.0 View Connection Server (64-bit), as shown in Figure 13.
Save both to a central location accessible by the VMs built later in this series.

Figure 12 
Figure 13 While still logged in and connected to the VMware Evaluation Center, browse to https://my.vmware.com/group/vmware/evalcenter?p=dem to download Dynamic Environment Manager, as shown in Figure 14.
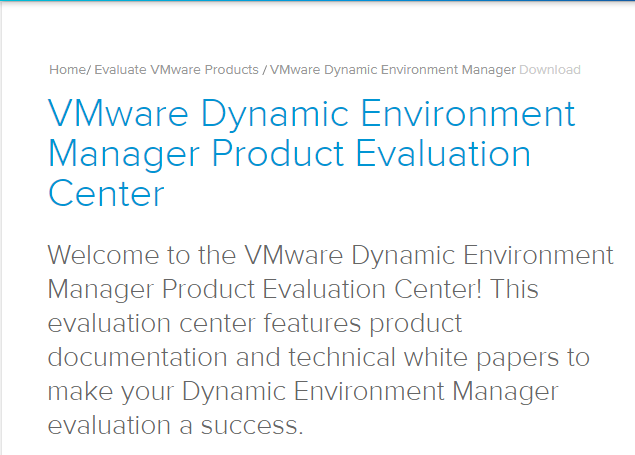
Figure 14 Register for this evaluation and then download VMware Dynamic Environment Manager, as shown in Figure 15. Save the file to the same location as the other downloads.
Because you already have a Horizon 7 license key, there is no need to download the Evaluation license file.
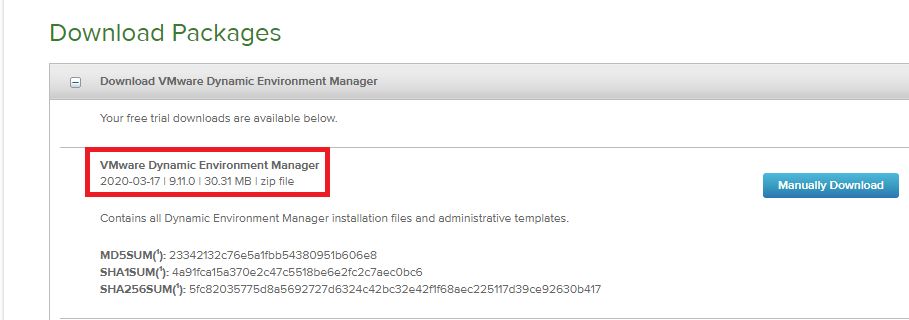
Figure 15 Next up is ControlUp.
Browse to https://www.controlup.com/ and click on DOWNLOAD FREE TRIAL, as shown in Figure 16. Save the download to the same location as the other downloads.
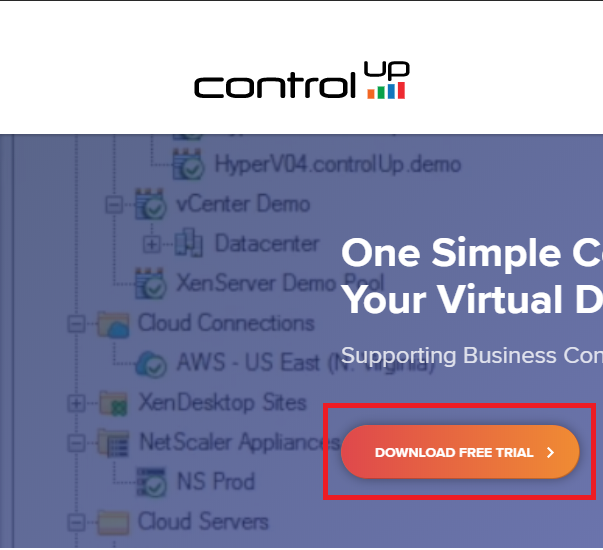
Figure 16 Note: The ControlUp Expert program grants a free NFR annual license to recognized community experts; an example of valid candidates are:
- Citrix Technology Professionals (CTP)
- VMware vExpert / VCDX
- Nutanix NTC
- Microsoft Most Valuable Professionals (MVP) for Remote Desktop Services and Virtual Machine
- Citrix / VMware top consultants / trainers * (after vendor verification)
You can apply at https://www.controlup.com/products/controlup/expertprogram/.
Next is IGEL (remember, pronounced as “eagle”, not “eye gel”).
Browse to https://www.igel.com/download/ and click on FREE TRIAL, as shown in Figure 17.

Figure 17 As shown in Figure 18, click DOWNLOAD THE IGEL SOFTWARE and then REQUEST AN IGEL HARDWARE EVALUATION.
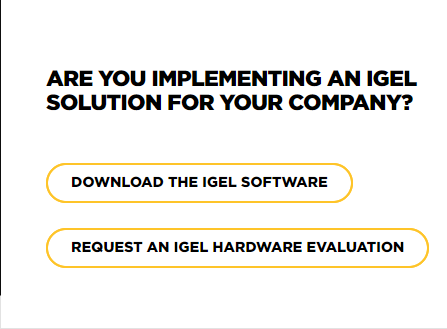
Figure 18 Fill in the required information to receive three free licenses, as shown in Figure 19.
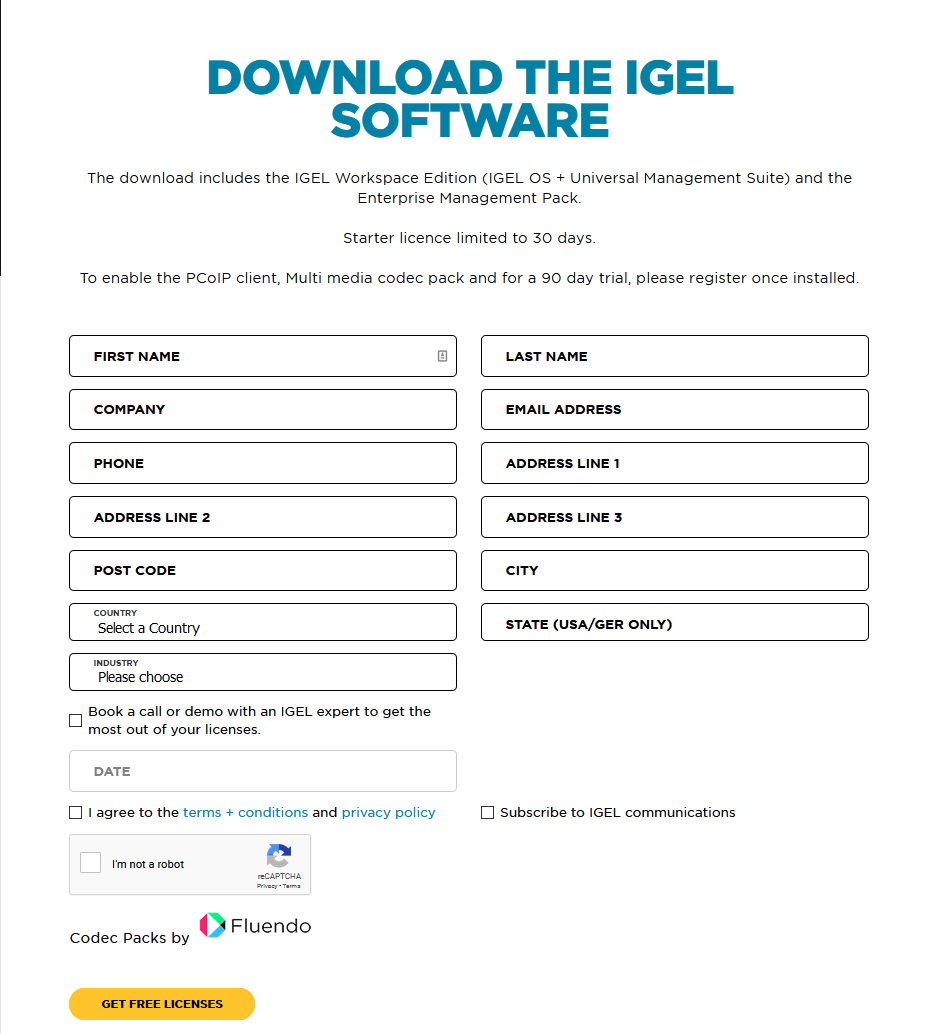
Figure 19 Fill in the information required, as shown in Figure 20, to receive a free UD Pocket.
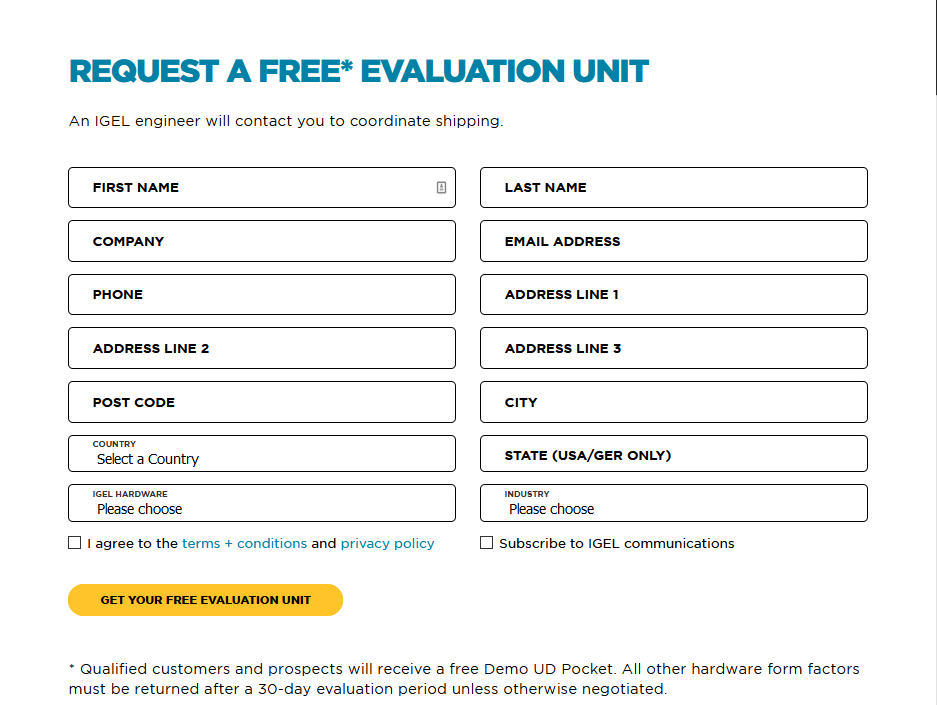
Figure 20 Now Microsoft.
For Windows Server 2019, browse to https://www.microsoft.com/en-us/evalcenter/evaluate-windows-server-2019.
Select ISO and click Continue, as shown in Figure 21.
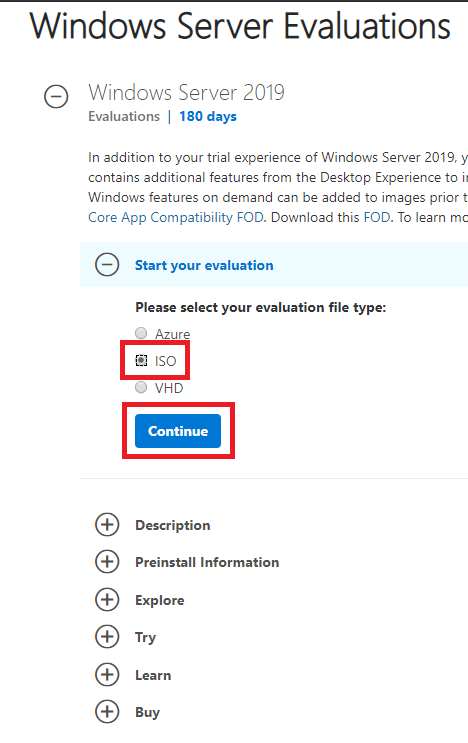
Figure 21 Enter the required information and click Continue, as shown in Figure 22.
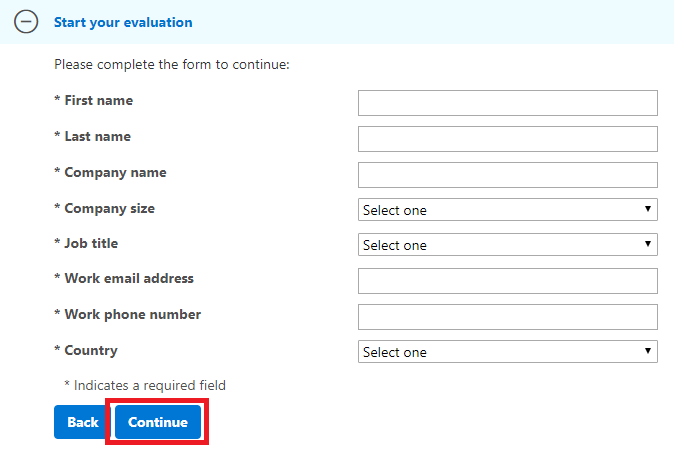
Figure 22 Select your language and click Download, as shown in Figure 23.
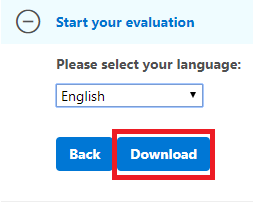
Figure 23 As seen in Figure 24, you may want to rename the Server 2019 ISO file to something easier to understand.

Figure 24 For Microsoft SQL Server 2017, browse to https://www.microsoft.com/en-us/evalcenter/evaluate-sql-server-2017-rtm, select EXE, and click Continue, as shown in Figure 25.
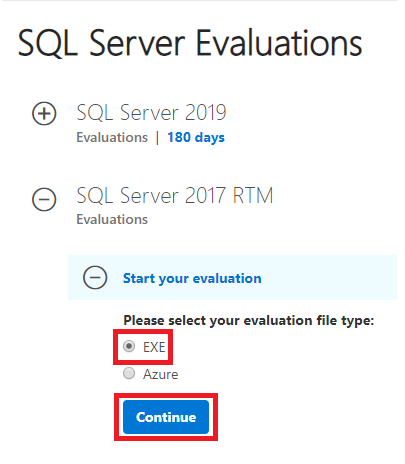
Figure 25 Follow the same registration and download process as with Server 2019.
For Windows 10 Enterprise, browse to https://www.microsoft.com/en-us/evalcenter/evaluate-windows-10-enterprise, select ISO – Enterprise, and click Continue, as shown in Figure 26.
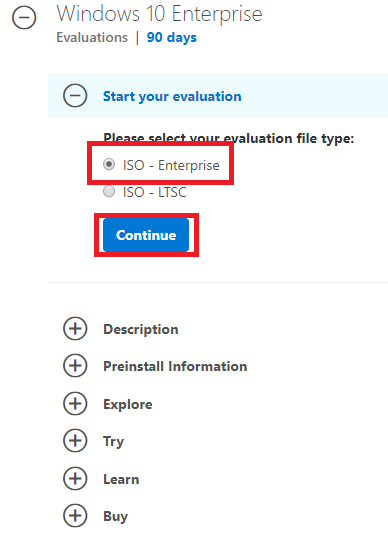
Figure 26 Follow the same registration and download process as with Server 2019. Use the 64-bit platform. You will also want to rename the ISO.
Upload the ISO files to your vCenter ISO datastore. Place the other files in a central location accessible to the VMs.
Up next: VM and computer details.


June 2, 2020
Blog, VMware