-
Installing an SSL Certificate for Citrix App Layering – Enterprise Layering Management
June 12, 2017
Citrix Virtual Apps and Desktops, XenApp/XenDesktop 7.0 - 7.7
In testing Citrix App Layering (Unidesk) in my lab, I wanted to install an SSL certificate on the Enterprise Layering Management (ELM) appliance. My first try didn’t go well, so I thought I would document the process I followed on the second try, which did work.
Updated 28Feb2019 to remove App Layering version info. The process documented works for 4.x, 18xx, and 19xx versions.
After importing the appliance, I logged into the CentOS console and configured the basic networking stuff, as shown in Figure 1.
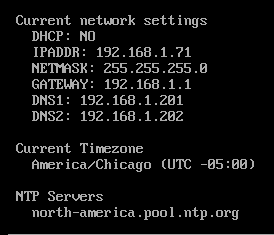
Figure 1 Next, I used Internet Exploder, I mean Explorer (IE), to start the rest of the configuration steps.
After setting the passwords for the three management accounts, the next item was the HTTP Certificate Settings.
One of the awesome benefits of being a CTP is that DigiCert gives the CTPs almost unlimited SSL certificates. Thank you very much, DigiCert.
The first thing I needed to do was generate a CSR file to give to DigiCert for my certificate request. Since the ELM is based on CentOS Linux, it has OpenSSL included. I found a helpful article from DigiCert support that automatically generates the required OpenSSL command, as shown in Figure 2.
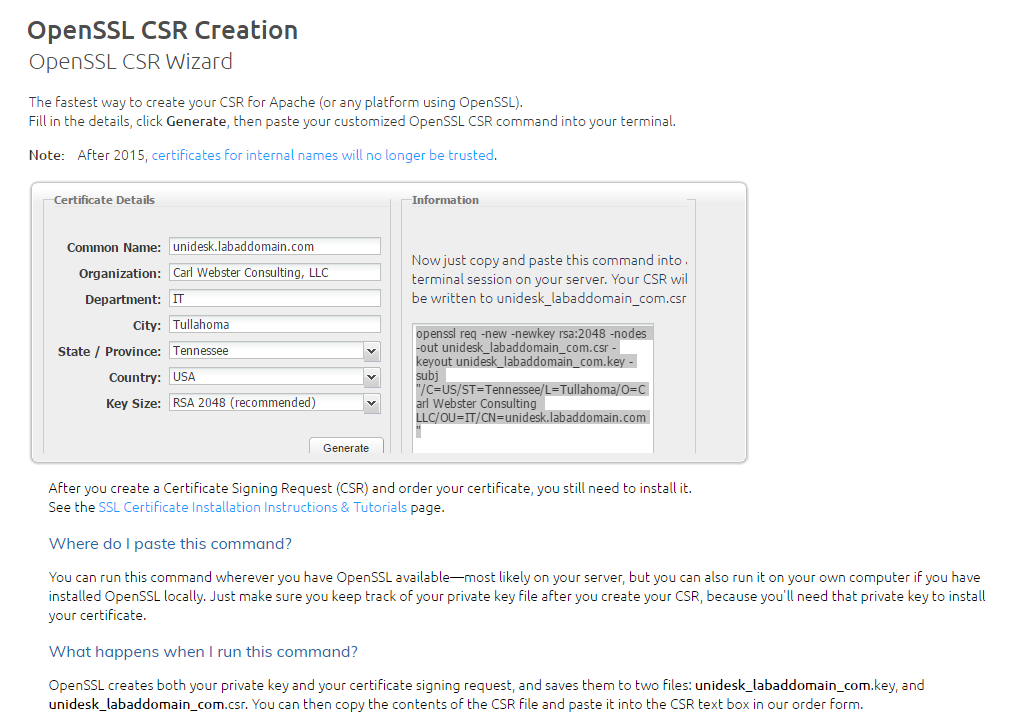
Figure 2 I use PuTTY to log on to the console as root and pasted in the OpenSSL command that DigiCert supplied, as shown in Figure 3.
Note: There is a bug in a fresh import of the 4.2 appliance where the wizard used to change the three account’s passwords does not change the password for root. To login as root, use the default password.
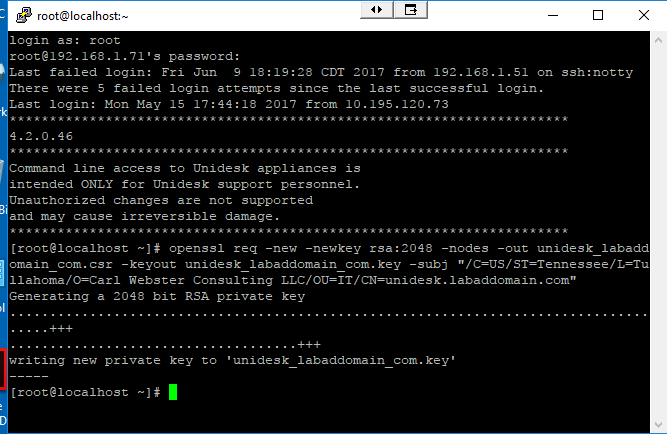
Figure 3 Next, I used WinSCP to download the two files created, as shown in Figure 4.
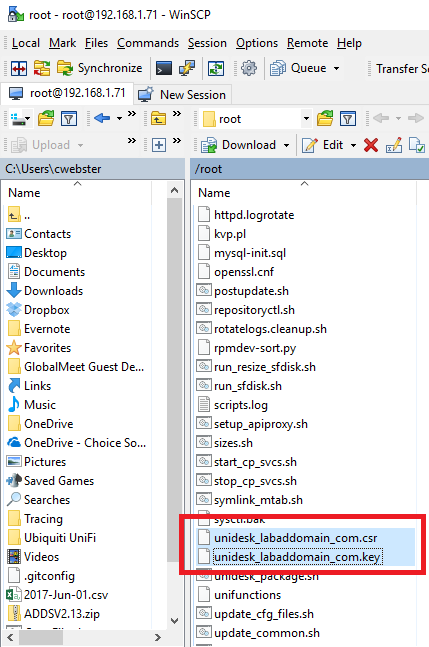
Figure 4 I used the CSR file to request my SSL certificate from DigiCert.
Once I received my ZIP file, I extracted the certificate files to the same folder I placed the CSR and KEY files downloaded from the ELM appliance, as shown in Figure 5.
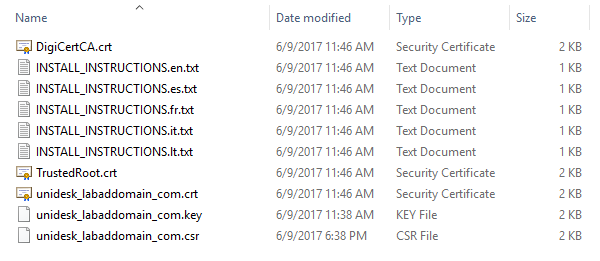
Figure 5 Using Notepad++, I opened the CRT and KEY files and created a new blank unidesk_labaddomain_com.pem file. I then copied the KEY file contents first into the PEM file and then added the CRT file to the bottom of the PEM file, as shown in Figure 6.
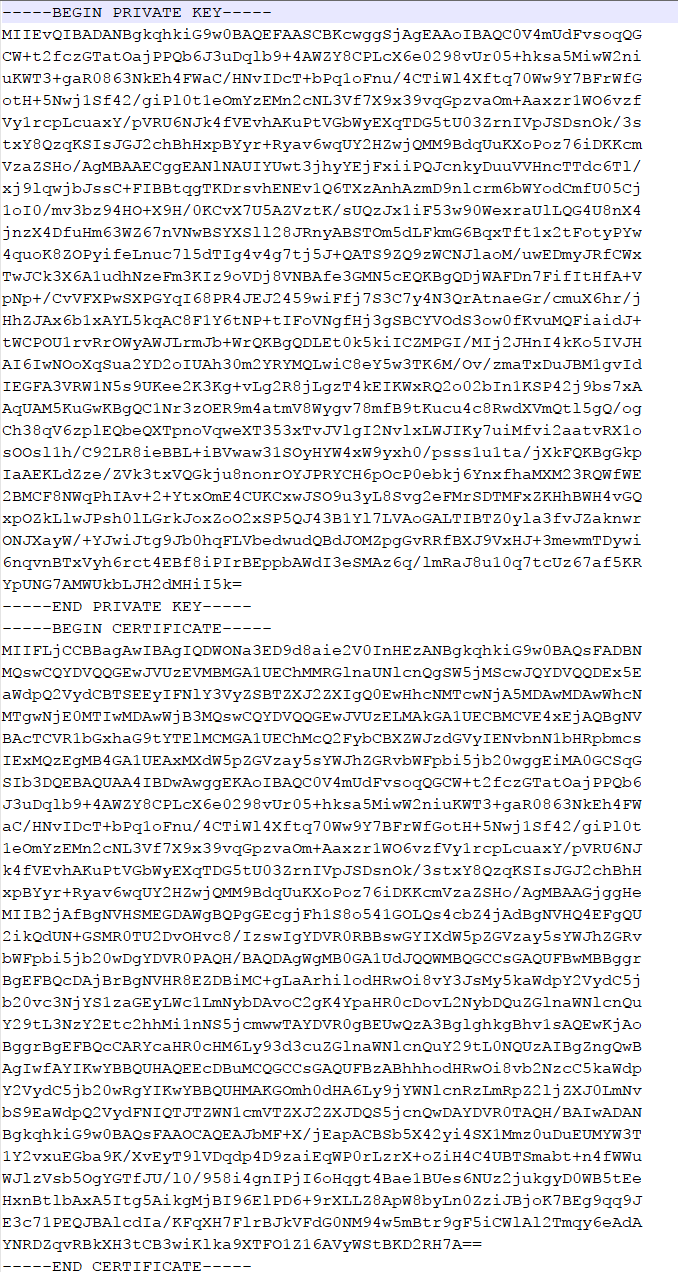
Figure 6 Back in the browser interface for the ELM appliance, click Edit for HTTP Certificate Settings, as shown in Figure 7.
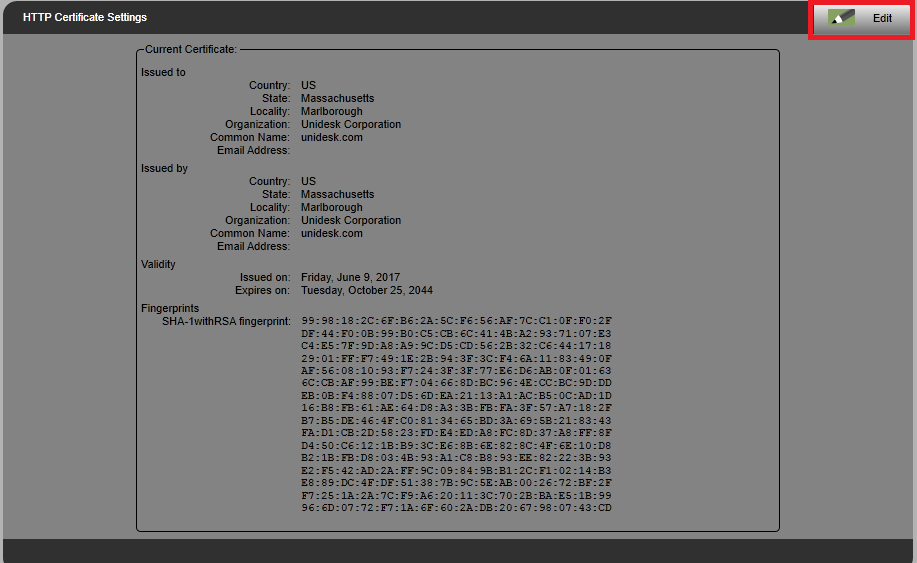
Figure 7 Click Upload as shown in Figure 8.
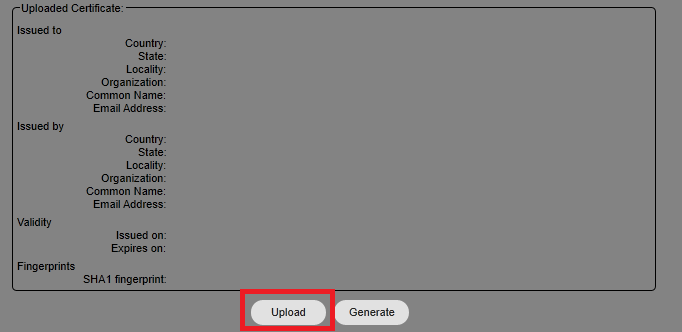
Figure 8 Browse to the PEM file created earlier, select it and click Open, as shown in Figure 9.

Figure 9 Verify the Uploaded Certificate information is correct. If it is, click Save, as shown in Figure 10. If the information is not correct, you may need to recreate the PEM file or receive a new SSL certificate.
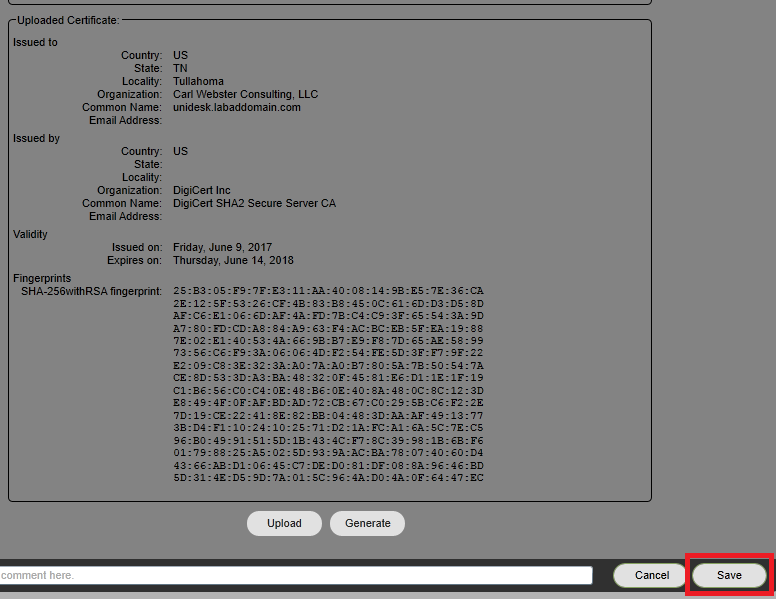
Figure 10 Click Yes to restart the webserver, as shown in Figure 11.
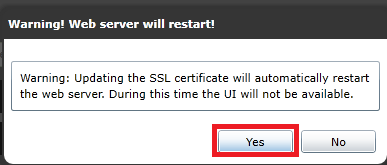
Figure 11 I created a DNS A record to match the SSL certificate, as shown in Figure 12.
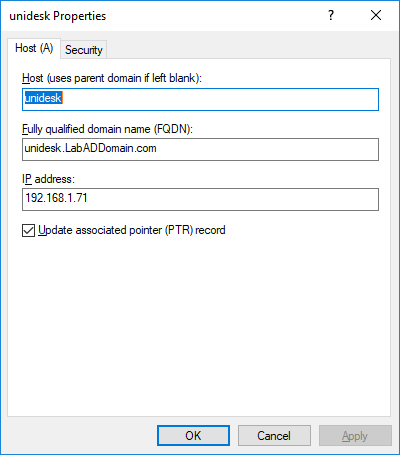
Figure 12 Once the browser window refreshes, exit IE, restart IE, and browse to https://FQDN of the ELM appliance as shown in Figure 13.
Notice there are no SSL certificate errors even though the PEM file did not contain any Intermediate or Root certificate information.
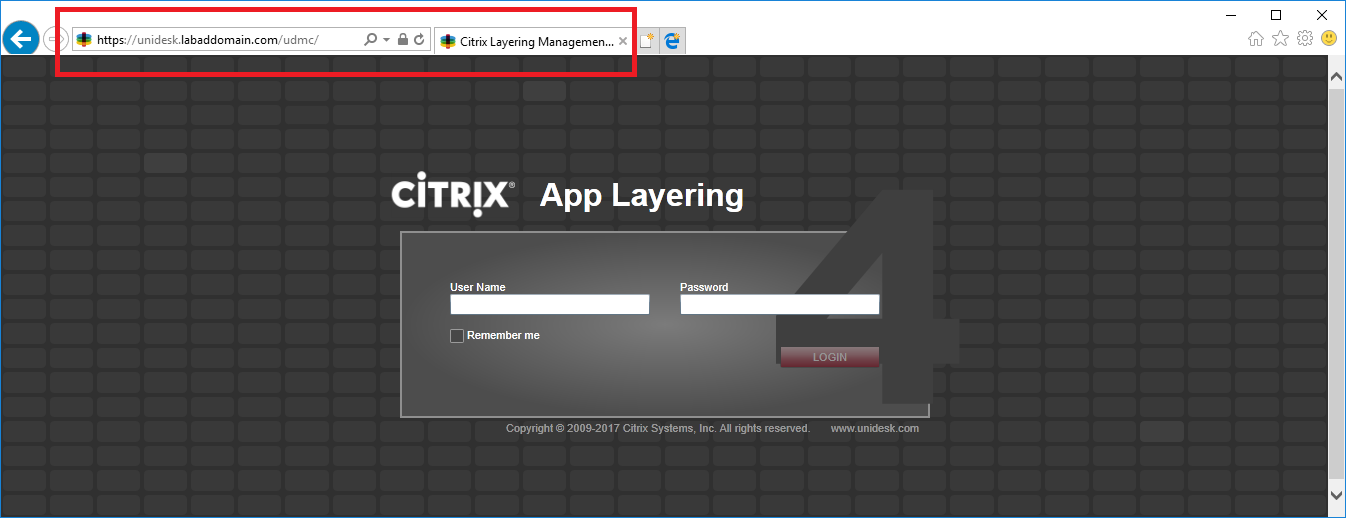
Figure 13 I want to give a shout-out to Kyle at DigiCert support for all the time he spent with me working through this process.
Thanks
Webster
One Response to “Installing an SSL Certificate for Citrix App Layering – Enterprise Layering Management”


November 30, 2017 at 5:33 am
Excellent article, first of all Carl.
One thing you might want to mention is that I had to turn on all my TLS versions in advanced internet options in IE before it would connect using HTTPS.
Other than that a fantastic help setting this up!