-
How To Digitally Sign a Microsoft PowerShell Script with a Third-Party Code Signing Certificate (Update April 4, 2012)
September 30, 2011
PowerShell, XenApp, XenApp 5 for Server 2003, XenApp 5 for Server 2008, XenApp 6.0, XenApp 6.5
I recently wrote an article on using Microsoft PowerShell to document a Citrix XenApp 6.0 farm. I am also in the process of finishing up follow-up articles for XenApp 5 and XenApp 6.5. One of the options I wanted to make available is a digitally signed copy of the script used in that article. As there may be environments where only signed PowerShell scripts are allowed, I want to make signed copies of all my PowerShell scripts available. I still consider myself a PowerShell rookie, so I wanted to document what I had to go through to sign a PowerShell script.
Update: I now use the Digicert Certificate Utility for Windows to sign all my scripts.
Code Signing with the DigiCert® Certificate Utility for Windows
The first thing needed is to request a code signing certificate. At DigiCert, I clicked on Code Signing Certificates (Figure 1).
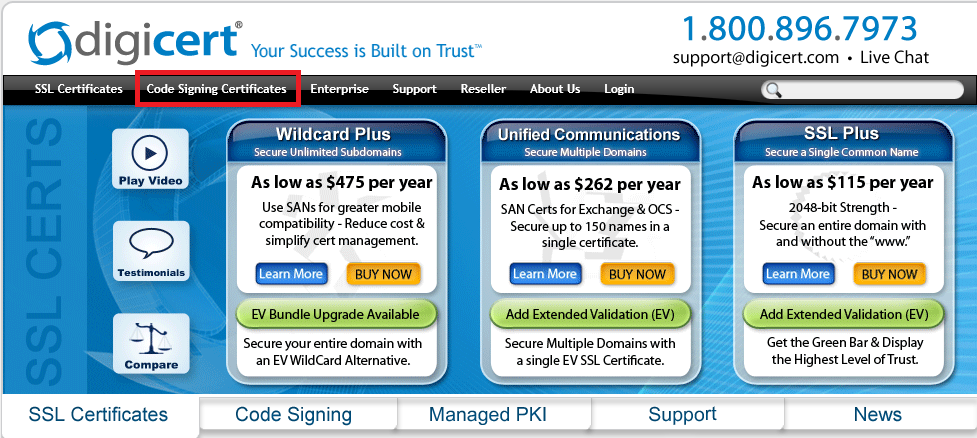
Figure 1 I then selected Buy Now (Figure 2).
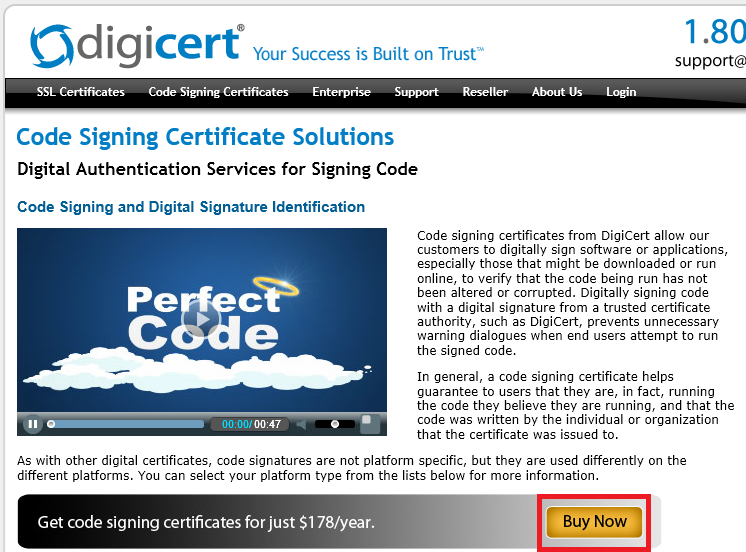
Figure 2 I then selected Code Signing Cert, a Validity Period, and clicked Continue (Figure 3).
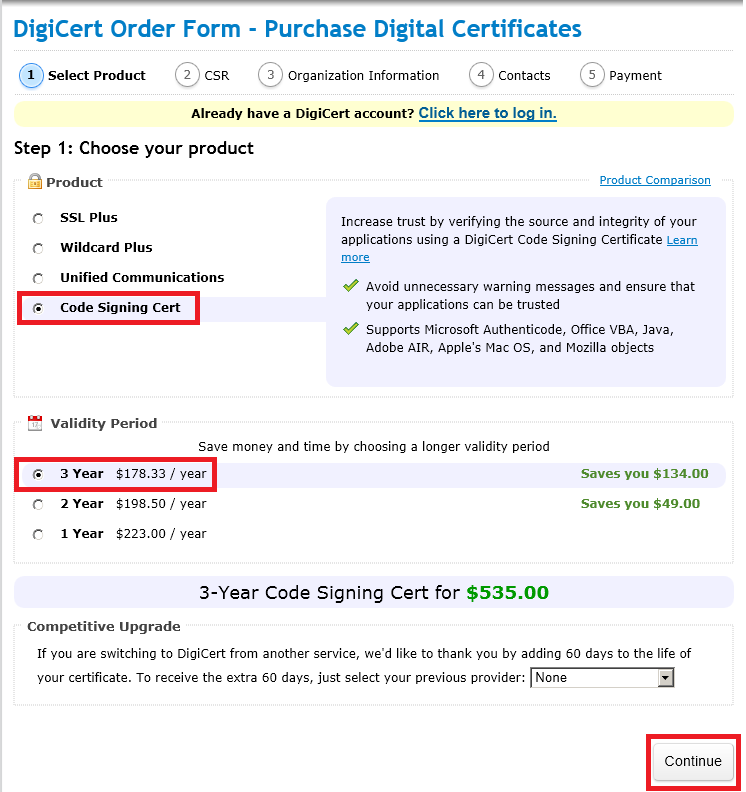
Figure 3 Next, I selected Microsoft Authenticode and clicked Continue (Figure 4).

Figure 4 Next, I filled in my Organization Details and clicked Continue (Figure 5).
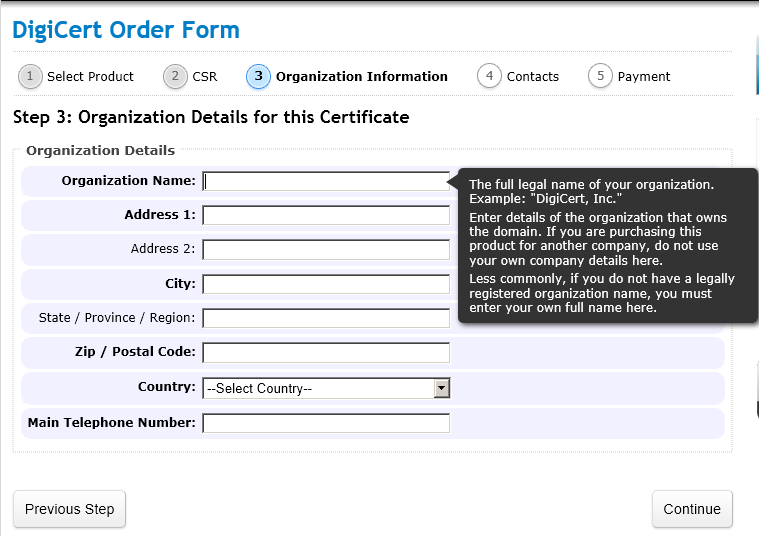
Figure 5 I then filled in my Contact Details and clicked Continue (Figure 6).
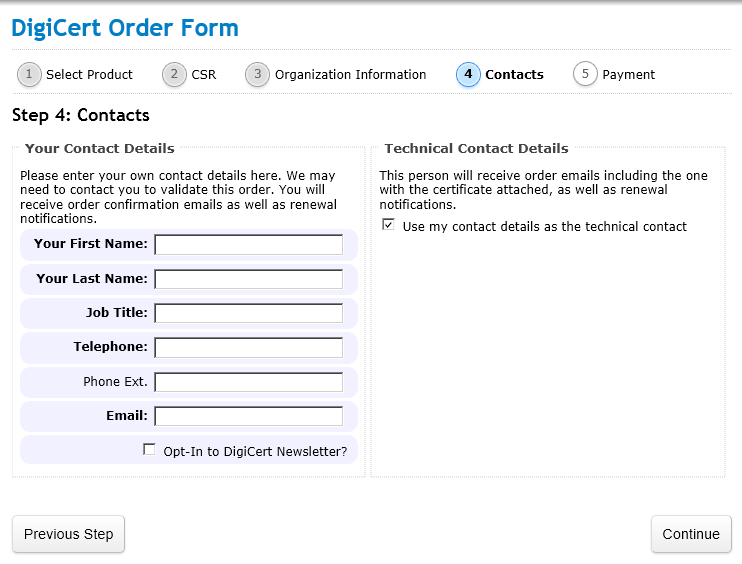
Figure 6 I removed the Payment step information. I selected I agree to the Terms of Service above and clicked Complete Order (Figure 7).
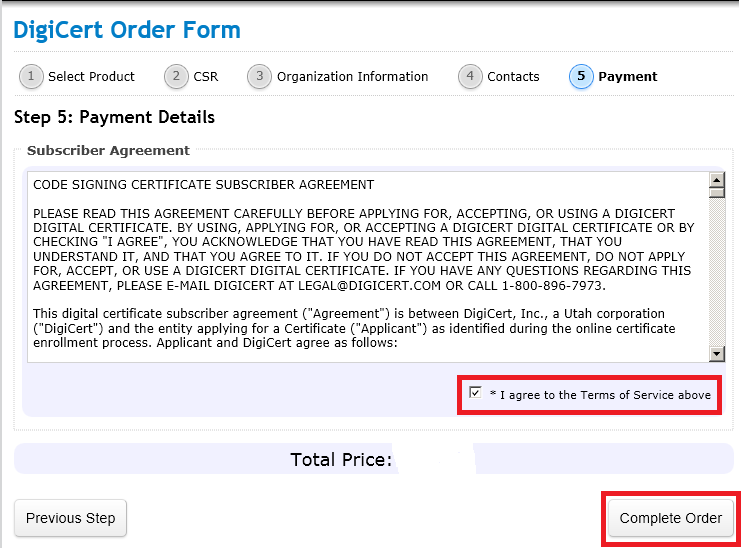
Figure 7 I then received an e-mail from DigiCert Support asking me to verify that I did request a Code Signing Certificate. After I replied to the e-mail in the affirmative, I received another e-mail with a link to create the code-signing certificate (Figure 8).
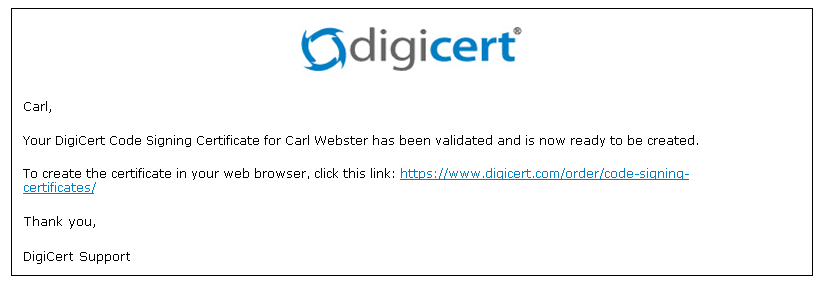
Figure 8 Clicking the link in the e-mail opens my Internet browser with the following popup (Figure 9). I clicked Yes.
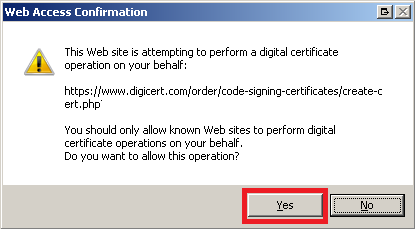
Figure 9 Which then took me to the web site shown in Figure 10. I then clicked Generate Certificate.
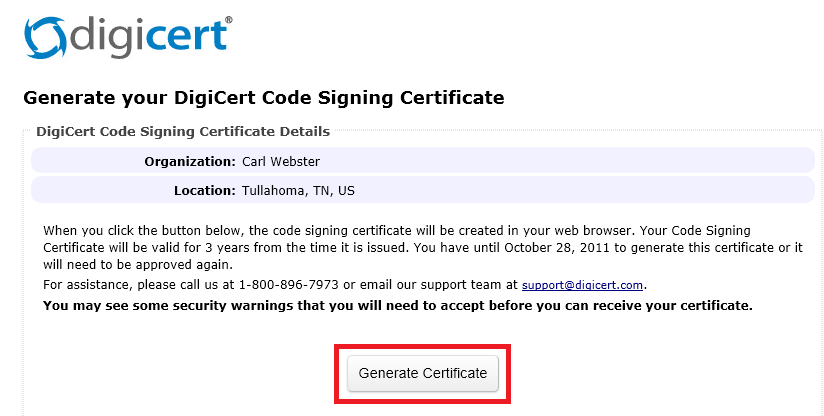
Figure 10 Which then took me to the web page shown in Figure 11.
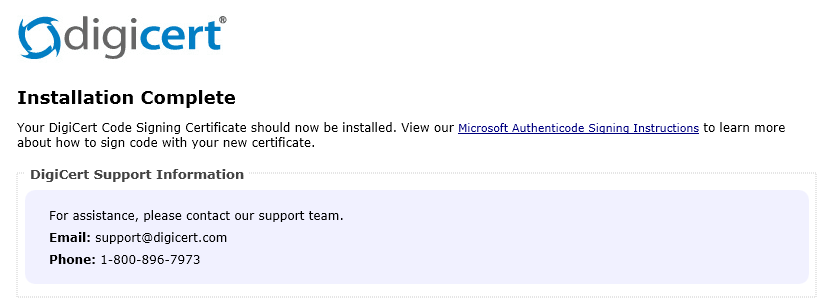
Figure 11 I verified in Internet Explorer that the certificate is installed (Figure 12 and Figure 13).
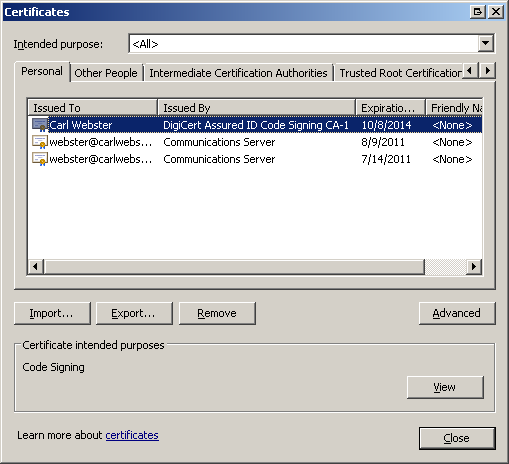
Figure 12 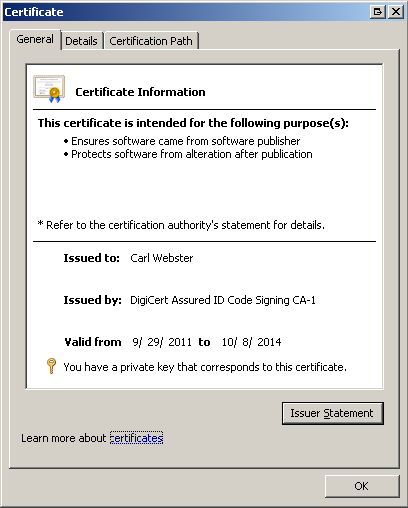
Figure 13 On the computer where the Code Signing Certificate was installed, I started a PowerShell session running as Administrator. Using the information from Don Jones’ Windows PowerShell 2.0 TFM book on page 149, I entered the following PowerShell command (should be one long line):
123Set-AuthenticodeSignature`"C:\Users\cwebster\Documents\carlwebster.com\Documenting a Citrix XenApp 6 Farm with Microsoft PowerShell\XA6_Inventory_Signed.ps1"`-TimestampServer"http://timestamp.digicert.com/"@(Get-Childitemcert:\CurrentUser\My-codesigning)[0]Which then returns a successful signing (Figure 14).
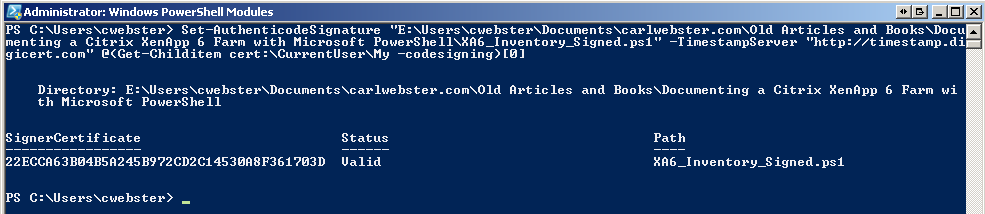
Figure 14 Opening my script shows the added signature block (Figure 15).

Figure 15 To verify the newly signed script, I went to my XenApp 6 server, copied the signed script to the C:\PSScripts folder, started a PowerShell session as Administrator, and changed to the C:\PSScripts folder. I then set the PowerShell script execution policy to AllSigned (Figure 16).

Figure 16 I then tried to run the original unsigned script (Figure 17). The script would not run because it is not digitally signed.

Figure 17 I then tried to run the signed script (Figure 18).

Figure 18 I answered A to Always run scripts signed by me (Figure 19) and the script runs successfully.
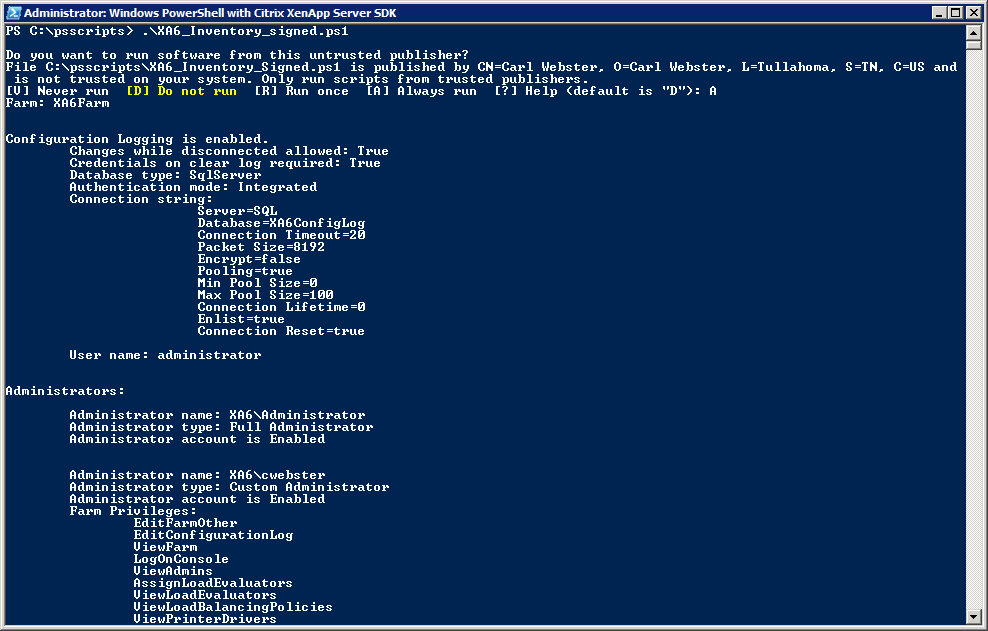
Figure 19 By answering Always run my code signing certificate was installed on the server in the Trusted Publishers store (Figure 20).
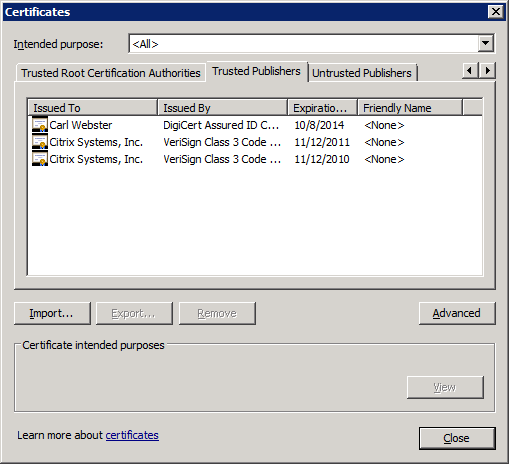
Figure 20 The next time I run the signed script, the script automatically runs (Figure 21).
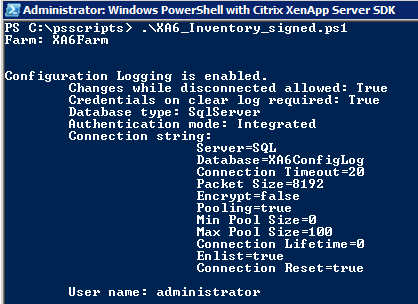
Figure 21 What I learned is that digitally signing PowerShell scripts is simple to do. It is not cheap, but it is simple.
Subscribe
Subscribe to our e-mail newsletter to receive updates.


4 Responses to “How To Digitally Sign a Microsoft PowerShell Script with a Third-Party Code Signing Certificate (Update April 4, 2012)”
June 17, 2014 at 1:08 pm
Thanks for the manual Carl. Now I don’t have to send you all my scripts to get them signed!
October 2, 2012 at 2:09 pm
I’m not entirely familiar with certificates, but if this is signed by Digicert, shouldn’t your computer already trust it? Am I overlooking something?
Regards,
CM
October 2, 2012 at 2:11 pm
This is a Code Signing certificate which is treated differently. This is a much higher level of trust. Just see the recent Adobe incident.
Thanks
Webster
October 19, 2011 at 9:20 am
Carl,
Thanks for this. I recently got my employer to turn on code-signing on our local CA and now I can run scripts in our XenApp environment as a regular user.
Thanks,
Alain