Updated 31-Dec-2019 to show ten days of Scheduled Backups.
Updated 23-Dec-2019 to show the results of the Scheduled Backup job.
It is important to have a backup of all important data, servers, and Virtual Machines, whether in a lab or production environment. Before making major changes to the vCenter Server Appliance (VCSA), it is important to make a backup first. This article covers backing up the VCSA using NFS.
I will use my Synology 1817+ Storage Unit.
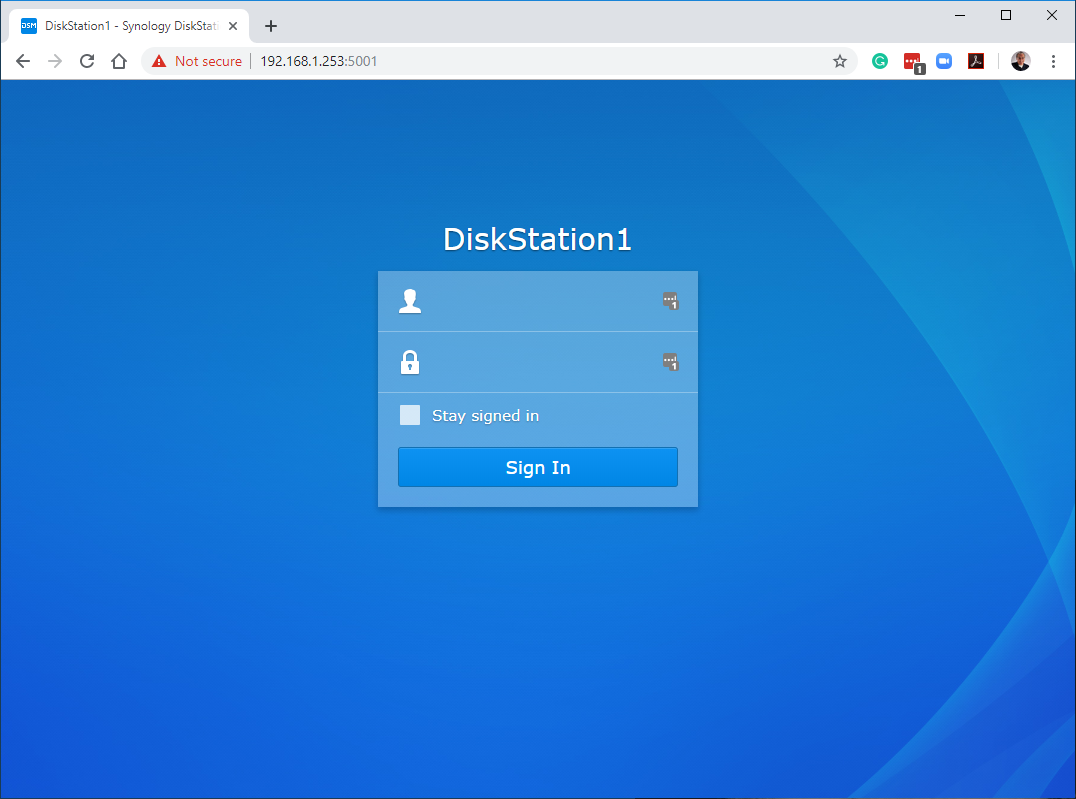
First, log in to the NAS by opening an internet browser, browsing to the IP address of the Synology device, enter the username and password for the device, then click Sign In. For me, that is https://192.168.1.253:5001, as shown in Figure 1.
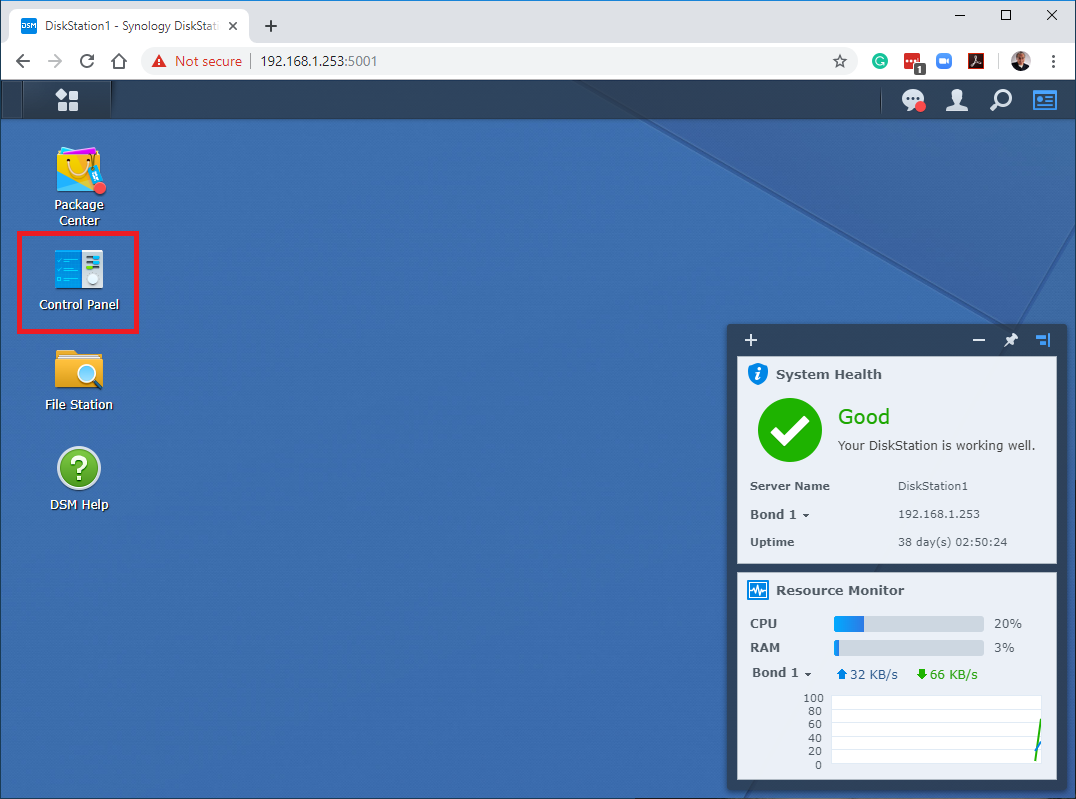
Next, on the main page, click the Control Panel, as shown in Figure 2.
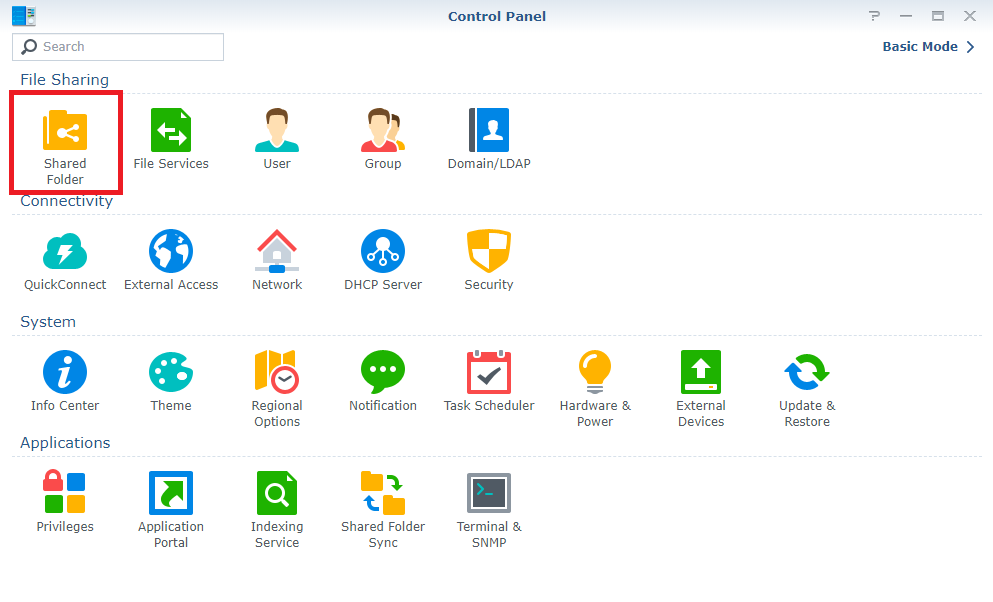
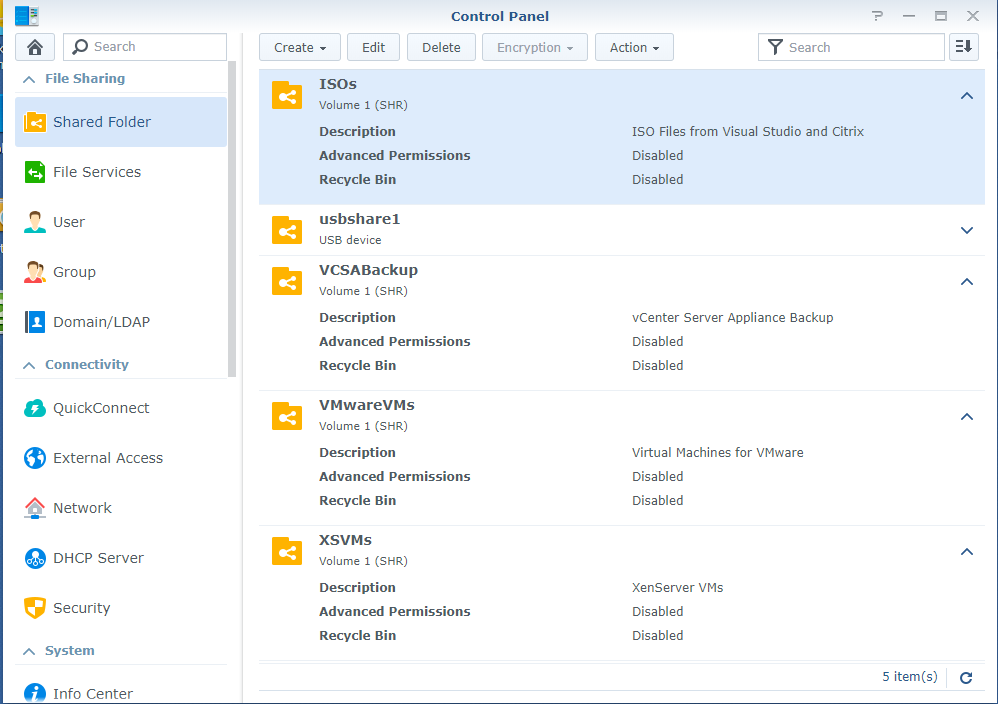
Click Shared Folder, as shown in Figure 3.
Click Create, as shown in Figure 4.

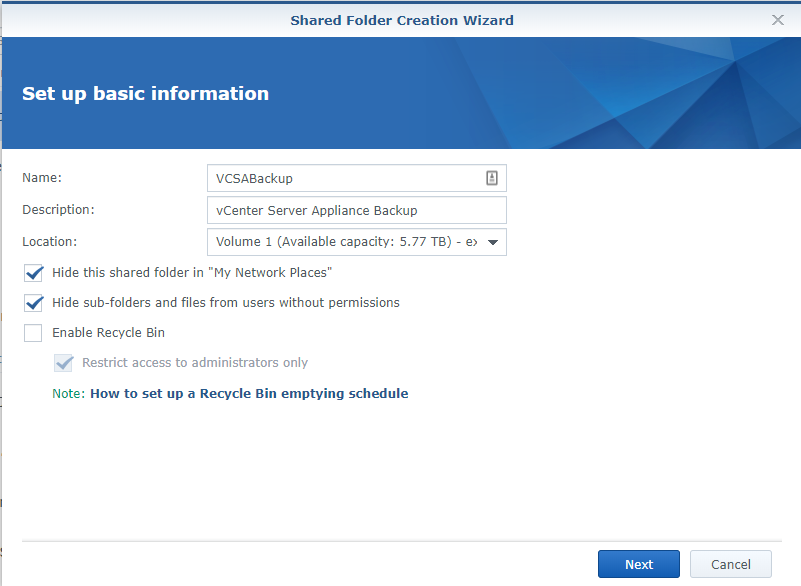
Do the following steps, as shown in Figure 5:
- Enter a Name and Description.
- If you have more than one Volume configured, select the appropriate Volume for the Location.
- Select both Hide this shared folder in “My Network Places” and Hide sub-folders and files from users without permissions.
- Deselect Enable Recycle Bin
- Click Next
Verify nothing is selected and click Next, as shown in Figure 6.
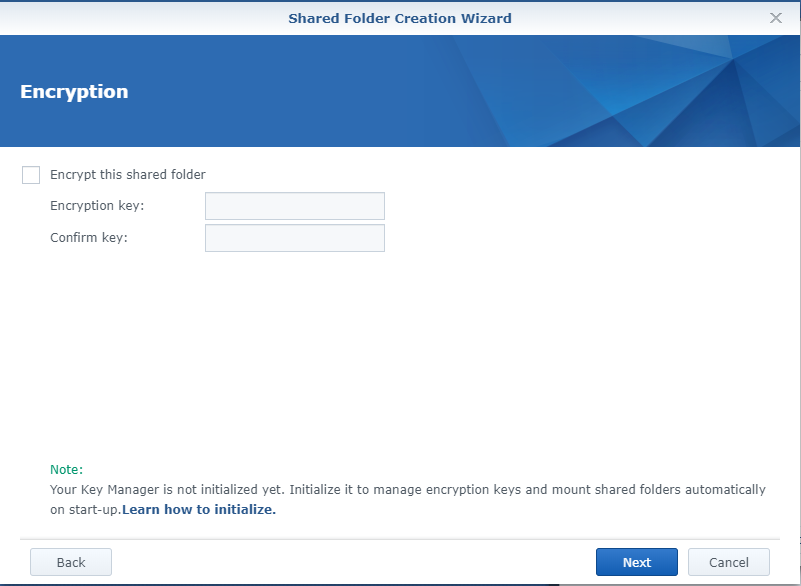
Verify nothing is selected and click Next, as shown in Figure 7.
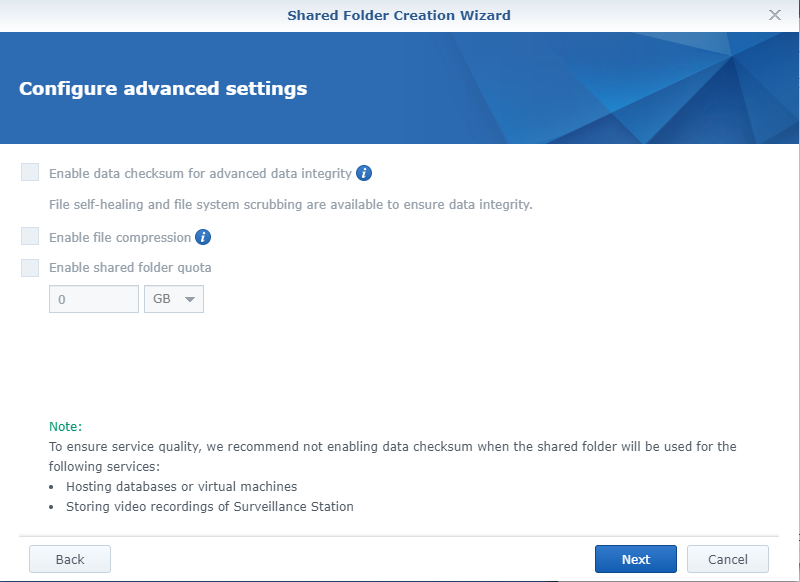
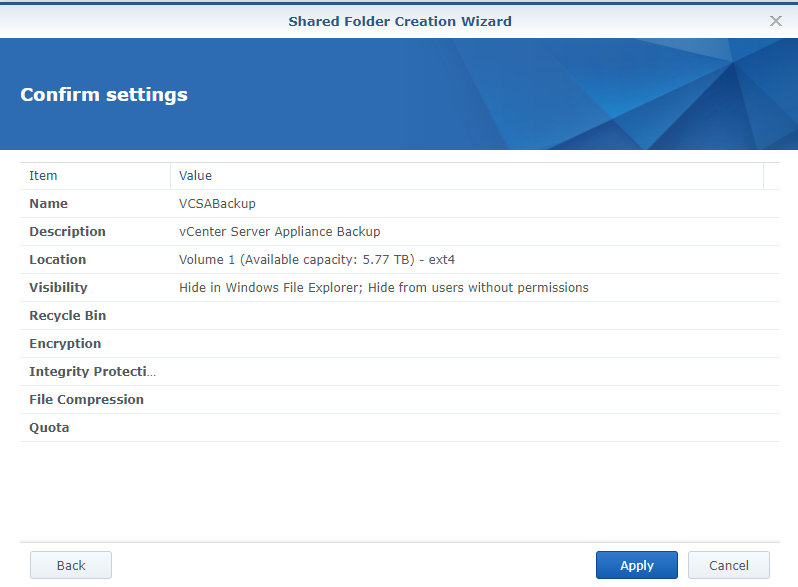
Verify all the information is correct, as seen in Figure 8. If it is, click Apply. If the information is not correct, click Back, correct the information, and then continue.
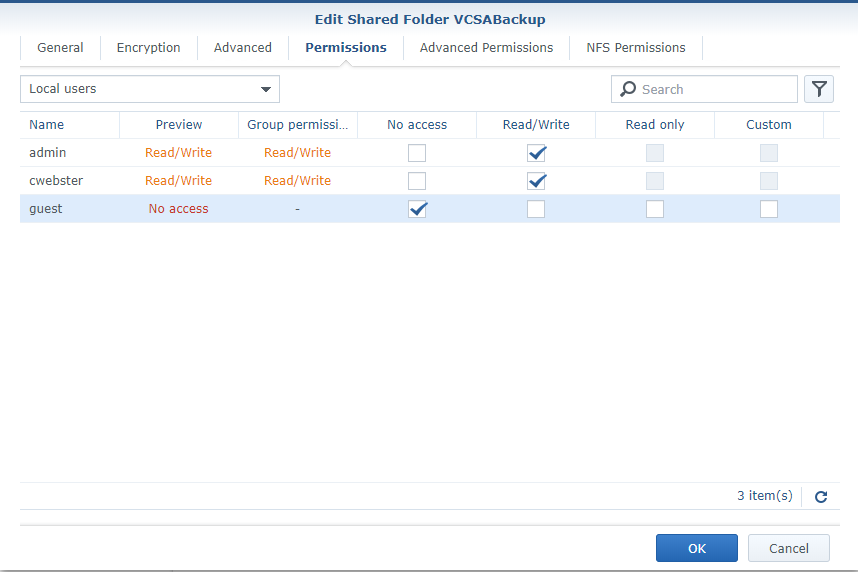
On the Permissions tab, select Read/Write for the admin accounts and No Access for the guest account, as shown in Figure 9. Do not click OK yet.
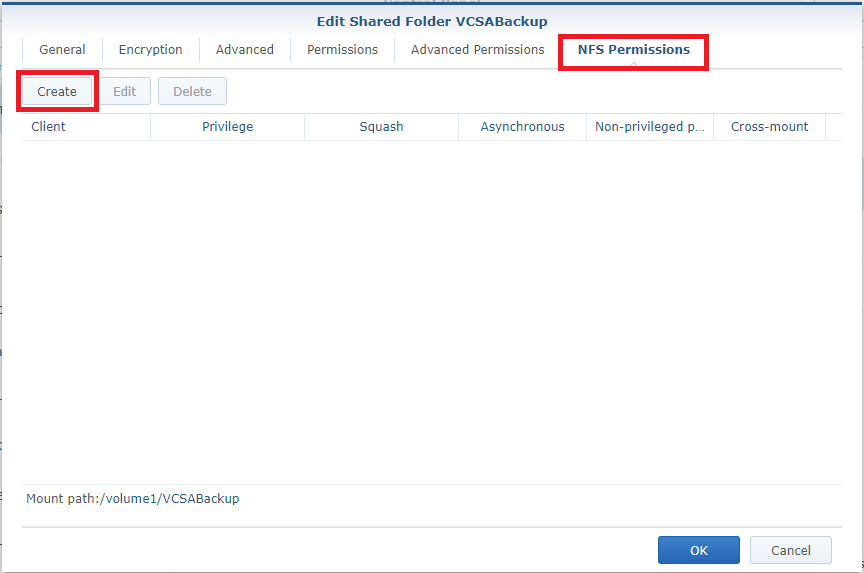
Click the NFS Permissions tab and then click Create, as shown in Figure 10.
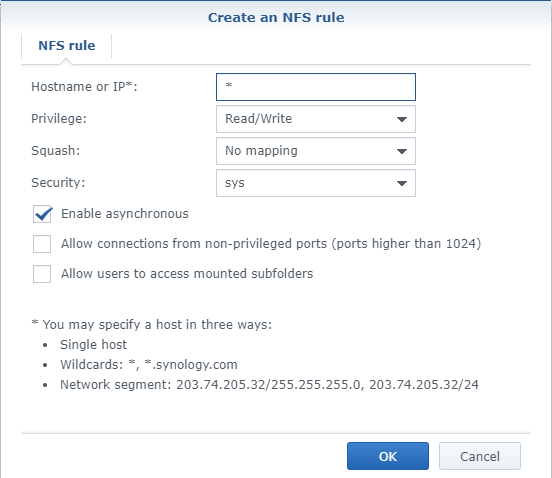
Enter the Hostname or IP address of the ESXi host and click OK, as shown in Figure 11. Because I have six ESXi hosts and later add them to VMware vCenter, I entered an * for the IP address to allow all IP addresses in Webster’s Lab access.
Note: Synology Diskstation Manager grants NFS permissions on a per-host basis instead of a per-user basis because virtualization hosts access the NFS shares, not users.
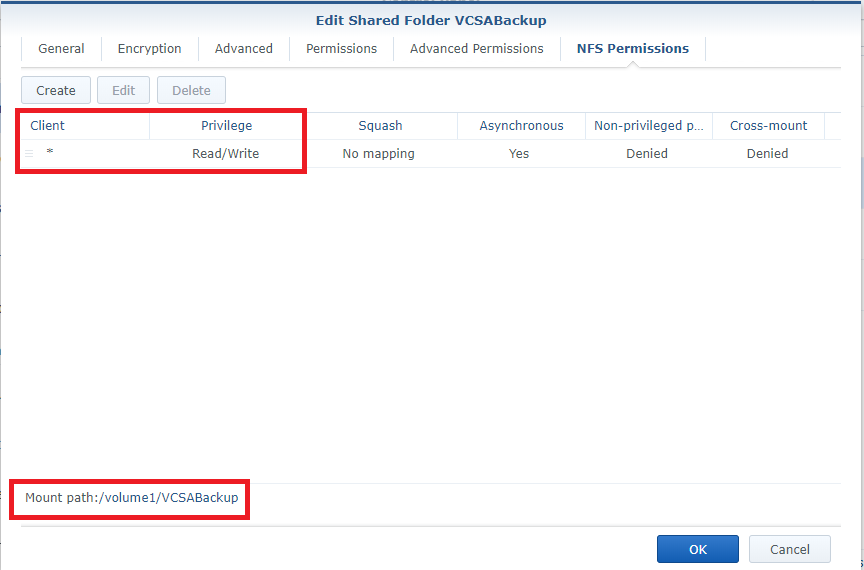
Note: Save the Mount path information shown in Figure 12. It would help if you had it when setting up the VCSA backup. If you need the Mount path information later, click the Edit tab displayed in Figure 13 and go to the NFS Permissions tab as shown previously in Figure 10.
Now, to configure the VCSA backup.
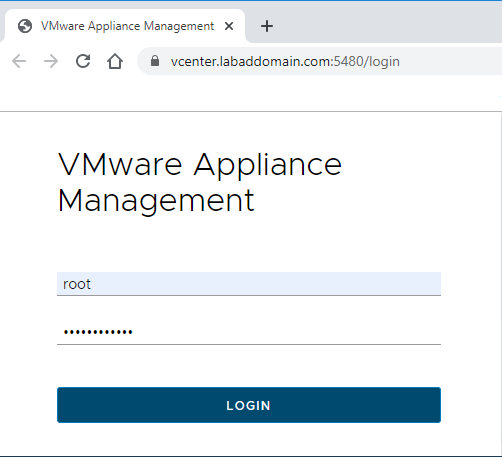
In your web browser, go to the VCSA management interface, https://VCSA-ip-address-or-fqdn:5480, as shown in Figure 14.

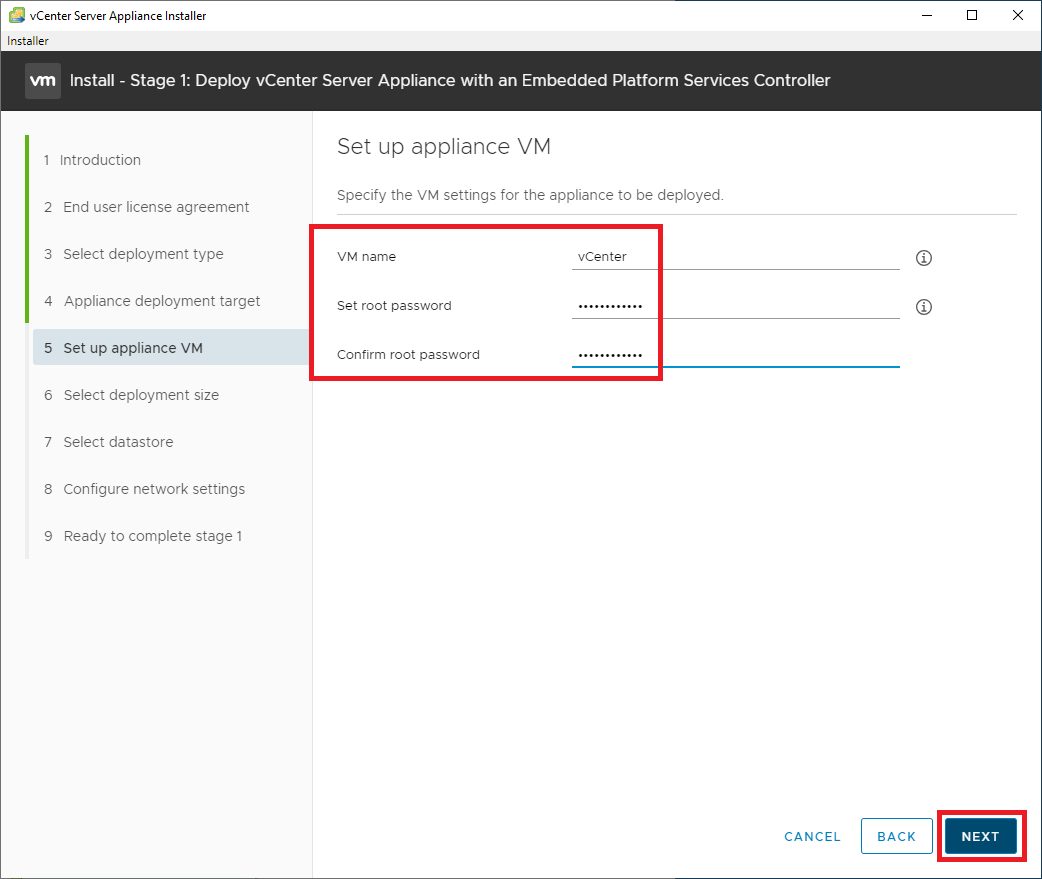
Login as root using the password created during the install of the VCSA, as shown in Figures 15 and 16.
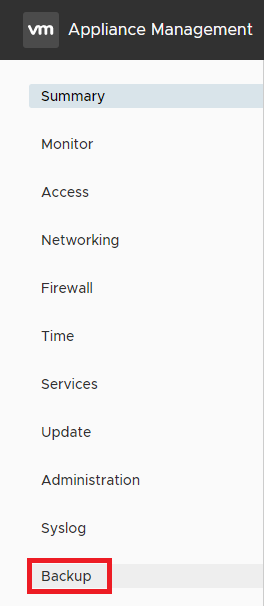
Click Backup, as shown in Figure 17.
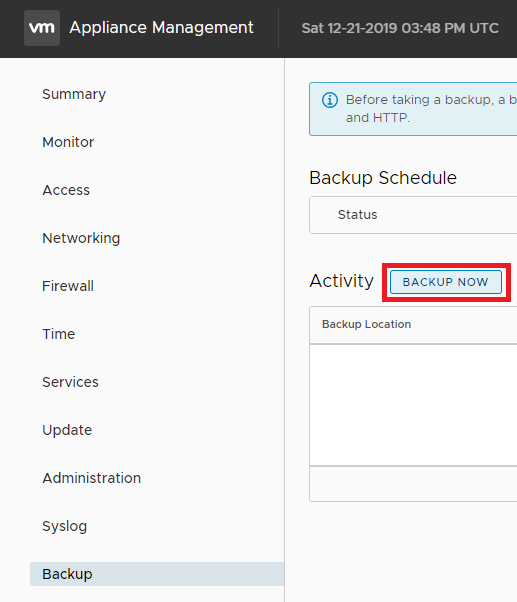
Click BACKUP NOW, as shown in Figure 18.
Enter the following information:
- The Backup location (From the NFS share created earlier)
- The credentials to access the Backup location
- Optional, credentials to encrypt the backup
- Optional, enter a description
- Click Start to start the backup process, as shown in Figure 19
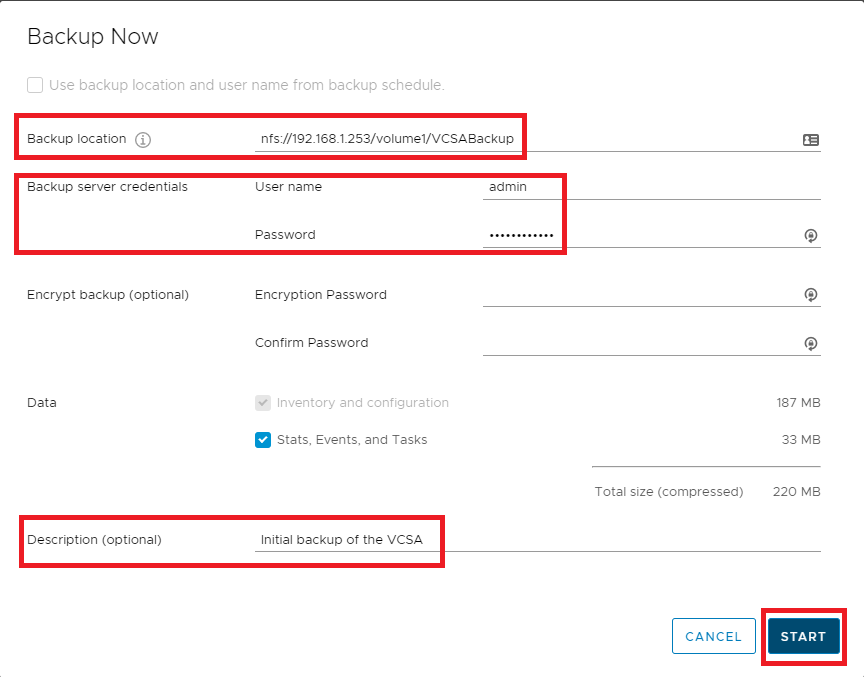
Figure 20 shows the completed backup.

If you would like, you can also set up a backup Schedule.
Click Configure, as shown in Figure 21.

Enter the following information:
- The Backup location (From the NFS share created earlier)
- The credentials to access the Backup location
- The backup Schedule
- Optional, credentials to encrypt the backup
- The Number of backups to retain
- Click Create to create the backup schedule, as shown in Figure 22
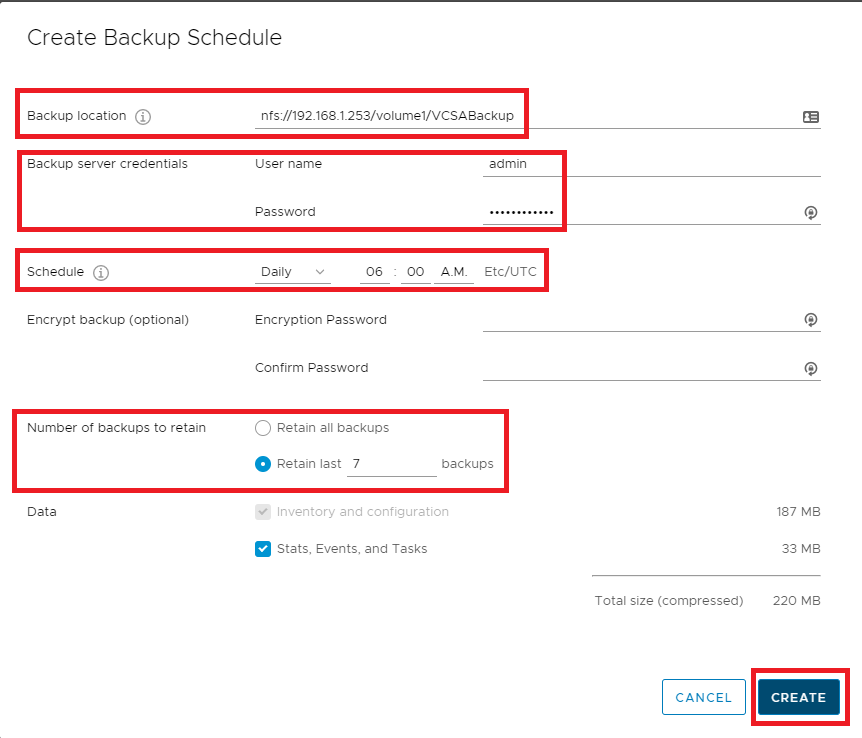
Figure 23 shows the created scheduled backup job.

Figure 24 shows the backup activity after the scheduled backups run.

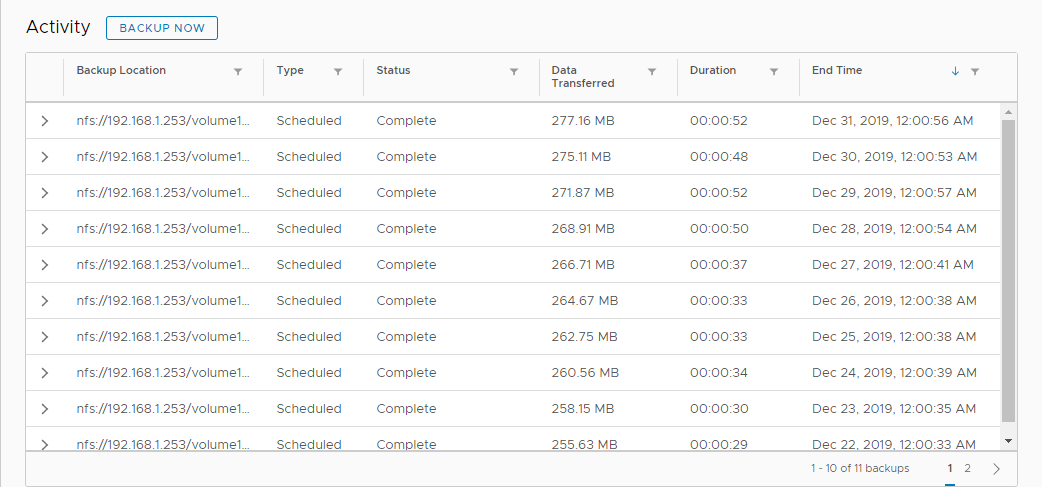
After running scheduled backups for ten days, Figure 25 shows the backup activity.
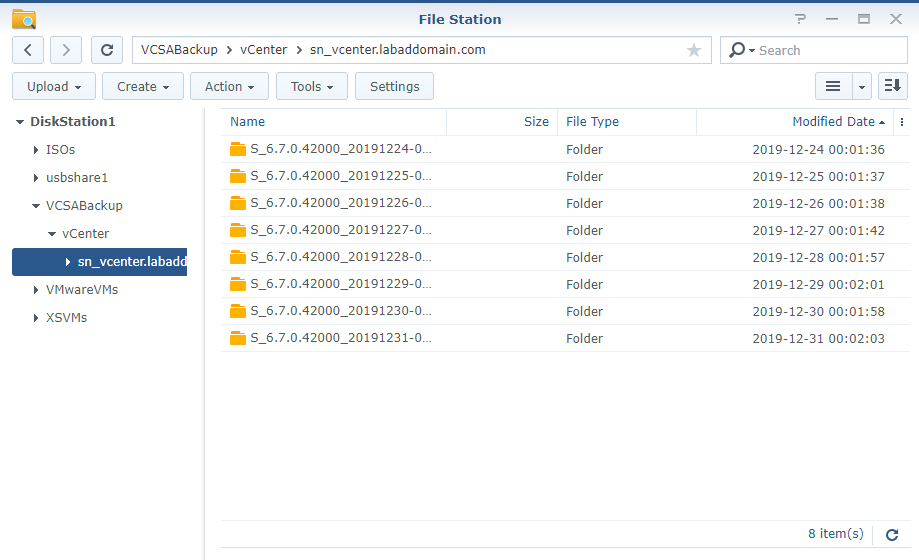
On the NAS, the NFS storage shows there are eight scheduled backup files. One for today and seven retained backups. To me, this means with a Number of backups to retain value of 7, the actual number of backup files stored is the retention value plus one. In my case, eight. Figure 26 shows the eight retained backups on the NAS VCSABackup share created earlier in this article.
The scheduled backups created on 2019-12-23 and 2019-12-22 were removed by the Backup Schedule.
Figure 25 shows a total of 11 backups. The 11th backup is the original manual backup created earlier as shown in Figures 19 and 20. That backup was apparently removed by the Backup Schedule retention cleanup process as the file from 2019-12-21 no longer exists. Is that a bug? I would have thought a manual backup would have a special flag and the retention policy cleanup process would leave manual backups alone.

Just wandered into this article today while researching NFS as a potential VCSA backup option. Very helpful tutorial and a great way to setup an NFS share easily and have a good avenue to backup the VCSA! Thanks!!