-
Learning the Basics of VMware Horizon 7.12 – Part 15 – DEM Helpdesk Support Tool
[Updated 4-Sep-2021]
With the DEM Management Console installed and configured, you tested accessing the various published applications for multiple users. In this Part, we learn how to use the DEM Helpdesk Support Tool.
Configure the DEM Helpdesk Tool
From the DEM Management Console, click the Star in the upper left corner, and click Configure Helpdesk Support Tool, as shown in Figure 1.
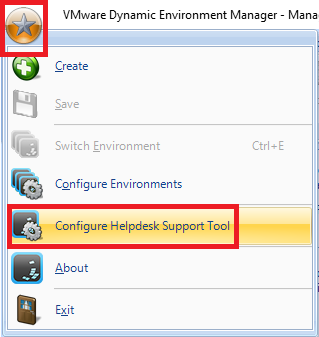
Figure 1 Click Add, as shown in Figure 2.
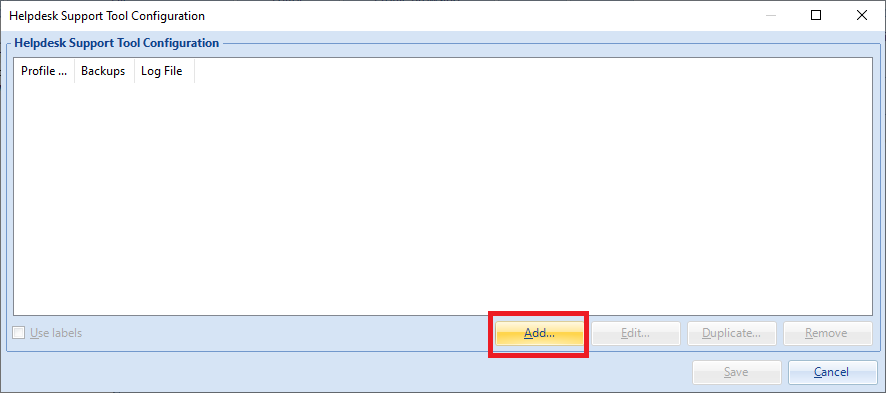
Figure 2 For the Profile archive path, enter \<fileserver>\<DEM Profile Share>[UserFolder]\Archives. i.e., \LabFS\DEMProfiles[UserFolder]\Archives
Select Profile archive backup path and Log file path. Both are automatically populated with information from the Profile archive path.
Click OK, as shown in Figure 3.
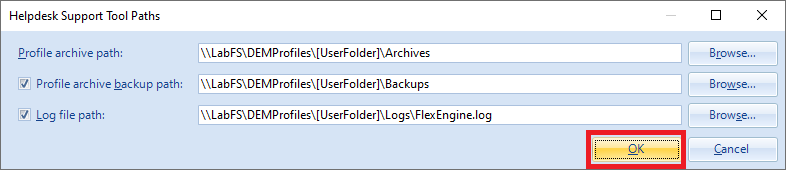
Figure 3 Click Save, as shown in Figure 4.
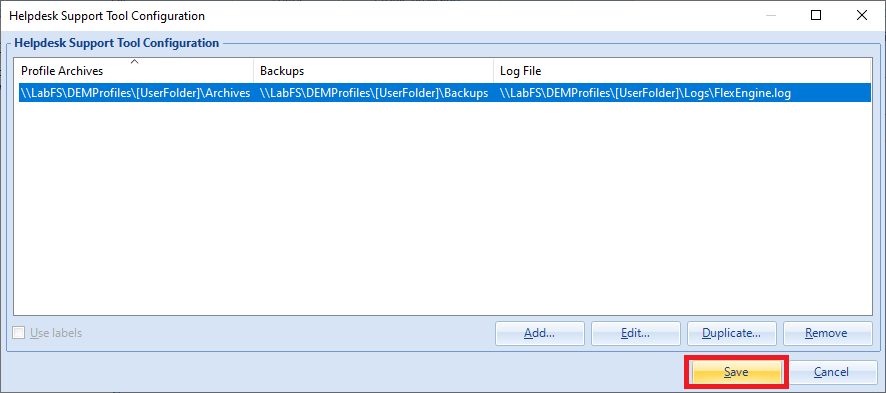
Figure 4 The Immidio Flex+ Helpdesk Support Tool.xml configuration file is created in the DEM configuration share, as shown in Figure 5.
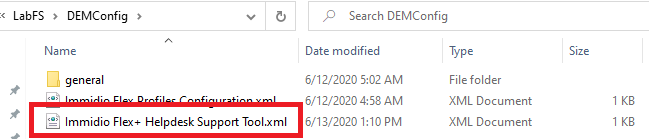
Figure 5 Create a DEM Helpdesk Group Policy
The Group Policy we are creating contains user settings. In the GPMC, create a GPO at the location where your Horizon USER accounts are located, as shown in Figure 6.
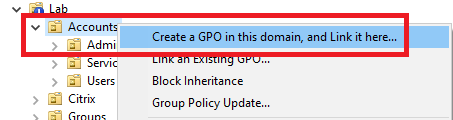
Figure 6 Name the Policy, as shown in Figure 7.
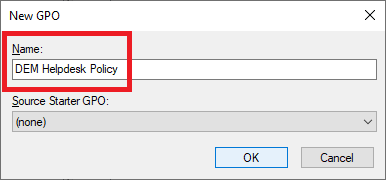
Figure 7 In the new GPO, configure the following settings, as shown in Figure 8.
User Configuration:
- Policies/Administrative Templates/VMware DEM/Helpdesk Support Tool
- Allow editing profile archives: Enabled
- NOTE: Read the warning about this setting
- Allow showing profile archives in Windows Explorer: Enable
- Allow overriding the FlexEngine log level: Enable
- Allow resetting multiple profile archives at the same time: Enable
- DEM configuration share: Enabled, replace <YOUR CONFIGURATION SHARE> with the DEM Config share. i.e., \\LabFS\DEMConfig
- Allow editing profile archives: Enabled
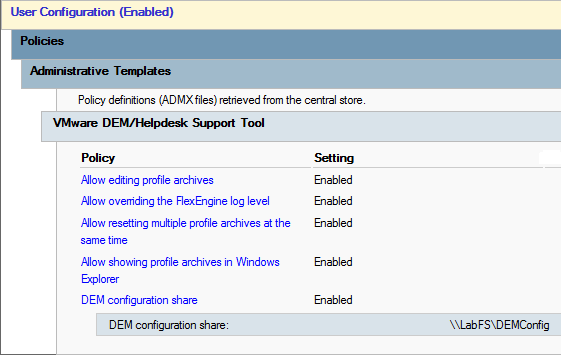
Figure 8 Remove Authenticated Users from the Security Filtering and add the VMwHelpdesk security group, as shown in Figure 9.
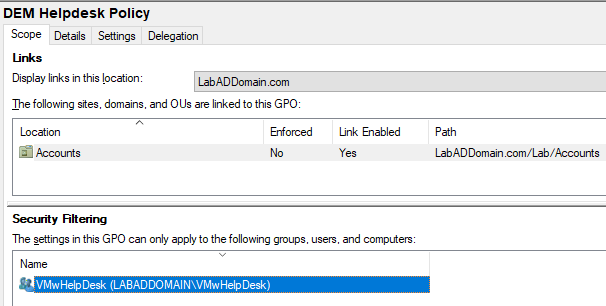
Figure 9 On the Delegation tab, add Domain Computers with Read Permissions, as shown in Figures 10 and 11.
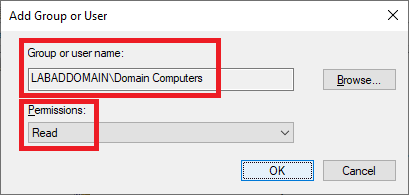
Figure 10 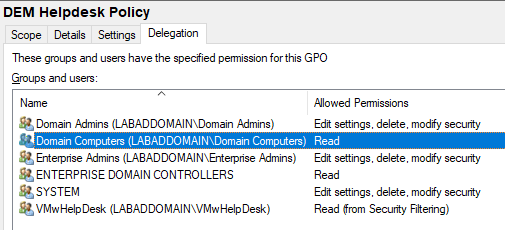
Figure 11 Install the DEM Helpdesk Tool
Do the installation on a computer in an OU linked to the VMware Helpdesk Group Policy. This installs on the computer for every member of the VMware Helpdesk security group or a central management computer in production. I am installing this on my Horizon 7 management computer.
In the DEM files downloaded, there is an Optional Components folder. Right-click the DEM Helpdesk Support Tool installer in that folder and click Install, as shown in Figure 12.

Figure 12 Click Next, as shown in Figure 13.
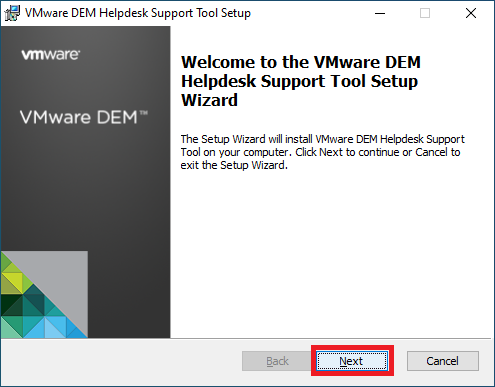
Figure 13 Select I accept the terms in the License Agreement and click Next, as shown in Figure 14.
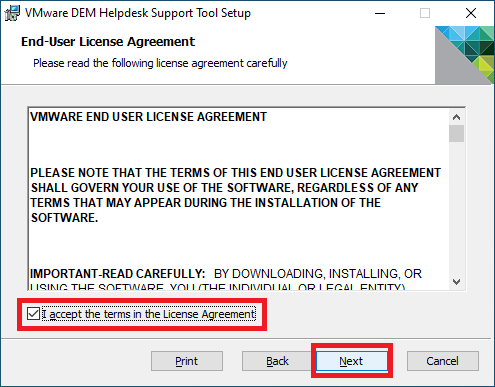
Figure 14 Click Next, as shown in Figure 15.

Figure 15 Click Install, as shown in Figure 16.

Figure 16 If UAC is enabled, click Yes.
Click Finish, as shown in Figure 17.
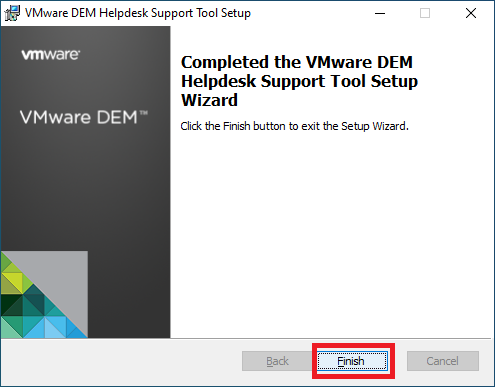
Figure 17 Using the DEM Helpdesk Tool
Log in as your test users to the various endpoints and launch various published resources.
On a computer in the OU where the DEM Helpdesk Group Policy is linked, login as a member of the VMwHelpDesk security group and launch the Helpdesk Support Tool, as shown in Figures 18, 19, and 21.
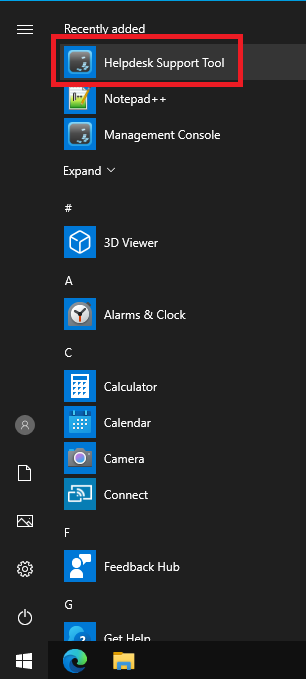
Figure 18 Or from:
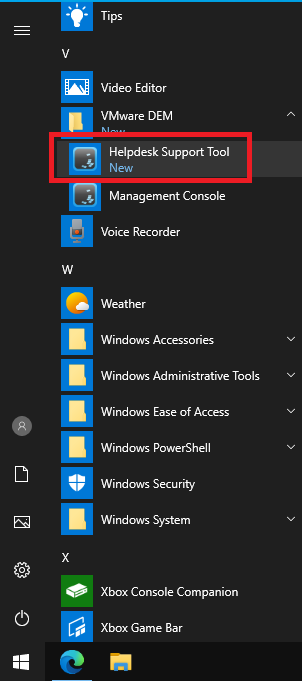
Figure 19 Note: If you receive the error shown in Figure 20, you probably have the DEM Helpdesk GPO linked to the wrong OU in the GPMC. Not that I know anything about that. I heard about it from a friend.
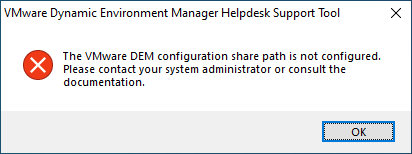
Figure 20 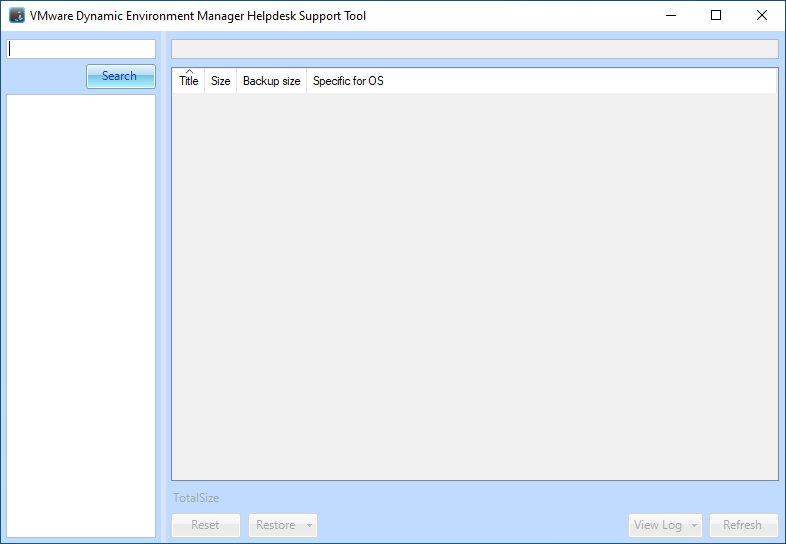
Figure 21 Click Search to get a list of all users, as shown in Figure 22.
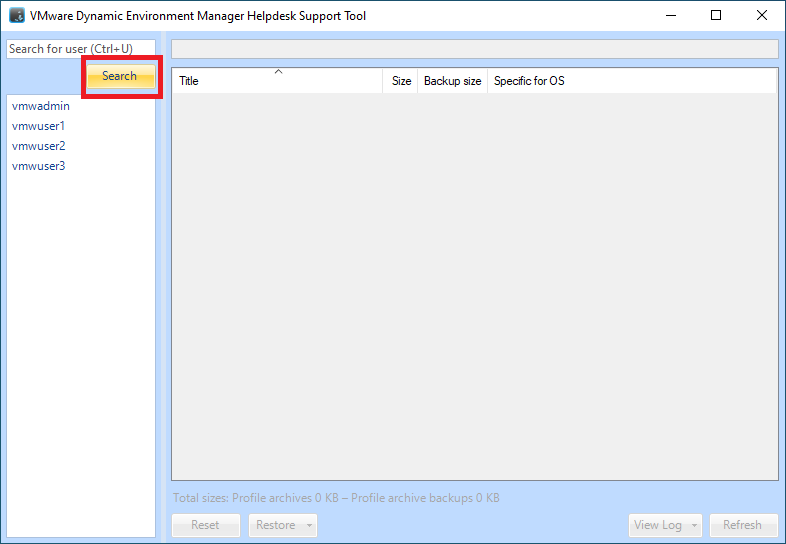
Figure 22 Click on a user, as shown in Figure 23.
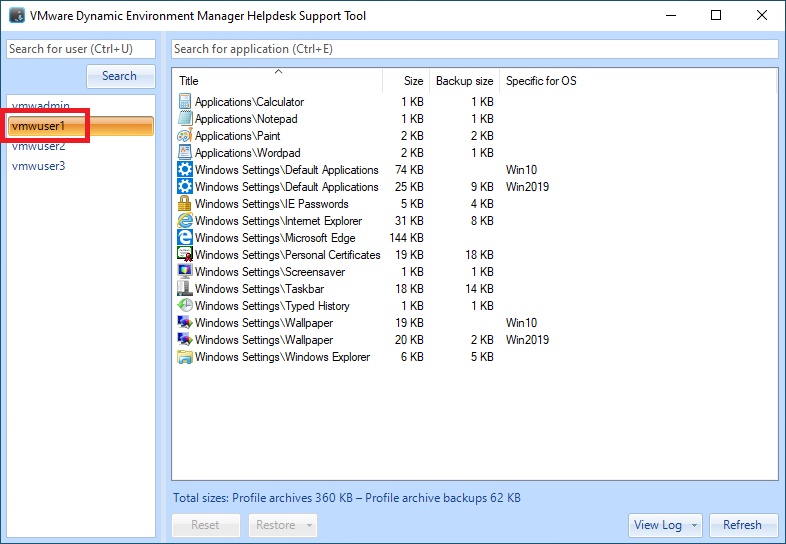
Figure 23 Select an item in the right frame to either Reset or Restore. Figure 24 shows Reset, and Figure 25 shows Restore.
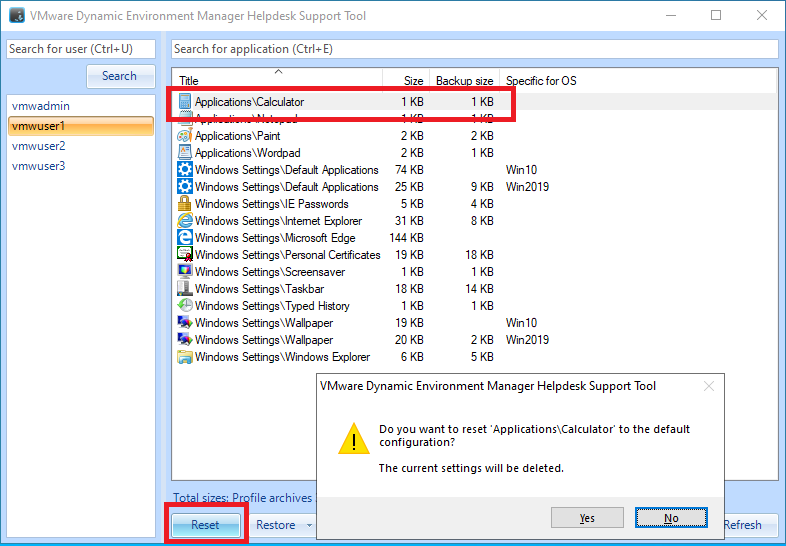
Figure 24 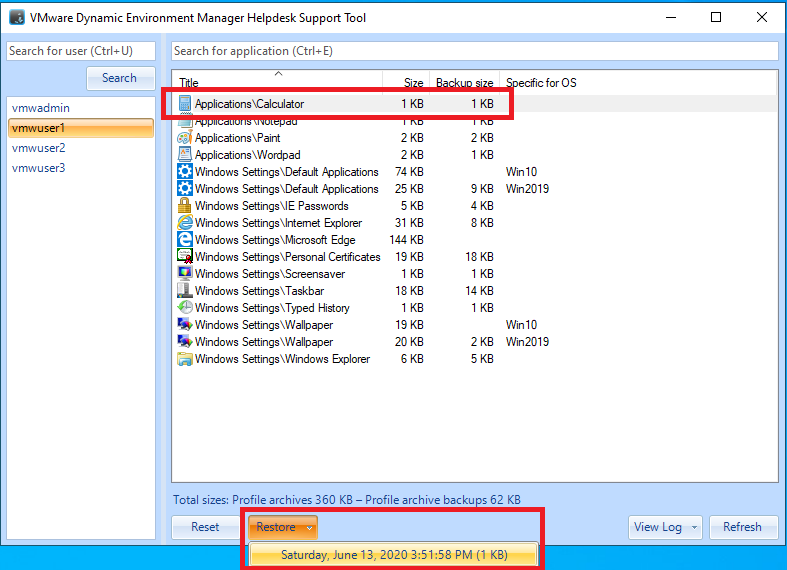
Figure 25 You can also view the various log files available for the selected user, as shown in Figure 26.
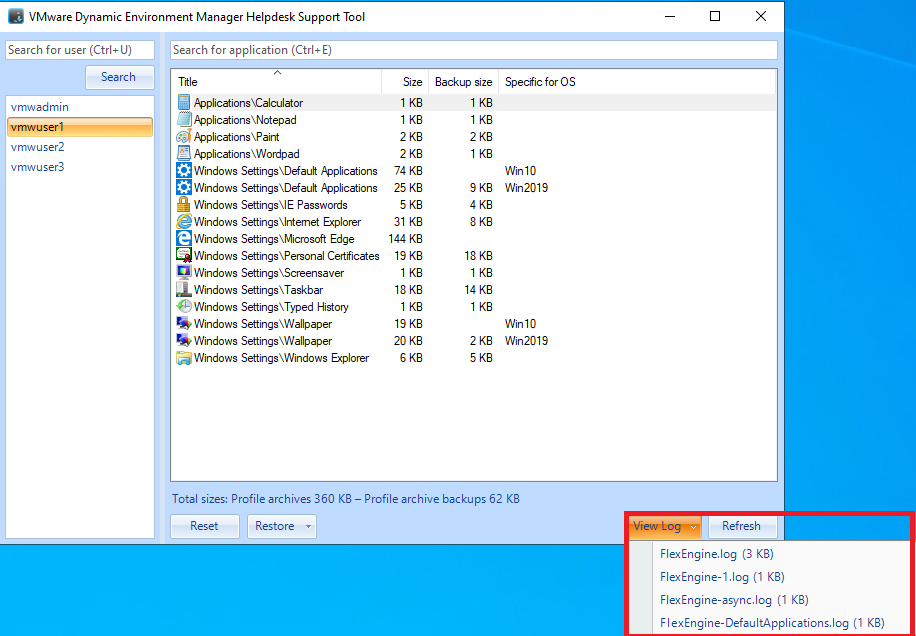
Figure 26 You can exit the Helpdesk Support Tool.
Using the Horizon Help Desk Tool
VMware Horizon has a Help Desk tool, a web application to get the status of user sessions and perform troubleshooting and maintenance operations.
On the Connection Server, from the Horizon Console, expand Settings and click Administrators in the left frame, as shown in Figure 27.
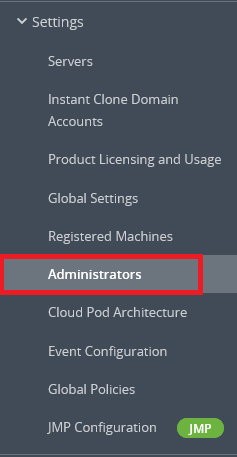
Figure 27 Click Add User or Group, as shown in Figure 28.
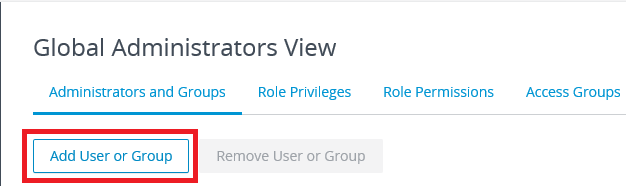
Figure 28 Click Add, as shown in Figure 29.
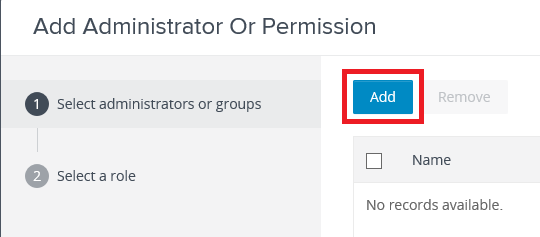
Figure 29 Search for the VMwHelpDesk security group, select the group, and click OK, as shown in Figure 30.
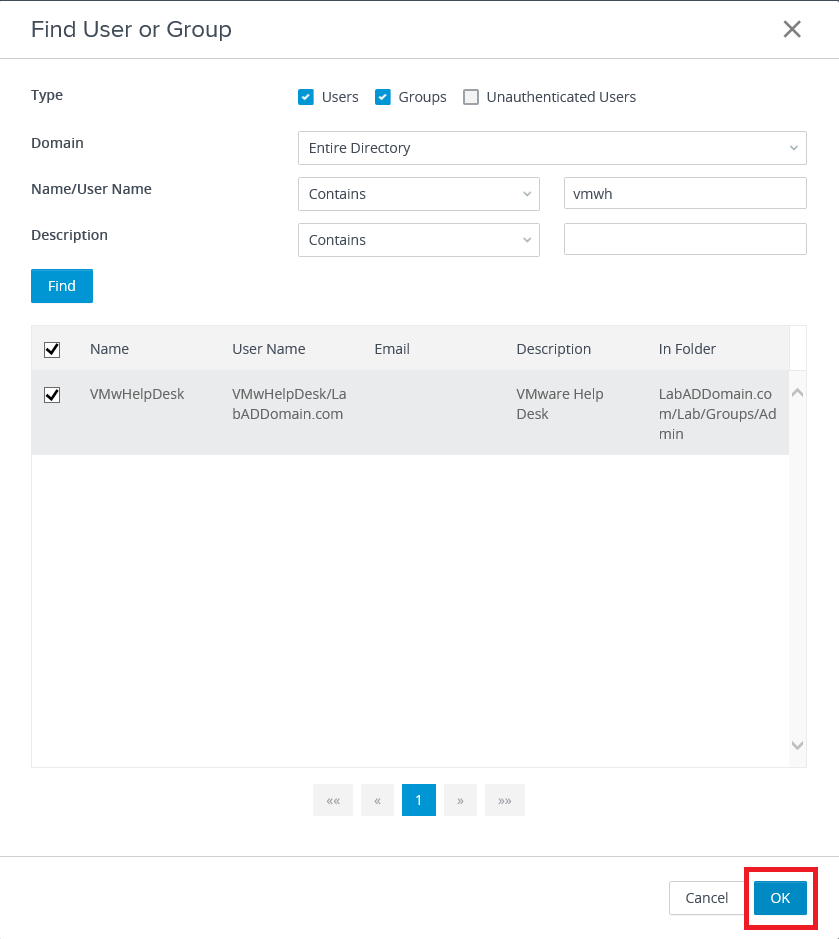
Figure 30 Select the VMwHelpDesk group and click Next, as shown in Figure 31.
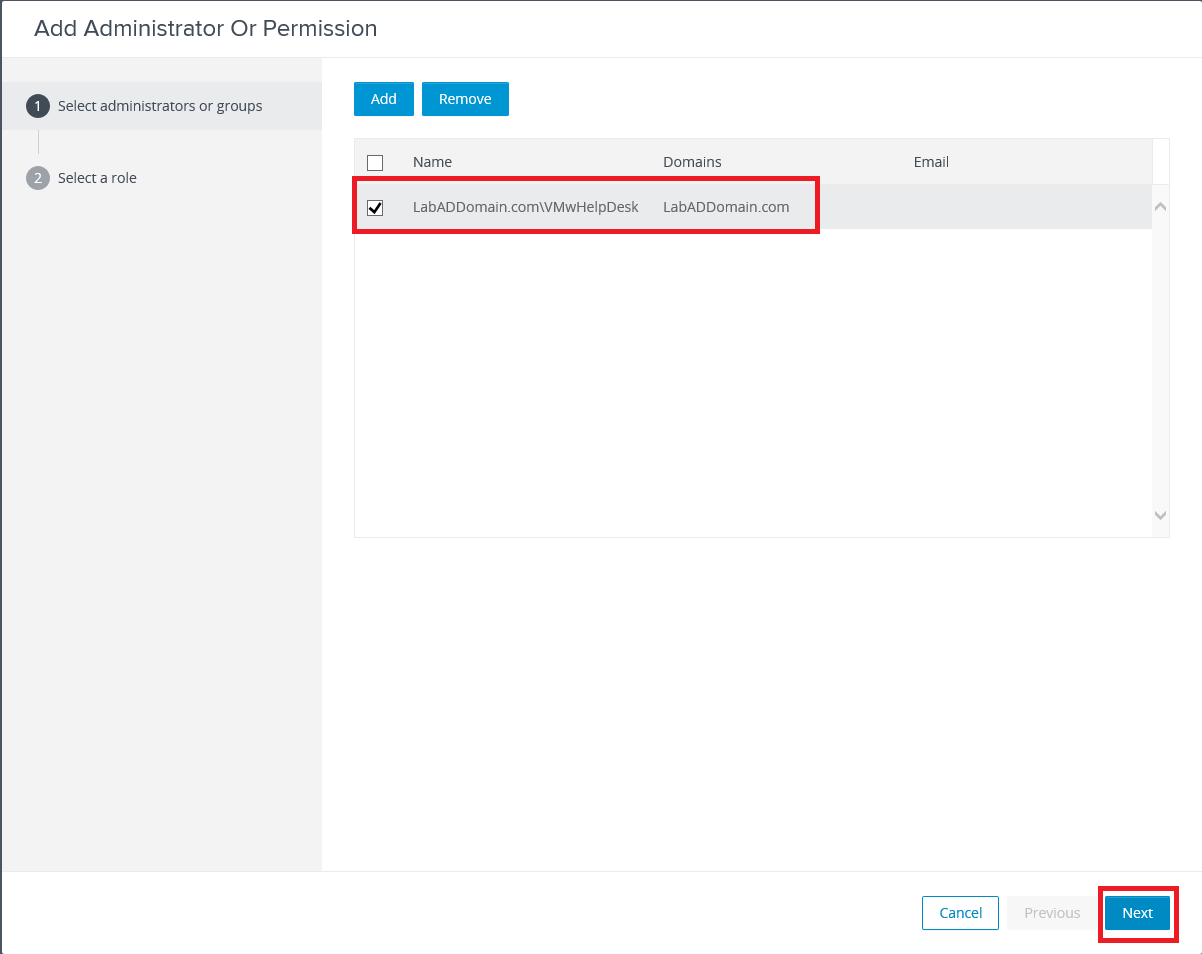
Figure 31 Click Help Desk Administrator and click Finish, as shown in Figure 32.
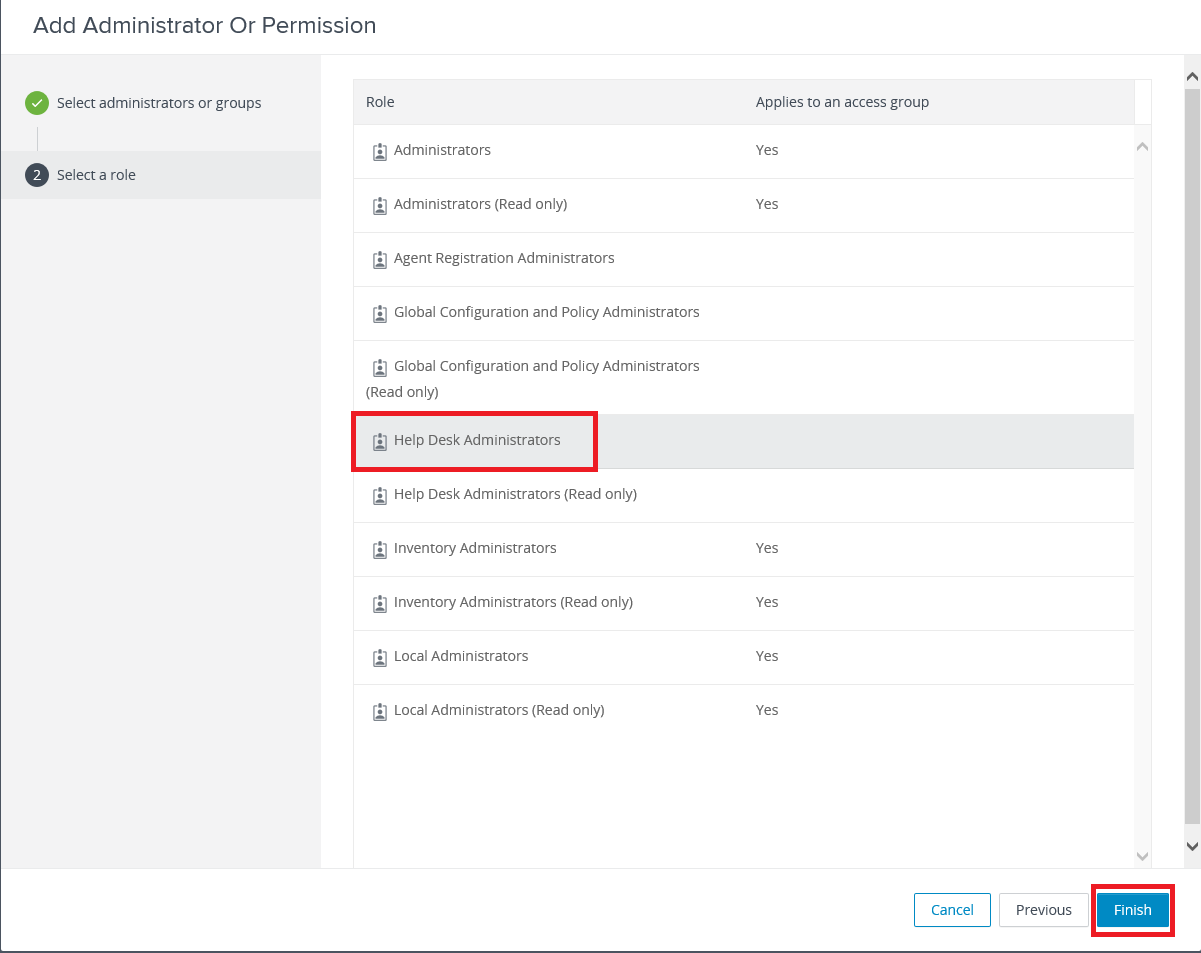
Figure 32 The VMwHelpDesk group is added as a Horizon Help Desk Administrator, as shown in Figure 33.
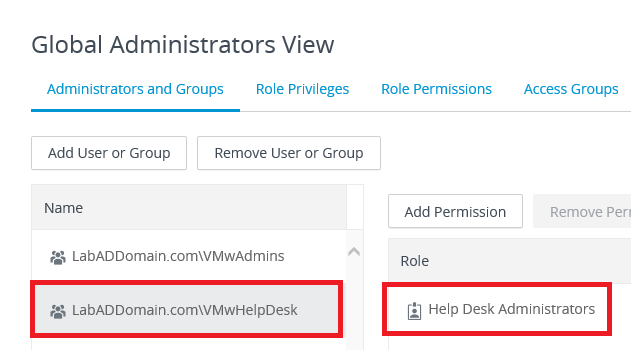
Figure 33 From an elevated command prompt, change to the c:\Program Files\VMware\VMware View\Server\tools\bin folder. As shown in Figure 34, run the following command:
vdmadmin -I -timingProfiler -enable
This command enables the timing profiler to allow the viewing of logon segments.
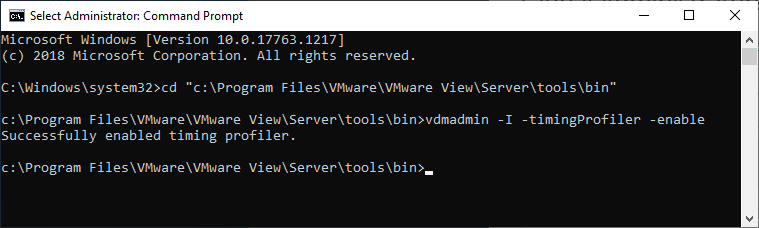
Figure 34 Log in the test users into the various published resources to see activity in the Horizon Help Desk Tool.
To launch the Horizon Help Desk Tool, from a domain-joined computer, use an internet browser and browse to https://connectionserver.fqdn/admin. i.e., https://h7connection.labaddomain.com/admin, as shown in Figure 35.
Note: This is admin, NOT Admin. Using Admin will get you a 404 Error Page Not Found. My friend told me that.
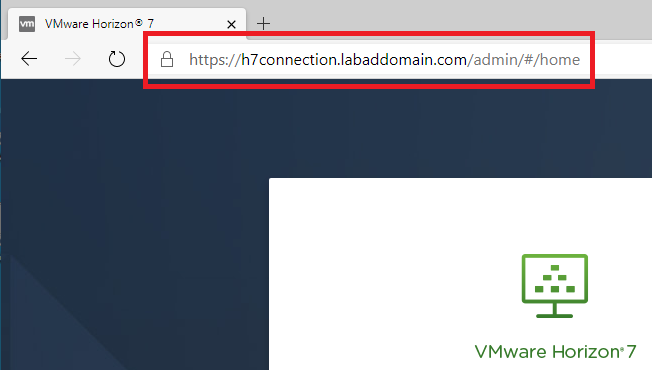
Figure 35 Click LAUNCH under Horizon Console (HTML5), as shown in Figure 36. You can also select Always use this option since the Flex client is deprecated.
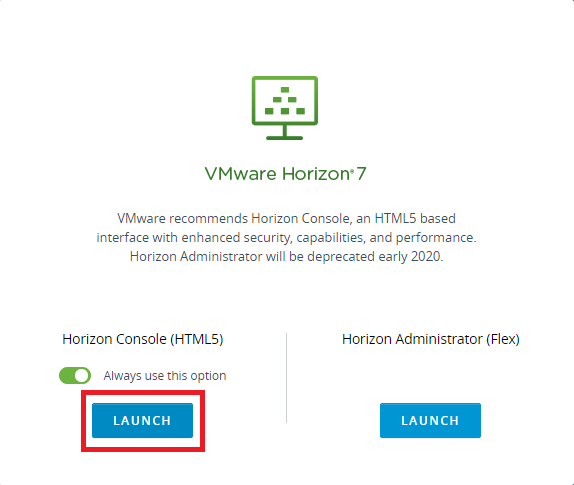
Figure 36 Sign in as a member of the VMwHelpDesktop group, as shown in Figure 37.
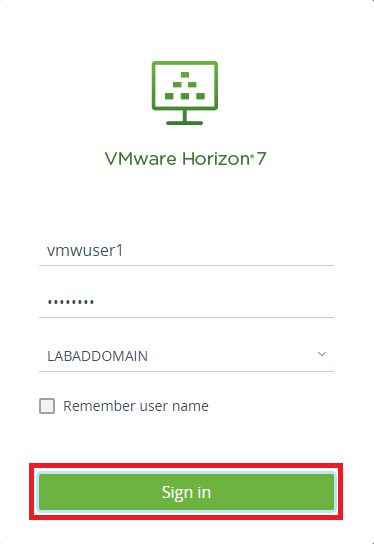
Figure 37 Enter a user’s name in the search bar and press Enter, as shown in Figure 38.

Figure 38 Click to select the user, as shown in Figure 39.

Figure 39 As shown in Figure 40, you can also enter a partial username. I had to enter a minimum of two characters.
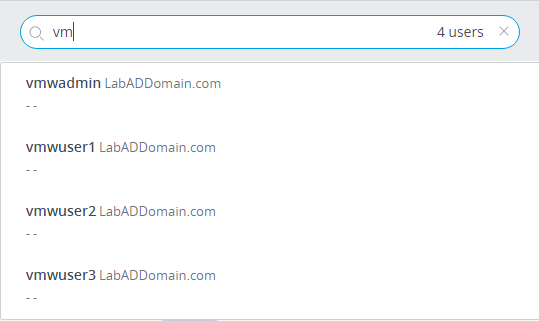
Figure 40 There are four options available; you can click on Sessions or Desktops or Applications or Activities, as shown in Figures 41 through 44.
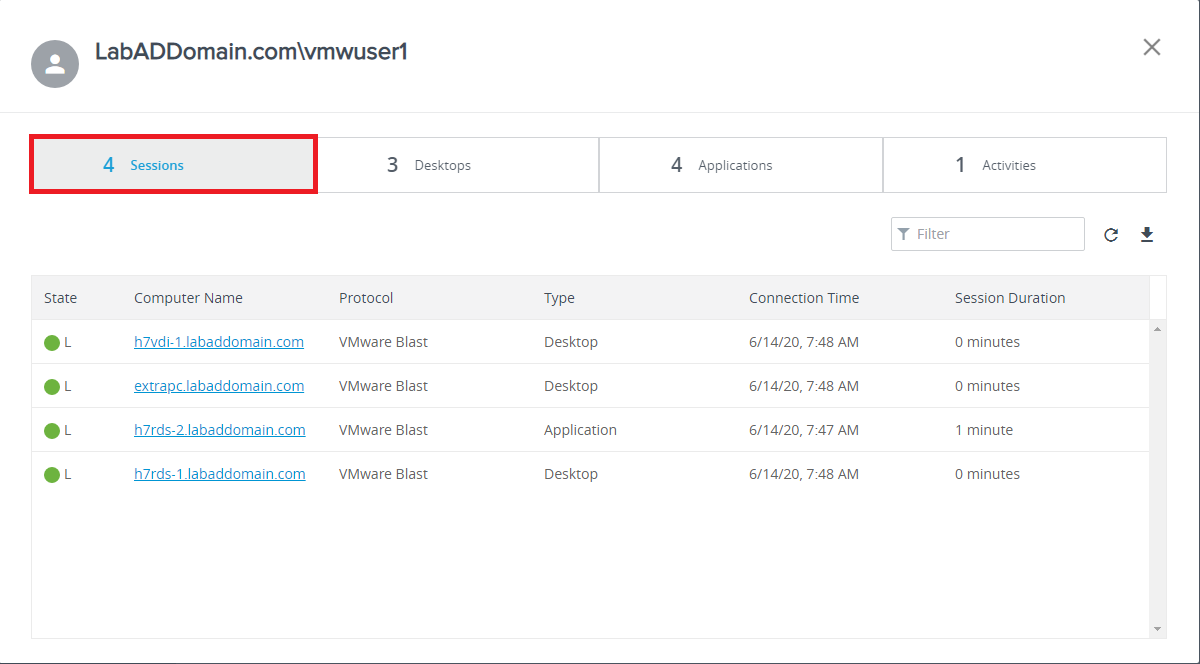
Figure 41 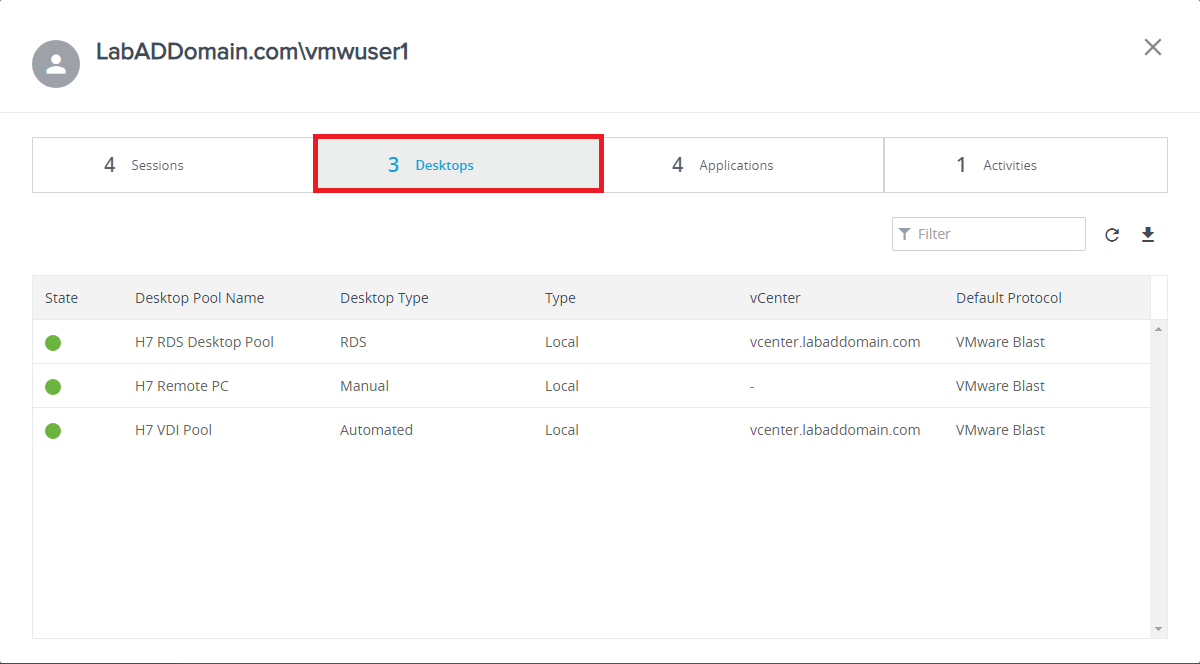
Figure 42 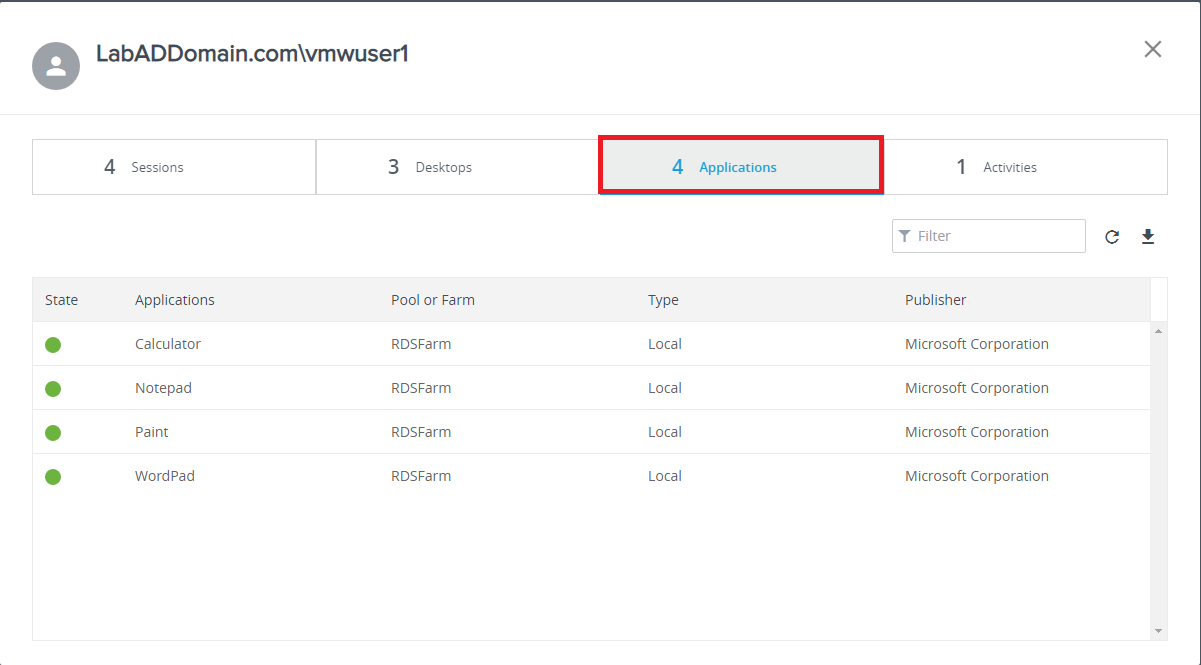
Figure 43 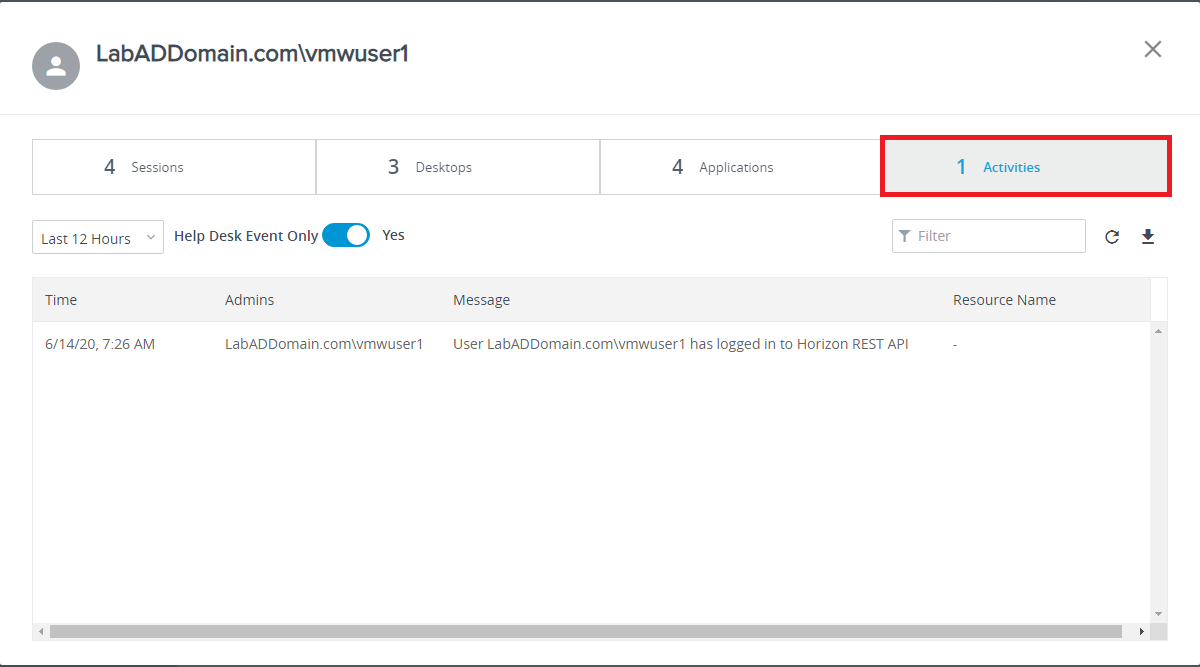
Figure 44 While in the Activities area, set Help Desk Event Only to No to see additional events, as shown in Figure 45.
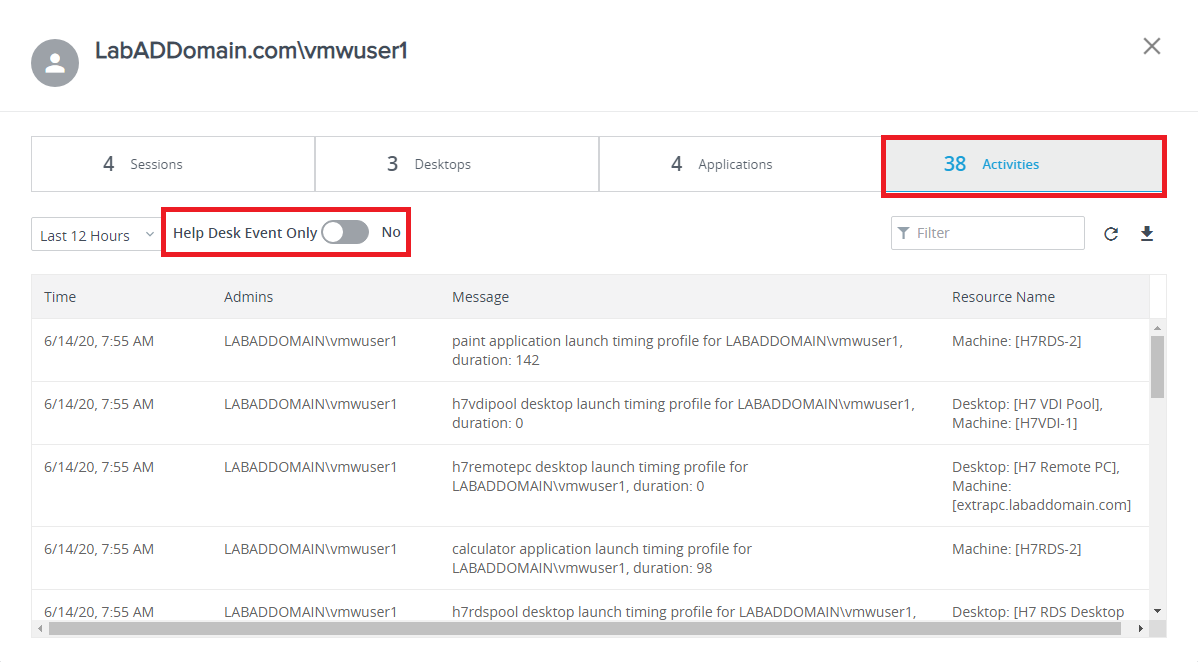
Figure 45 Figure 46 shows that you can select additional time intervals to see events in those time ranges.
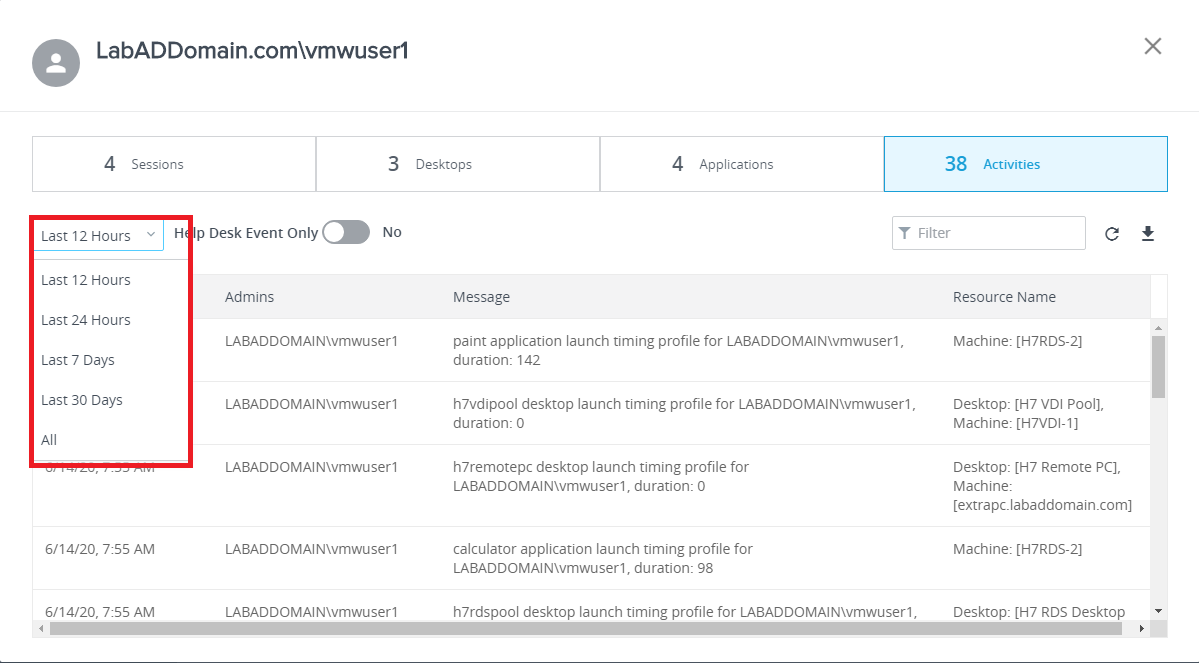
Figure 46 Back in Sessions, select a Session to see details, as shown in Figure 47
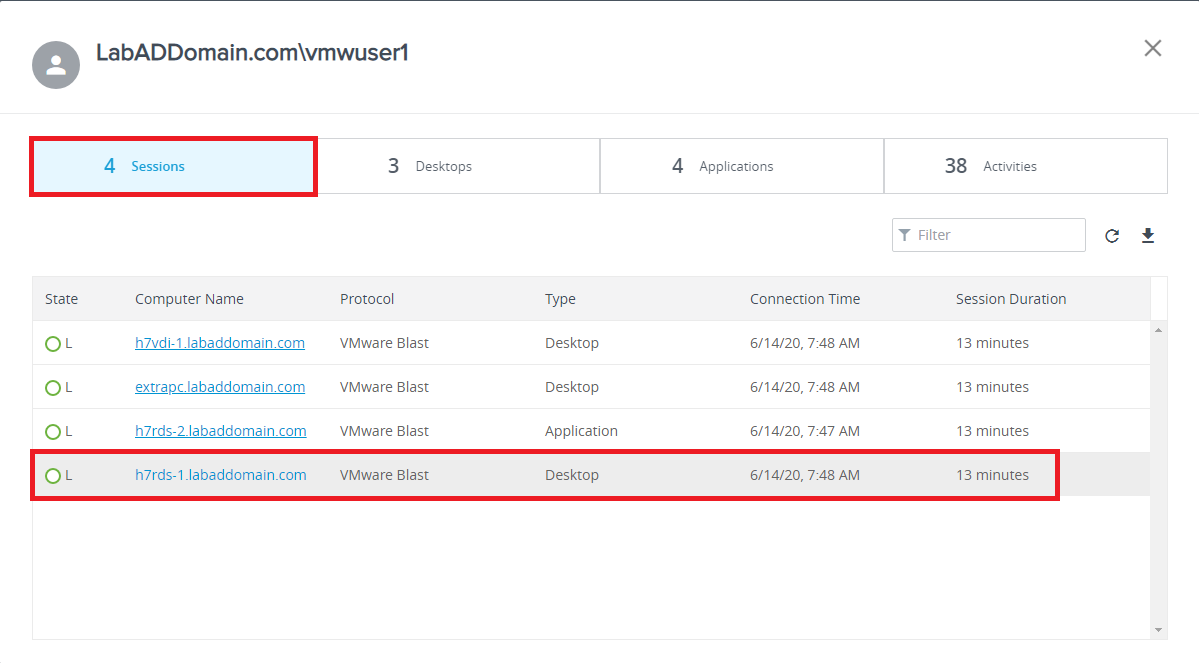
Figure 47 Figures 48 through 52 show the information for the selected session.
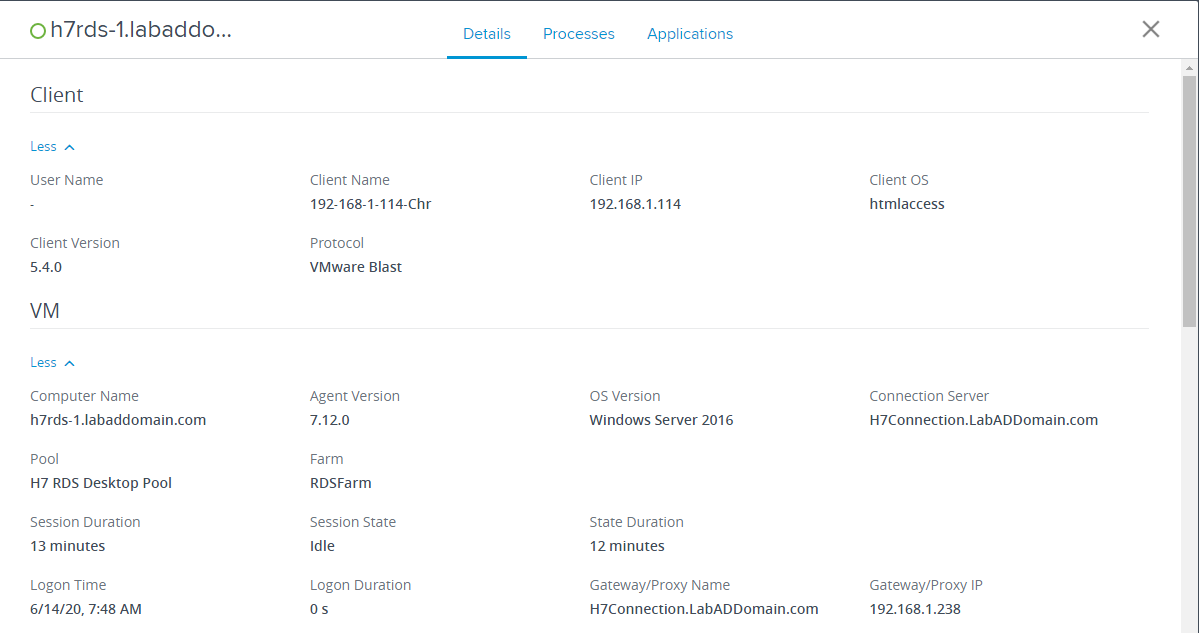
Figure 48 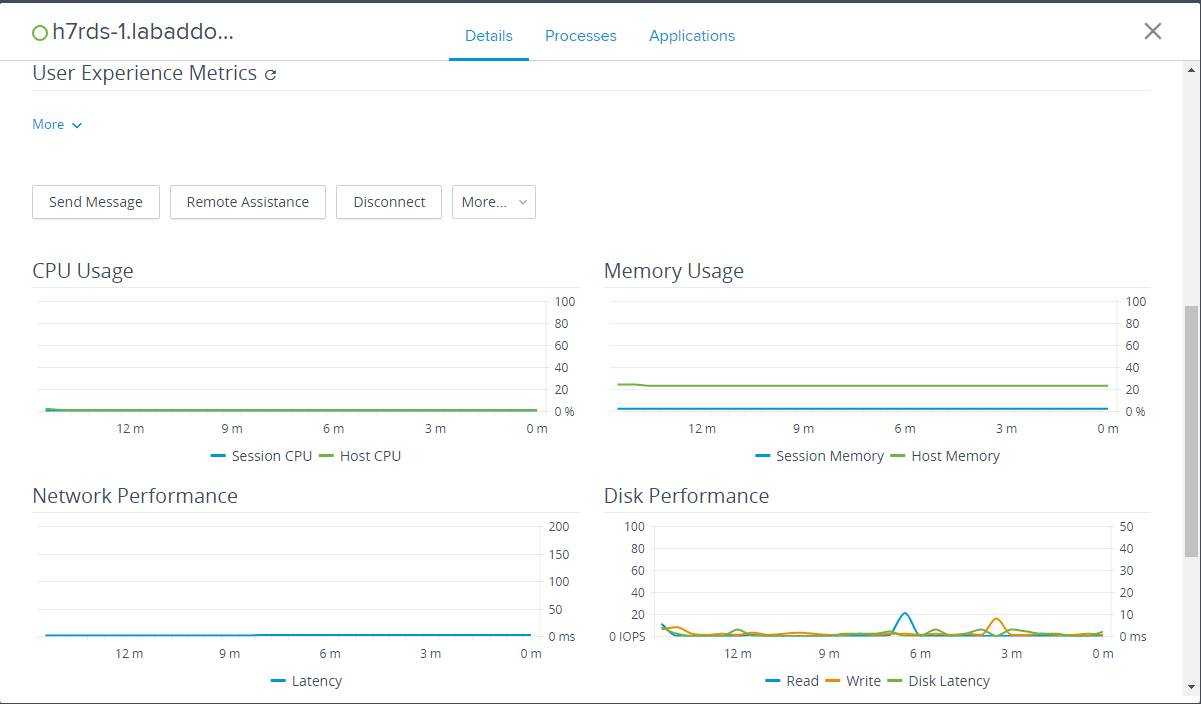
Figure 49 Note: In Figure 49, the More dropdown gives you a Logoff option. If Logoff is the only other option, why not have the button say Logoff instead of More? The button would be the same size.
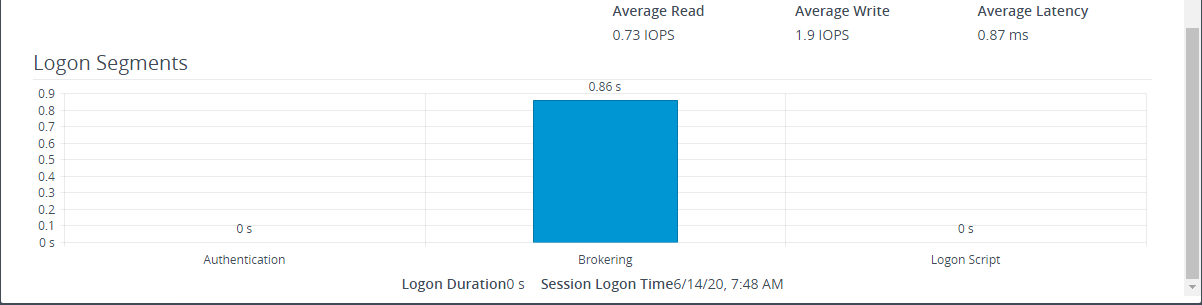
Figure 50 
Figure 51 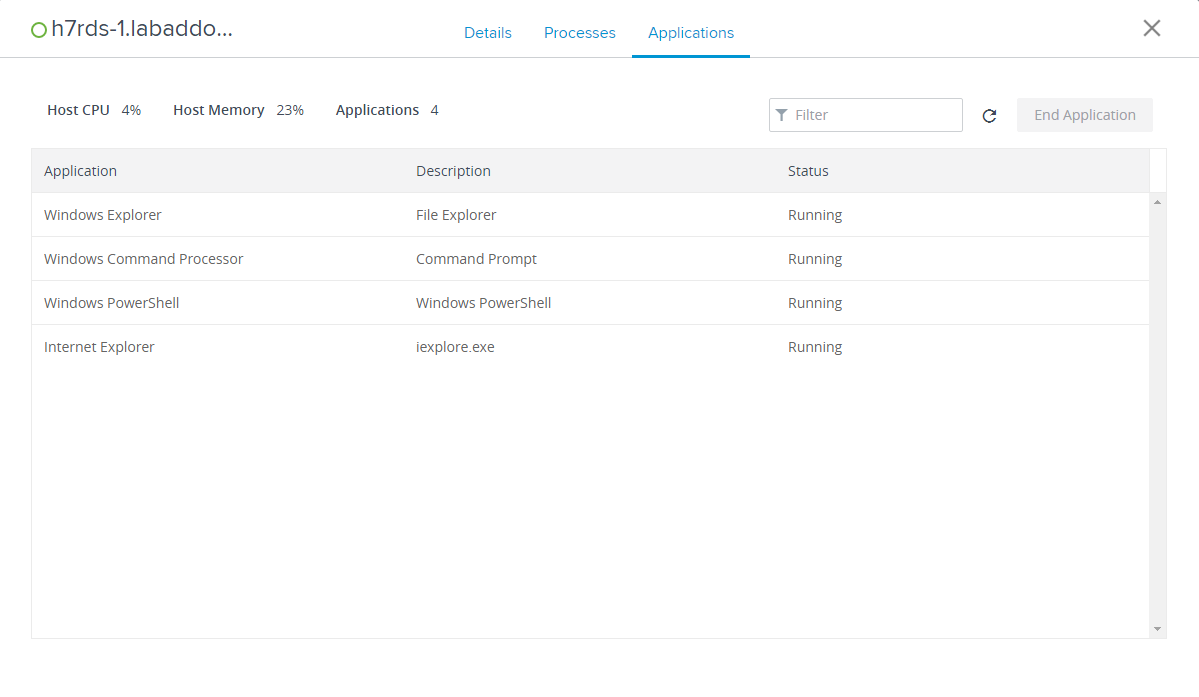
Figure 52 Up next: Tearing down the Horizon lab
Subscribe
Subscribe to our e-mail newsletter to receive updates.


- Policies/Administrative Templates/VMware DEM/Helpdesk Support Tool
June 19, 2020
Blog, VMware