[Updated 8-Nov-2021]
The next step is to create an additional management server VM from the Server 2019 template. We use the VM built in this article for an additional infrastructure server. My lab’s infrastructure VMs reside in my XenServer pool, as explained in the Introduction article. Building a server VM from the Server 2019 template was covered earlier.
From the introduction article, this is the VM we are building.
| Name | Description | IP Address |
| LabIGEL | IGEL UMS Server | 192.168.1.209 |
Follow the process covered earlier to build the server above, but do not power on the server. Before we power on the new server, we must verify that the hardware meets IGEL’s system requirements.
For us non-German speakers, Germans pronounce IGEL as Eagle.
Note: Thanks to IGEL Community members David Prows (IGEL Fellow), Markus Zehnle, and René Bigler (IGEL Community Member of the Year and IGEL VIP) for taking the time to review and provide feedback on this article.
Request Trial
IGEL provides the Next-Gen Edge OS for cloud workspaces, the most secure, high-performance, managed endpoint operating system for today’s digital workspaces on any device.
To receive a free trial of IGEL devices, use your internet browser and browse to https://igel.com/ and click on FREE TRIAL, as shown in Figure 1.
Note: This article assumes you requested a Universal Desktop – Pocket (UDP) device.

Click DOWNLOAD THE IGEL SOFTWARE, as shown in Figure 2.

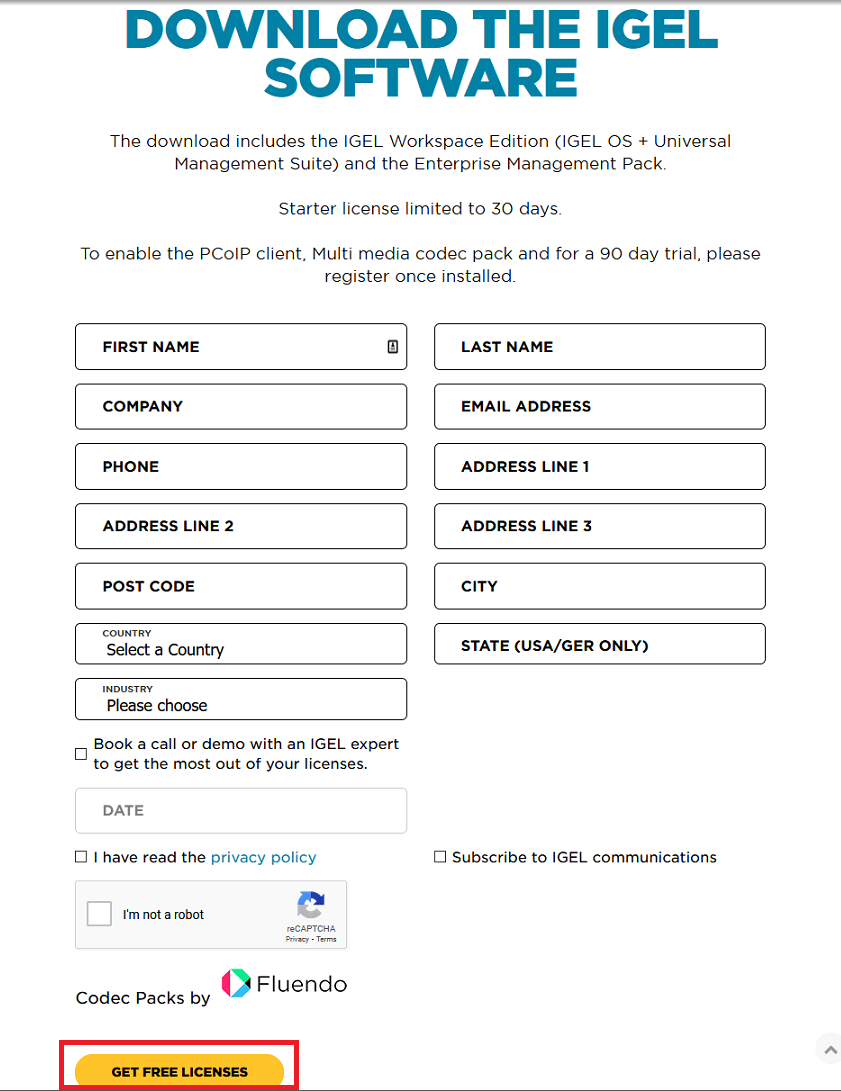
Fill in the requested information and click GET FREE LICENSES, as shown in Figure 3.
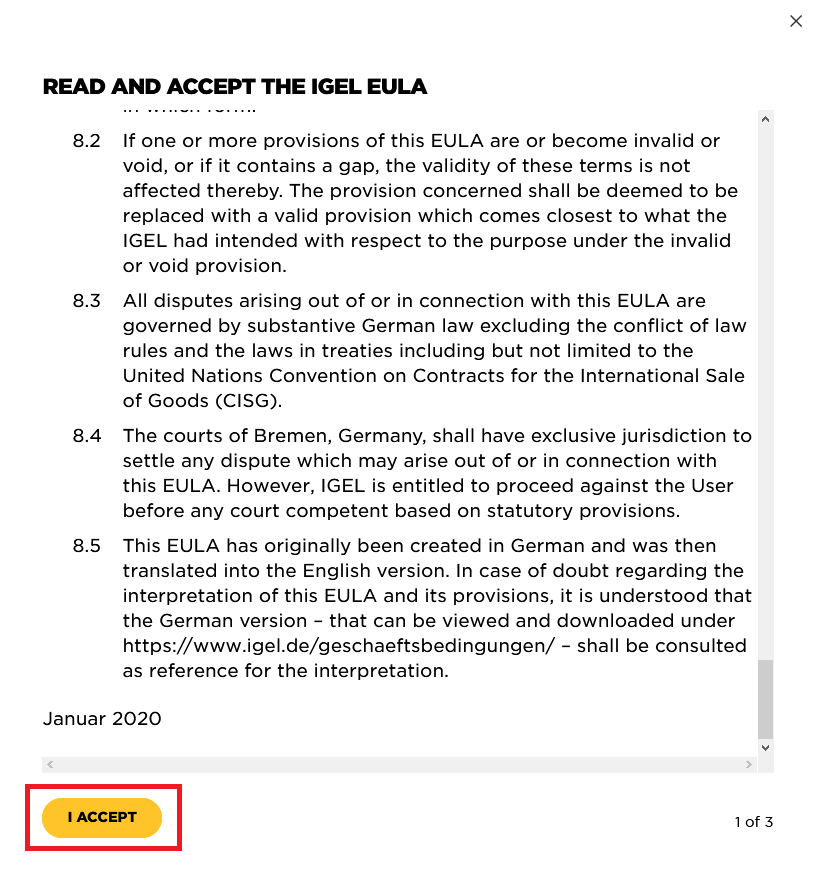
If you agree to the EULA, click I ACCEPT, as shown in Figure 4.
If you agree to the additional EULAs, click I ACCEPT, as shown in Figure 5.

If you agree to the Export Control notice, click I ACCEPT, as shown in Figure 6.

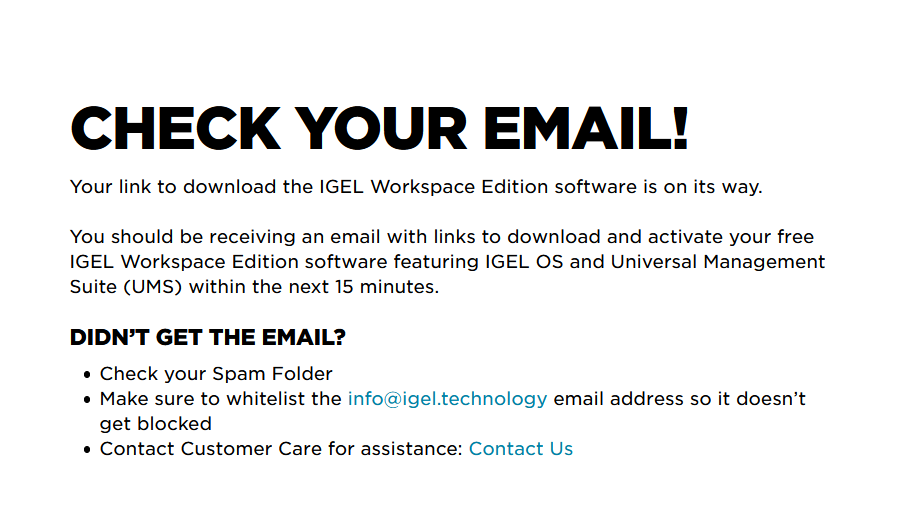
Now we wait on the email to arrive, as shown in Figure 7.
Click on FREE TRIAL again.
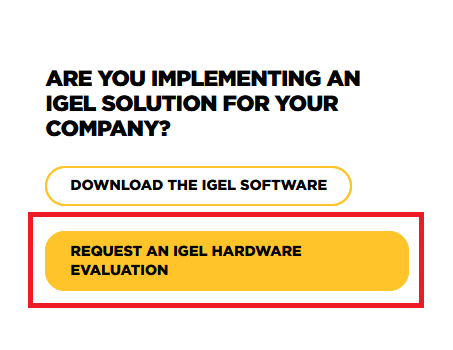
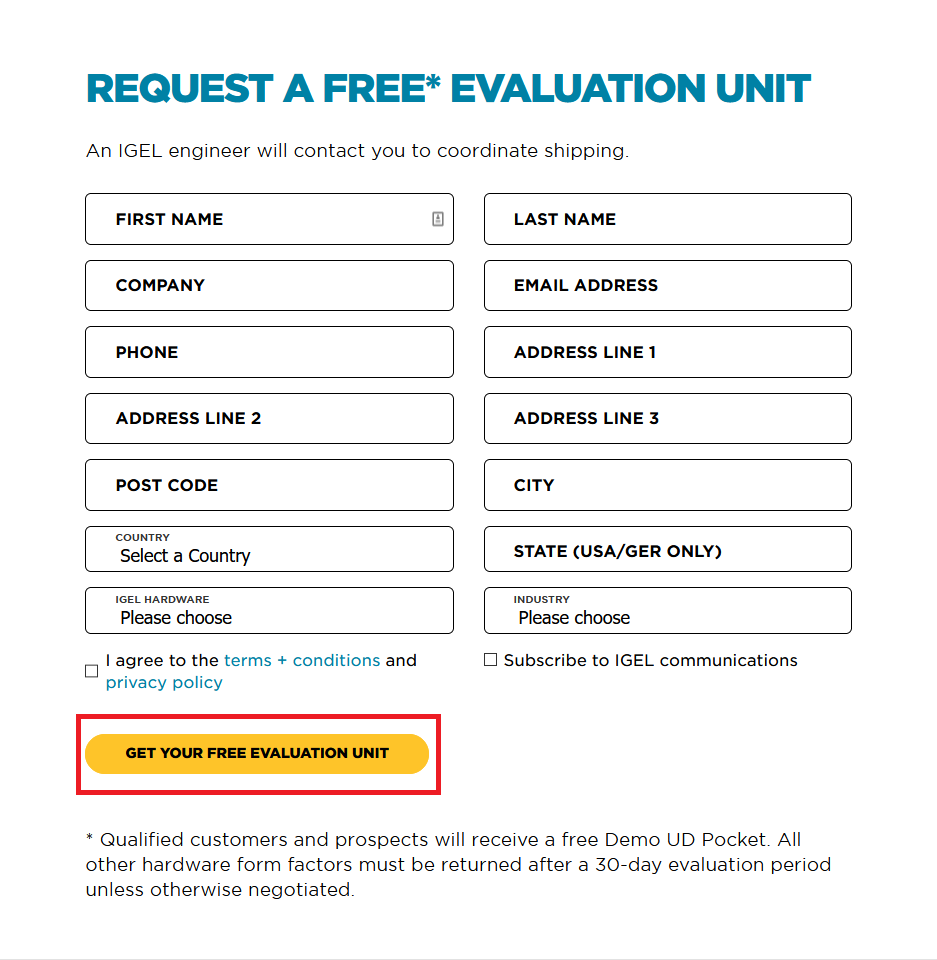
Click on REQUEST AN IGEL HARDWARE EVALUATION, as shown in Figure 8.
Fill in the requested information and click GET YOUR FREE EVALUATION UNIT, as shown in Figure 9.
You receive emails similar to the ones shown in Figures 10 and 11.
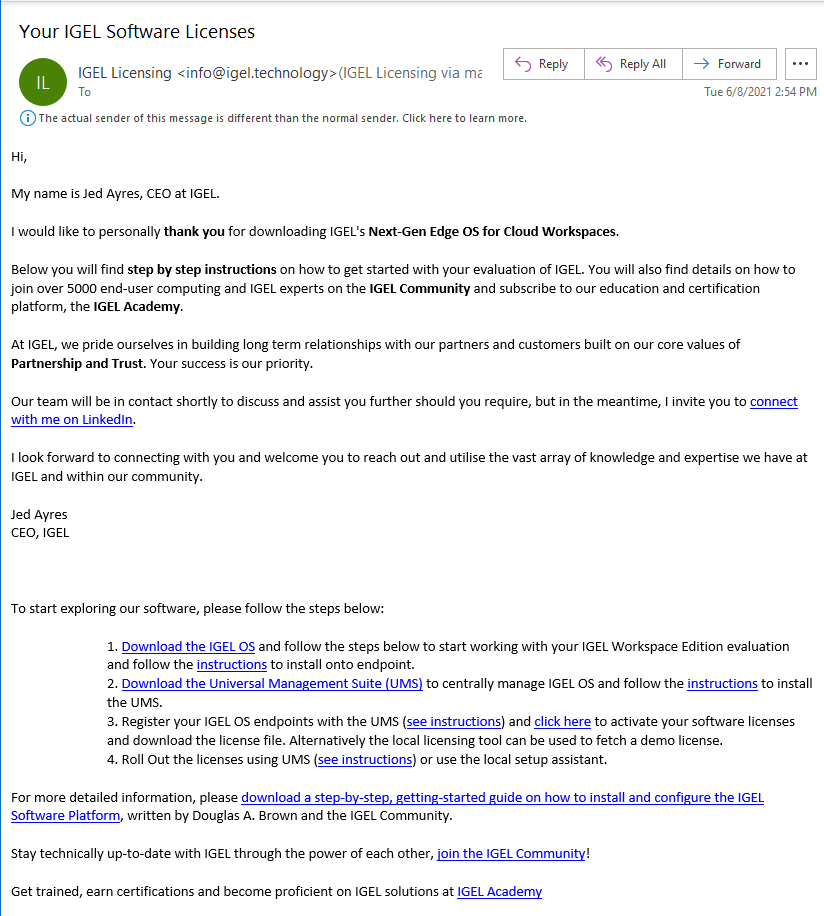

An IGEL representative emails you soon confirming your shipping address for the requested IGEL device.
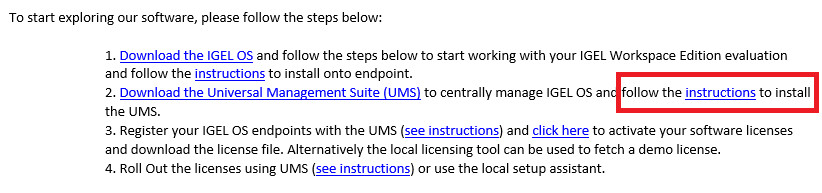
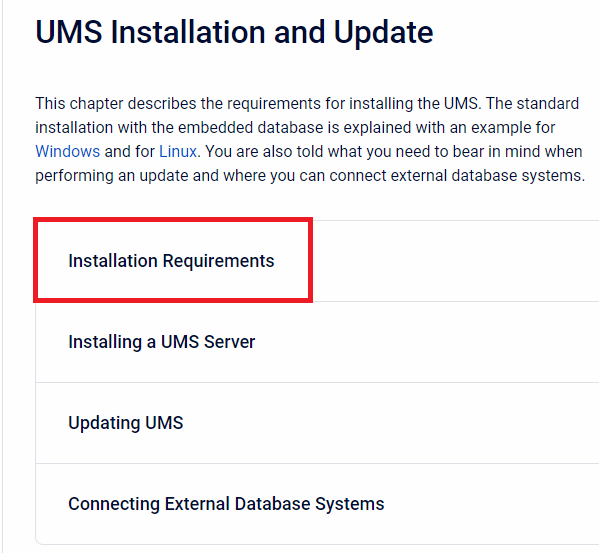
To learn the system requirements for the IGEL server, click the link shown in Figure 12.
Click Installation Requirements, as shown in Figure 13.
We install the IGEL Universal Management Suite (UMS) on the IGEL management server. IGEL is working on a Web App console and plans to move from the “fat” UMS console to the Web App console. Currently, the Web App console is more suited for the Helpdesk and not a whole administrator experience. Since this article series is preparatory for implementing VMware Horizon and Citrix Virtual Apps and Desktops, we install both the UMS and Web App Consoles.
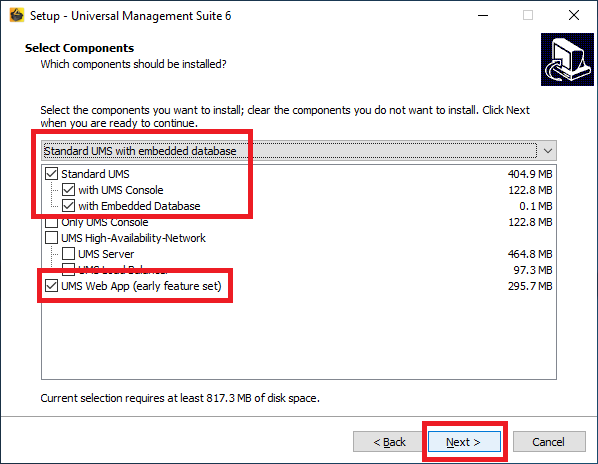
Scroll down the web page and find the section labeled UMS with UMS Console, Embedded Database, and UMS Web App, as shown in Figure 14.
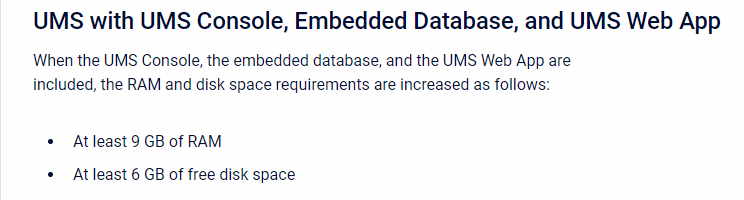
There is no requirement shown for the number of CPUs, so the 4 vCPU template is acceptable. The template has 90 GB of hard drive space, so there is plenty of free space. The only change required is increasing the RAM. I prefer an even number for RAM, so we can choose to go with 10 GB or 12 GB. The amount chosen depends on the amount of RAM the virtualization host has available.
Change RAM
VMware
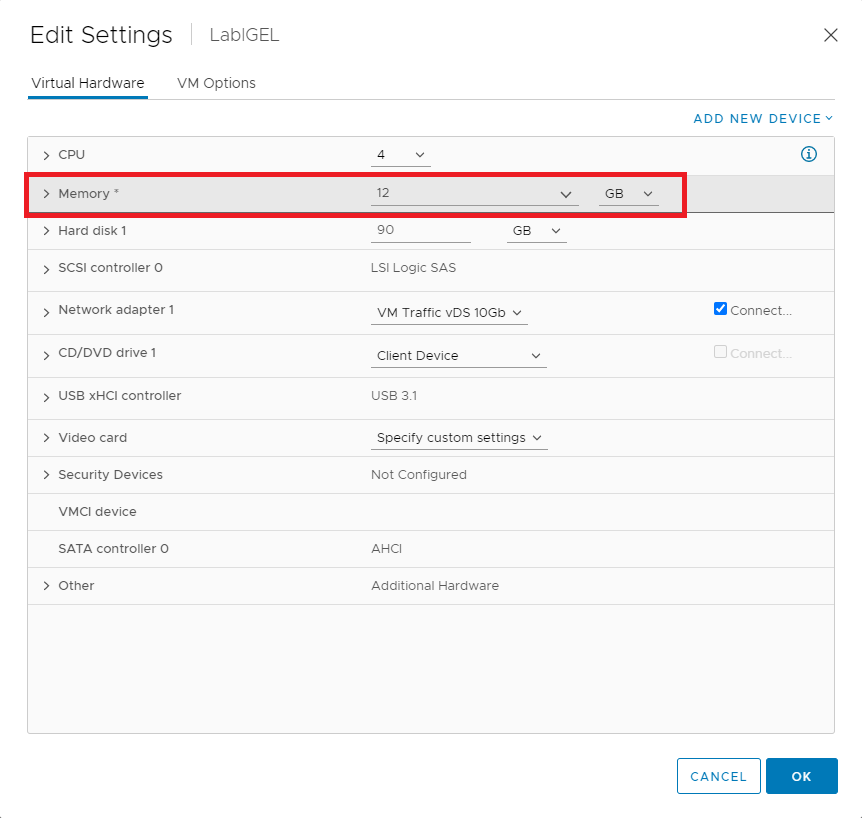
In vCenter, right-click the LabIGEL VM, click Edit Settings…, and change the Memory setting, as shown in Figure 15
Power on the VM, enter the required hostname, enter the required IP address information, and install Windows Updates.
XenServer
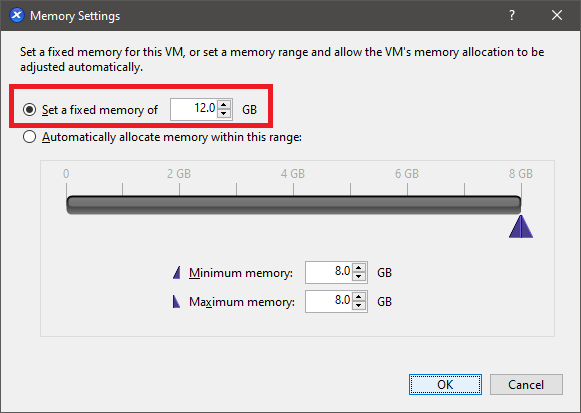
Click on the LabIGEL VM, click the Memory tab, and click Edit…, as shown in Figure 16.

Select Set a fixed memory of and change the value to either 10.0 or 12.0, as shown in Figure 17.
Power on the VM, enter the required hostname, enter the required IP address information, and install Windows Updates.
Active Directory
We need to join our IGEL server to the domain.
First, we need to create an OU.
If you remember, when we created Active Directory in Part 14, I placed all my infrastructure servers in a specific OU.
Lab
Infrastructure
We place the IGEL server in an OU to allow for applying any required GPOs, if any.
Lab
Infrastructure
IGEL
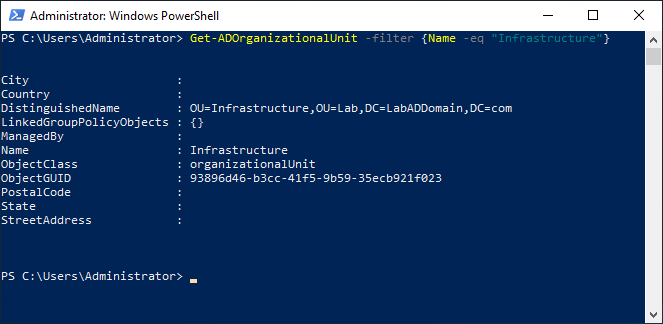
From the lab’s management computer, start an elevated PowerShell session and type in the following, as shown in Figure 8.
Get-ADOrganizationalUnit -filter {Name -eq "Infrastructure"}
Create the IGEL OU.
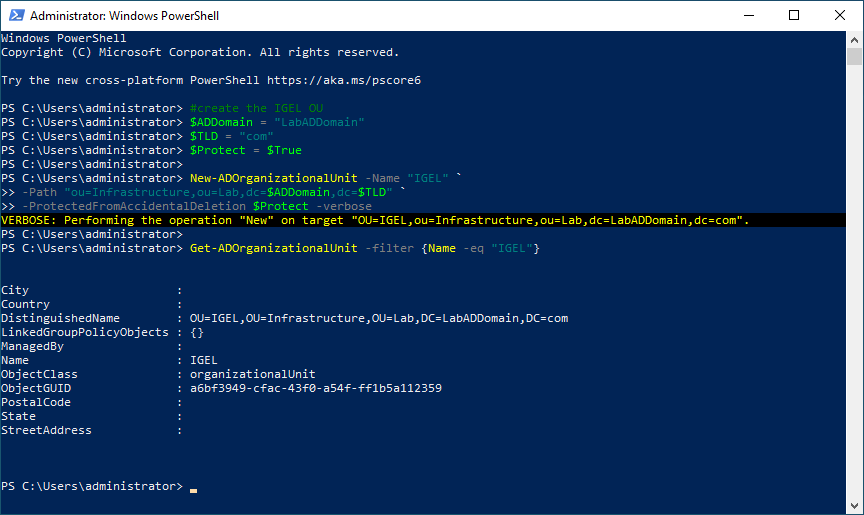
Copy and paste the following into the elevated PowerShell session and press Enter, as shown in Figure 19.
Remember to set the values you need.
Note: Lines may wrap
#create the IGEL OU

$ADDomain = "LabADDomain"
$TLD = "com"
$Protect = $True

New-ADOrganizationalUnit -Name "IGEL" `
-Path "ou=Infrastructure,ou=Lab,dc=$ADDomain,dc=$TLD" `
-ProtectedFromAccidentalDeletion $Protect -verbose

Get-ADOrganizationalUnit -filter {Name -eq "IGEL"}
Copy the DistinguishedName property to the clipboard.
LabIGEL Server Work
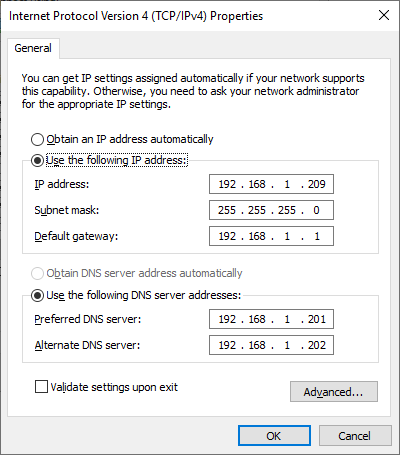
Verify that the server has a static IP address and uses the IP addresses of the domain controllers for the DNS servers, as shown in Figure 20.
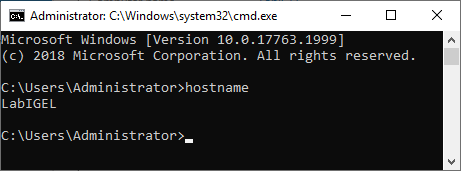
Verify that the server has the correct hostname, as shown in Figure 21.
Use mstsc to remote into the VM that is our IGEL server.
Exit Server Manager and start an elevated PowerShell session.
Copy and paste the following into the elevated PowerShell session and press Enter. The process took less than the blink of an eye to happen, which is why there is no screenshot.
Remember to set the values you need.
Note: Lines may wrap
#Join the computer to the domain

add-computer -Credential LabADDomain\Administrator `
-DomainName "LabADDomain.com" `
-OUPath "OU=IGEL,OU=Infrastructure,OU=Lab,DC=LabADDomain,DC=com" `
-Force `
-Restart

#server reboots
After the VM restarts, log in using the domain’s Administrator account and password.
Now to install the server certificate from the CA.
Save the following to a file name c:\CertFiles\computer-request.inf.
I want to thank Michael B. Smith for creating this INF file for me.
Use the data needed for your environment.
LabIGEL                   = the name of your IGEL server
LabADDomain.com           = your domain name
"LabCA\LabDomain CA Root" = the name of your CA server and the name of your CA.

;----------------- computer-request.inf -----------------
; LabIGEL.LabADDomain.com
;
; certreq -new computer-request.inf computer-request.req
; certreq -submit -config "LabCA\LabDomain CA Root" computer-request.req computer-request.cer
; certreq -accept -config "LabCA\LabDomain CA Root" computer-request.cer
;

[Version]
Signature="$Windows NT$"

[NewRequest]
Subject = "CN=LabIGEL.LabADDomain.com" ; replace with the FQDN of the IGEL server
FriendlyName = "Computer (Machine) for LabIGEL.LabADDomain.com"
KeyLength = 2048
; Can be 1024, 2048, 4096, 8192, or 16384.
; Larger key sizes are more secure, but have
; a greater impact on performance.
KeySpec = 1                     ; AT_KEYEXCHANGE
Exportable = TRUE               ; private-key is exportable
MachineKeySet = TRUE            ; goes in machine store instead of user's personal store
SMIME = False                   ; cannot be used for signing S/MIME messages
PrivateKeyArchive = FALSE
HashAlgorithm = sha256          ; "certutil -oid 1 | findstr pwszName" -- gives a list (including sha1)
UserProtected = FALSE
UseExistingKeySet = FALSE       ; we are not renewing a key that already exists
ProviderName = "Microsoft RSA SChannel Cryptographic Provider"
ProviderType = 12               ; for ProviderName and ProviderType, see "certutil -csplist"
RequestType = PKCS10            ; if empty or set to "CERT" then a self-signed cert is created
KeyUsage = 0xa0                 ; 0xa0 - CERT_DIGITAL_SIGNATURE_KEY_USAGE + CERT_KEY_ENCIPHERMENT_KEY_USAGE

[EnhancedKeyUsageExtension]
OID=1.3.6.1.5.5.7.3.1 ; this is for Server Authentication - PKIX_KP_SERVER_AUTH

[Extensions]
; Note: 2.5.29.17 is the OID for a SAN extension.

2.5.29.17 = "{text}"
_continue_ = "dns=LabIGEL.LabADDomain.com"

[RequestAttributes]
CertificateTemplate = "Server Template"

;-----------------------------------------------
Open an elevated command prompt.
Type in cd c:\CertFiles and press Enter.
The three commands we need to run are at the top of the computer-request.inf file.
Type in notepad computer-request.inf and press Enter.
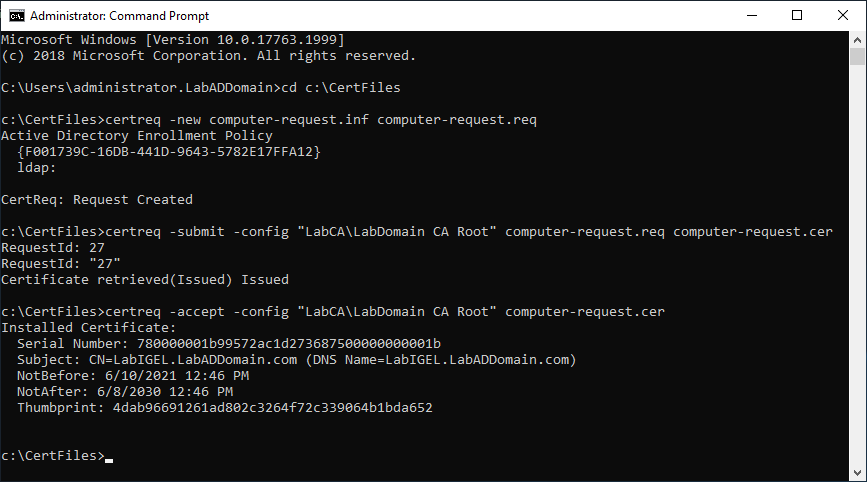
Copy the line certreq -new computer-request.inf computer-request.req, paste it in the elevated command prompt, and press Enter.
Copy the line certreq -submit -config “LabCA\LabDomain CA Root” computer-request.req computer-request.cer, paste it in the elevated command prompt, and press Enter.
Note: If you get a warning similar to the following, you can ignore the warning. The warning tells you that the certificate request validity period is past the lifetime of the CA’s root certificate lifespan.
Certificate retrieved(Issued)Issued The certificate validity period will be shorter than the Server Template Certificate Template specifies because the template validity period is longer than the maximum certificate validity period allowed by the CA. Consider renewing the CA certificate, reducing the template validity period, or increasing the registry validity period.
Copy the line certreq -accept -config “LabCA\LabDomain CA Root” computer-request.cer, paste it in the elevated command prompt, and press Enter.
Figure 22 shows the results of running the certificate request commands.
License the UDP
The UDP has a different licensing process than other IGEL devices. It is easier if you license the UDP before installing and configuring the UMS console. UDP devices use their Unit ID for their license, where other IGEL devices use their MAC address. This allows you to use the UDP with different devices without consuming additional licenses because the license is tied to the Unit ID instead of the changing MAC address.
Plug the UDP into a computer, power the computer on, and press whatever key or key combination allows the computer to boot from the UDP.
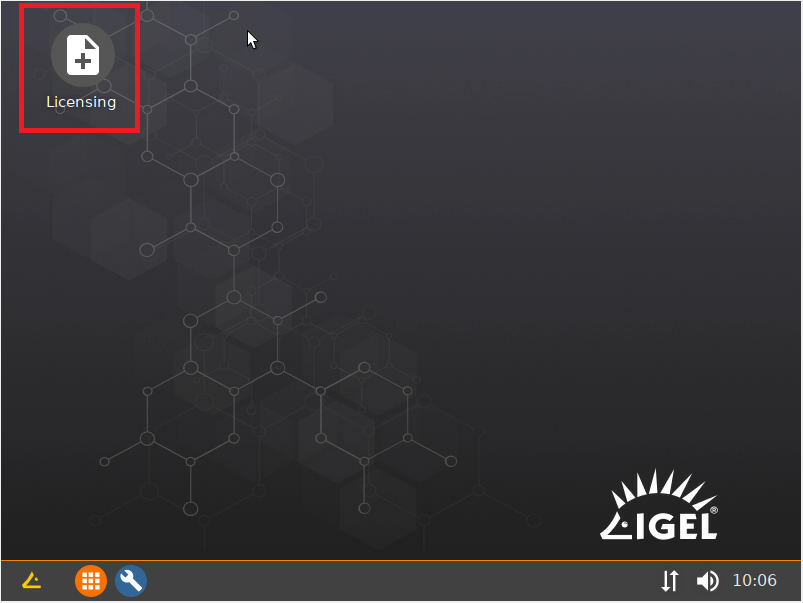
You should be at an IGEL desktop with a Licensing icon on the desktop when the UDP boots. Double-click the Licensing icon, as shown in Figure 23.
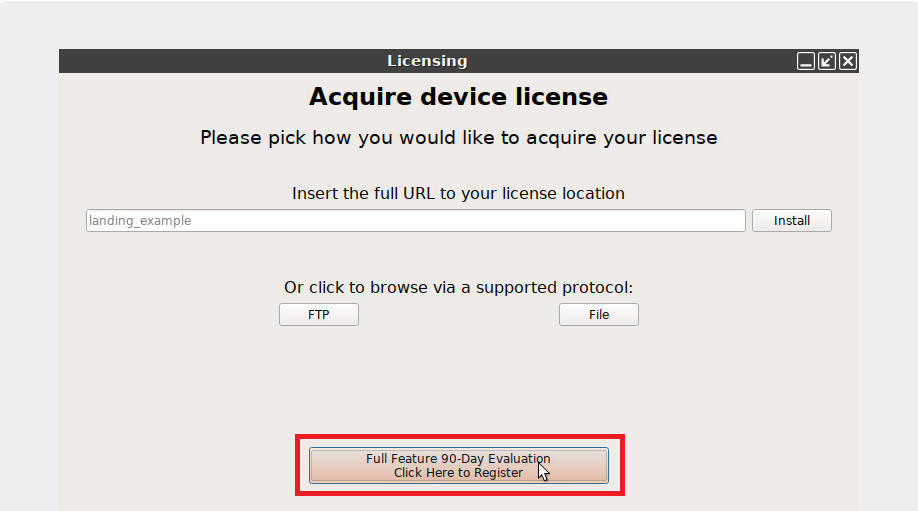
Click the button with Click Here to Register, as shown in Figure 24.
If you accept the End User License Agreement, click accept, as shown in Figure 25.

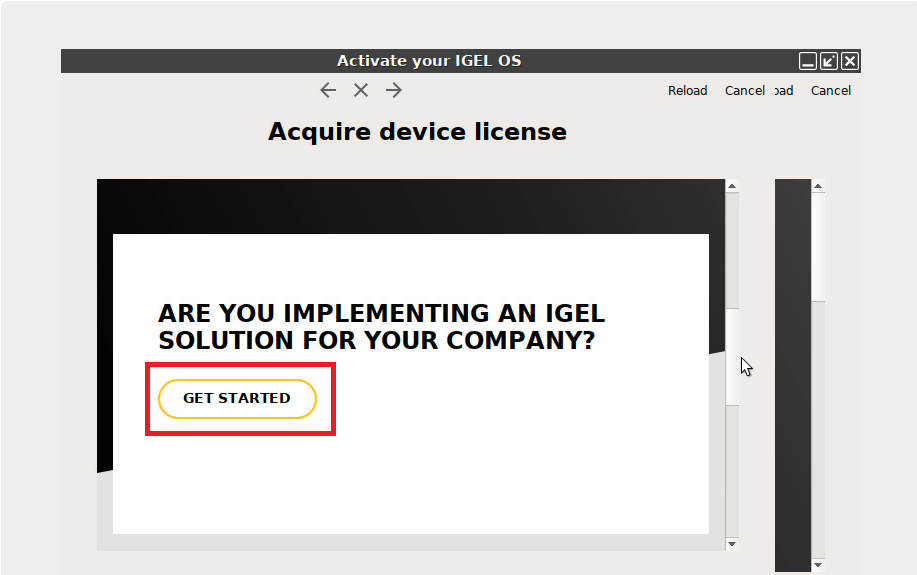
If necessary, scroll down and click GET STARTED, as shown in Figure 26.
Fill in the required information, select I agree to the terms + conditions and privacy policy, optionally select Subscribe to IGEL communications, and click ACTIVATE YOUR UD POCKET, as shown in Figure 27.
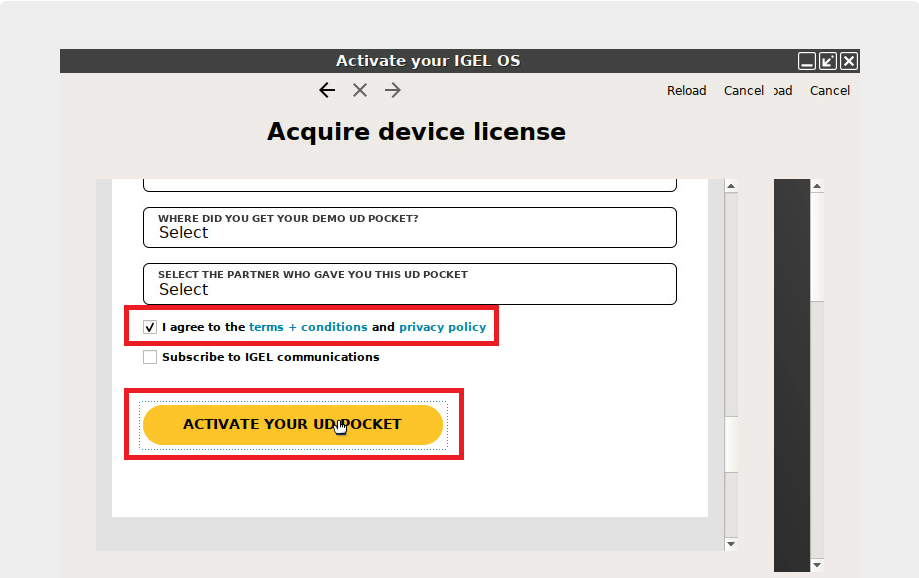
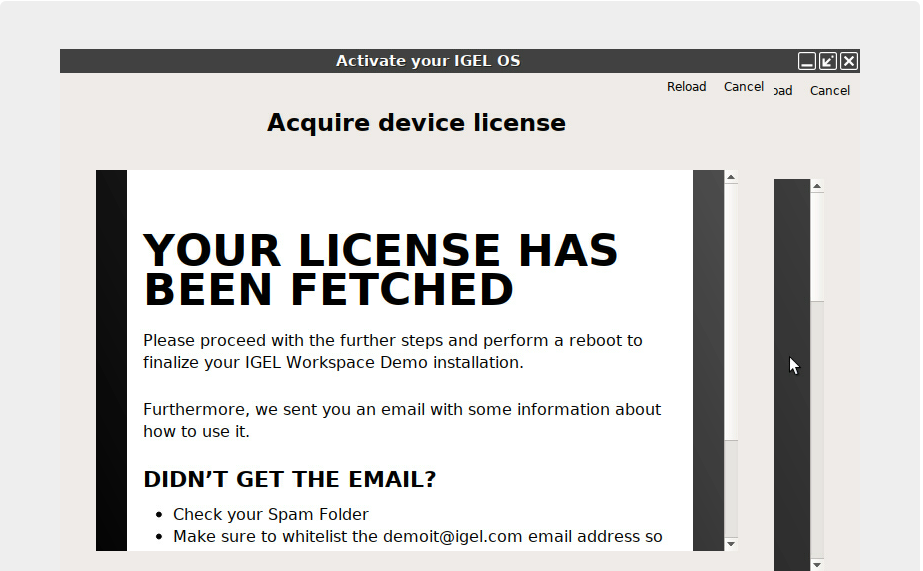
Figure 28 shows that the license for the UDP is ready and states to reboot the UDP. Also, IGEL sent an email with additional instructions to the email address provided during activation.
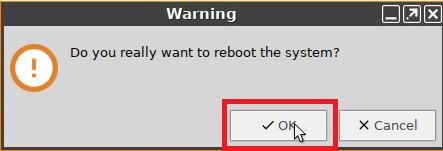
Reboot the UDP by clicking the menu icon in the lower-left corner and clicking the restart icon, as shown in Figure 29.

Click OK, as shown in Figure 30.
Boot your device into the now licensed UDP.
Install IGEL Management Console
Earlier, when we created Active Directory, we created several administrator accounts. One of the accounts created is for this server, the UMSAdmin admin account. That account must be a member of the local Administrators group on the IGEL server.
Start an elevated PowerShell session on the IGEL server, and enter the following command, as shown in Figure 31.
Add-LocalGroupMember -Group "Administrators" -Member "LabADDomain\UMSAdmin"

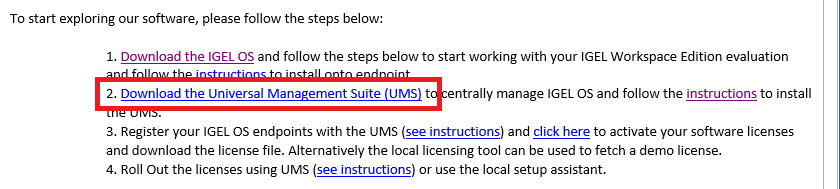
In the email received, copy the Download the Universal Management Suite (UMS) link to the IGEL server, as shown in Figure 32, and download the UMS installer on the IGEL server.
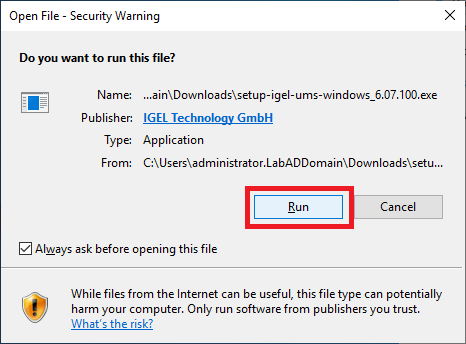
Double-click the downloaded installer, as shown in Figure 33.
Note: The filename may be different for you as the software is continually updated.

Click Run, as shown in Figure 34.
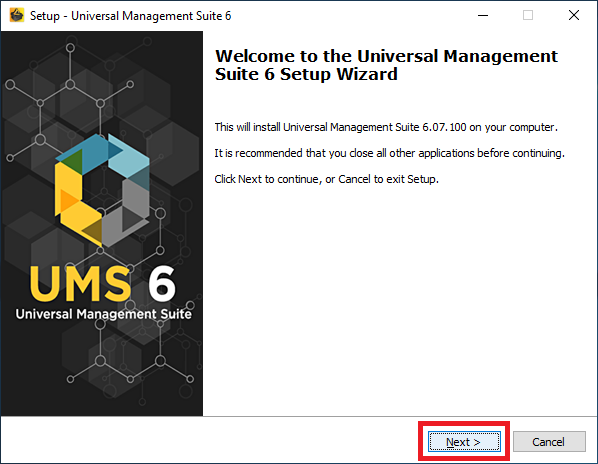
Click Next, as shown in Figure 35.
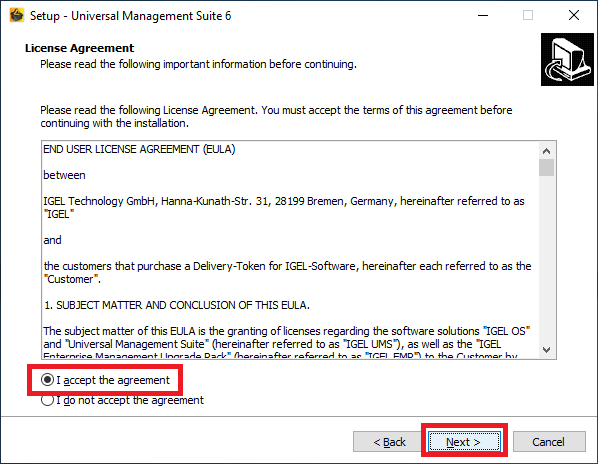
Select I accept the agreement and click Next, as shown in Figure 36.
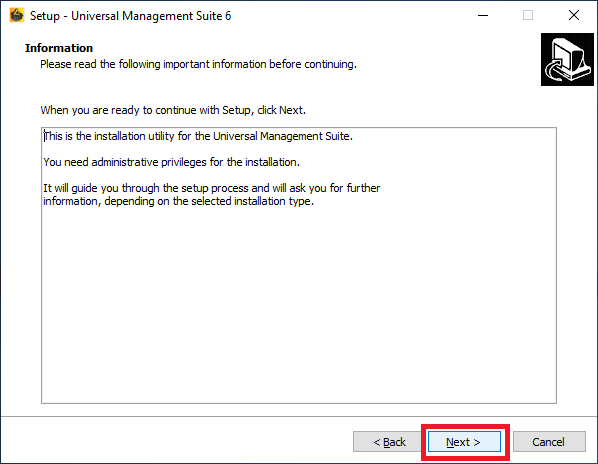
Click Next, as shown in Figure 37.
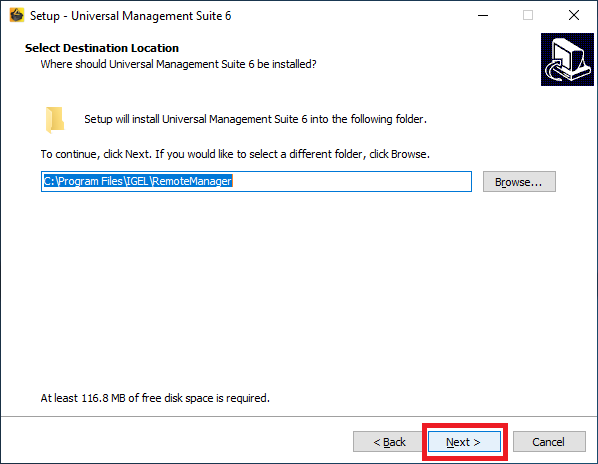
Click Next, as shown in Figure 38.
Leave the defaults selected and click Next, as shown in Figure 39.
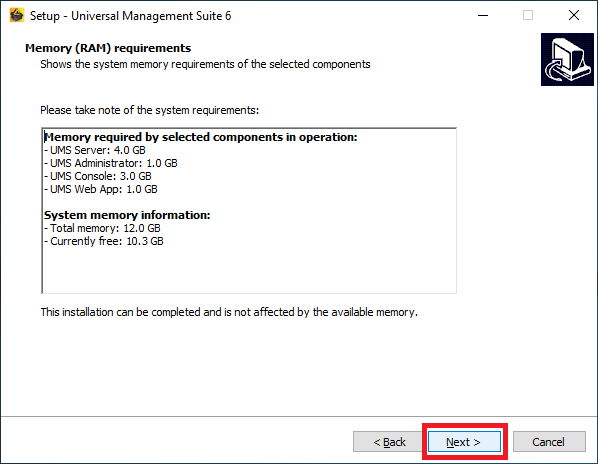
Click Next, as shown in Figure 40.
Click Next, as shown in Figure 41.

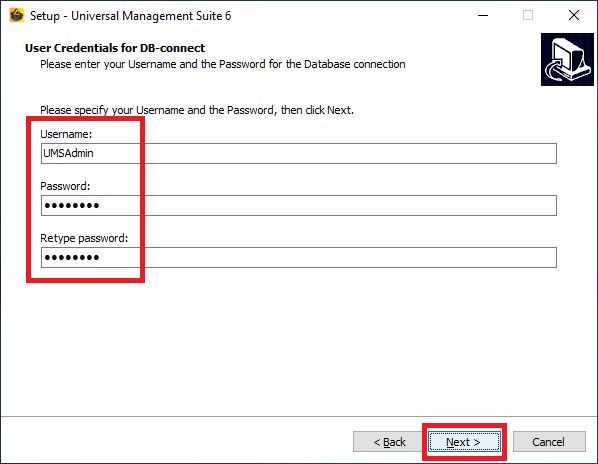
Enter the Username and Password, and click Next, as shown in Figure 42. The installer does not accept any special characters like “\” or “@”. Both the Username and Password are CaSe sEnsiTivE.
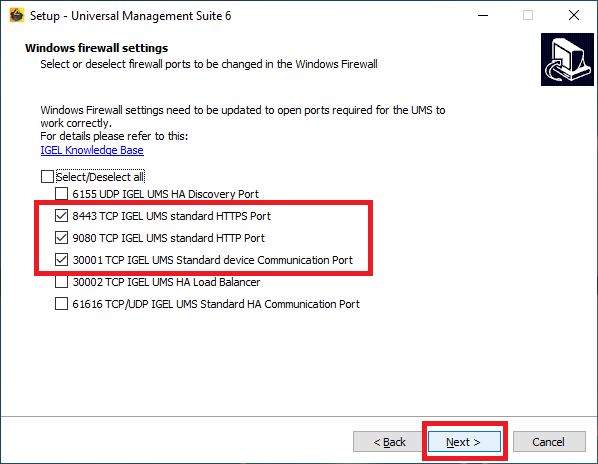
Leave the defaults selected and click Next, as shown in Figure 43. The installer automatically creates the necessary Windows Firewall rules on the IGEL server for the selected firewall settings.
Click Next, as shown in Figure 44.

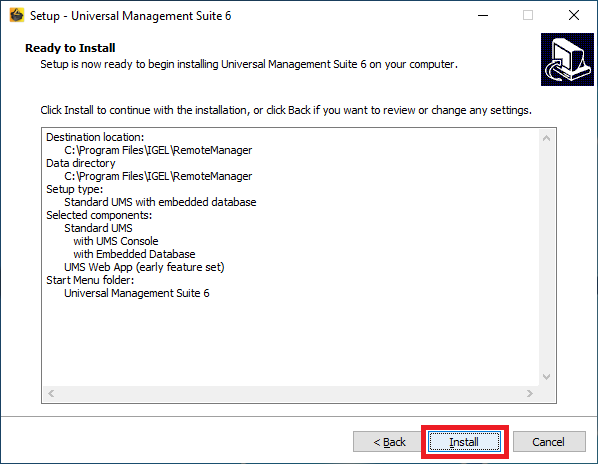
Click Install, as shown in Figure 45.
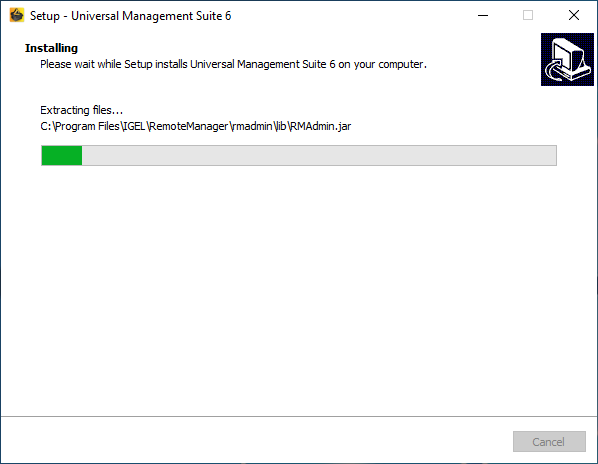
As shown in Figure 46, the installation begins.
Deselect Open UMS Web app in browser and click FInish, as shown in Figure 47. We need to install SSL certificates first.
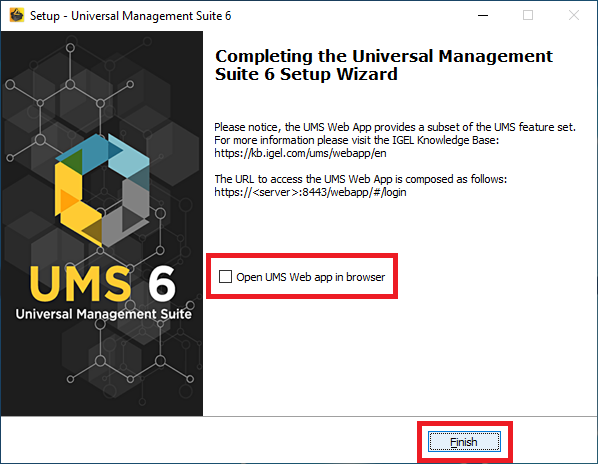
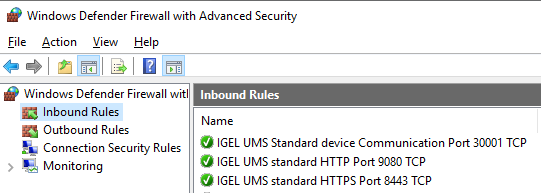
Figure 43 shows the required Windows Firewall ports. The installer configured the necessary firewall rules automatically on the IGEL server, as shown in Figure 48.
Install SSL Certificates
Start the UMS Console by double-clicking the UMS Console icon on the server’s desktop, as shown in Figure 49.
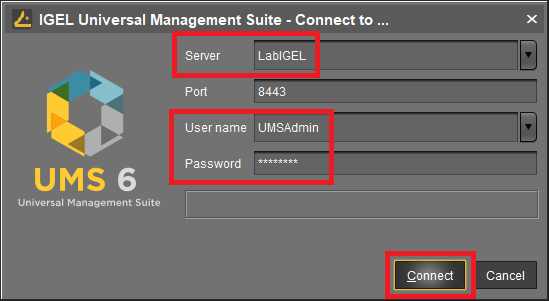
Type in the server’s name, enter the credentials exactly as in Figure 34, and click Connect, as shown in Figure 50.
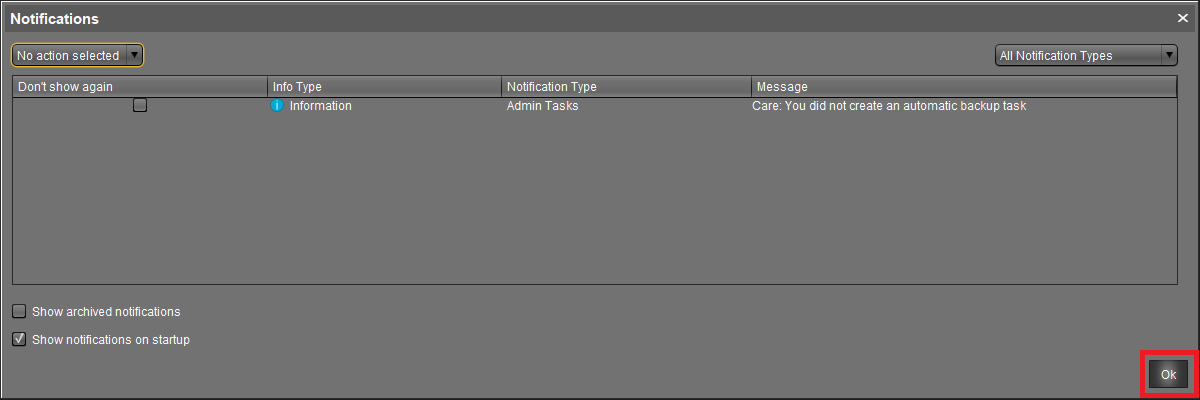
Click Ok, as shown in Figure 51.
Click UMS Administration, as shown in Figure 52.

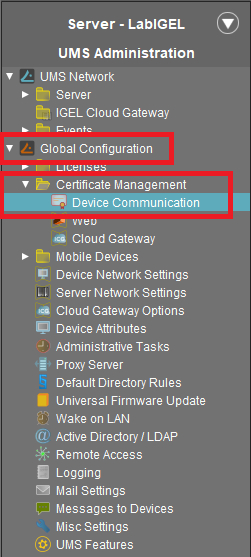
In the left pane, expand Global Configuration, expand Certificate Management, and click Device Communication, as shown in Figure 53.
In the right pane, click the Import key pair(s) icon, as shown in Figure 54.

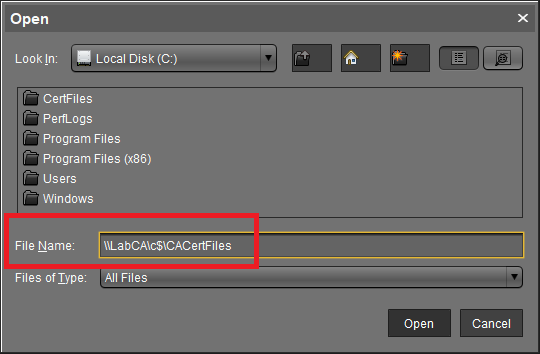
For the File Name, enter \<Name of CA Server\c$\<folder containing the CA’s P12 backup file> and press Enter, as shown in Figure 55. For me, this is \LabCA\c$\CACertFiles.
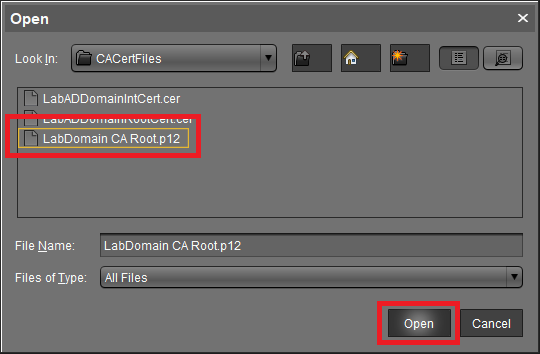
Click the CA’s P12 backup file and click Open, as shown in Figure 56.
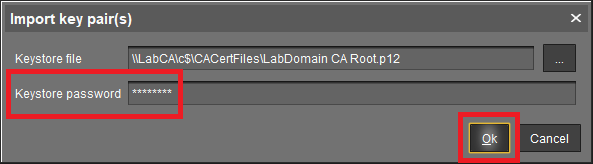
Type in the password for the P12 file and click Ok, as shown in Figure 57.
Click Ok, as shown in Figure 58.
The CA’s key pair shows in the console, as shown in Figure 59.

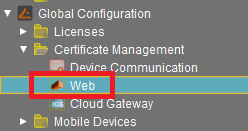
In the left pane, click Web, as shown in Figure 60.
In the right pane, click the Import certificate chain from keystore icon, as shown in Figure 61.

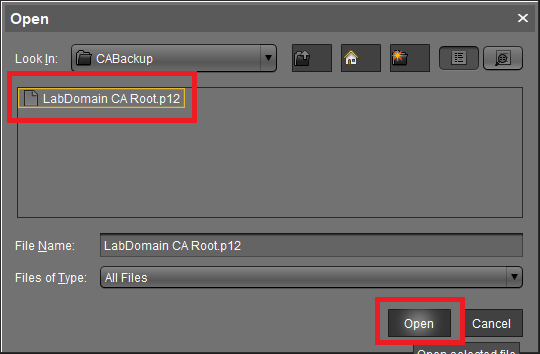
Click the P12 file and click Open, as shown in Figure 62.
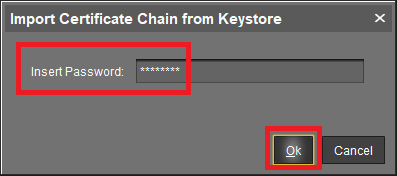
Type in the password for the P12 file and click Ok, as shown in Figure 63.
Click OK, as shown in Figure 64.

The CA’s key pair shows in the console, as shown in Figure 65.

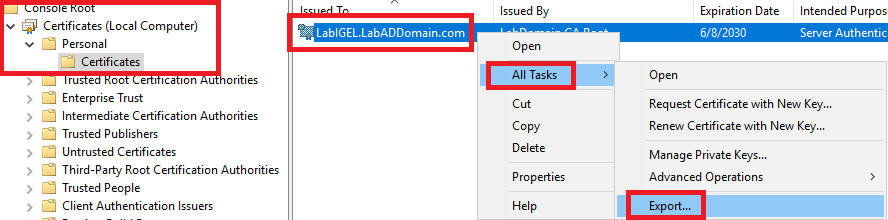
Click the imported key pair entry and click the Import root certificate icon, as shown in Figure 66.

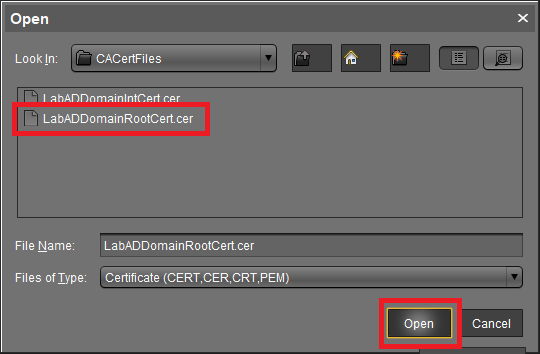
Click the CA’s Root certificate file and click Open, as shown in Figure 67.
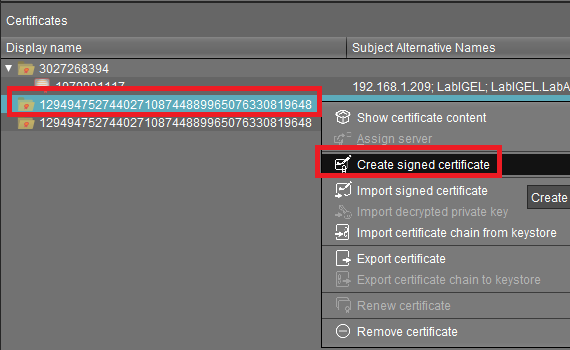
Right-click the imported key pair entry (the one with a green checkmark under Private Key known) and click Create signed certificate, as shown in Figure 68.
Select Create one end certificate for all (known) servers and click Ok, as shown in Figure 69.

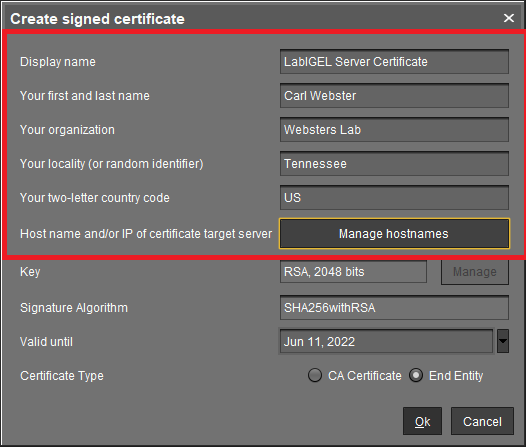
Enter the first five fields of information and click Manage hostnames, as shown in Figure 70.
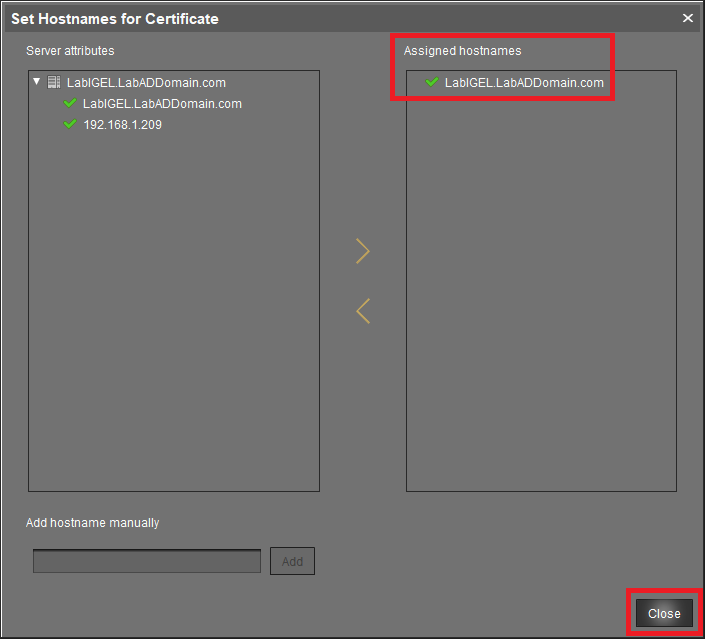
Under Assigned hostnames, the only entry needed is the IGEL server’s FQDN. Remove any other entries. If the IGEL server’s FQDN is not there, under Add hostname manually, type in the name of the IGEL server, and click Add.
Once the only entry is the IGEL server’s FQDN, click Close, as shown in Figure 71.
Click Ok, as shown in Figure 72.
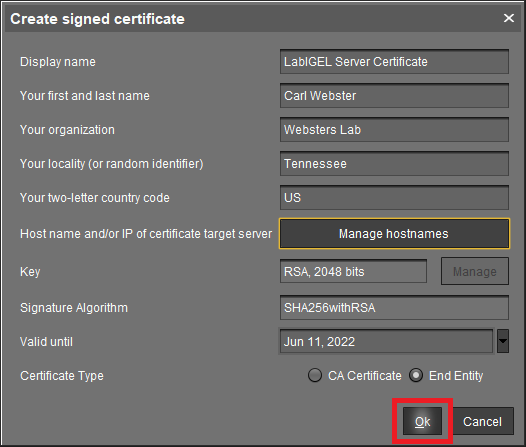
Figure 73 shows the new server certificate.
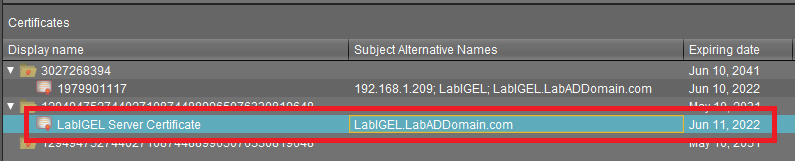
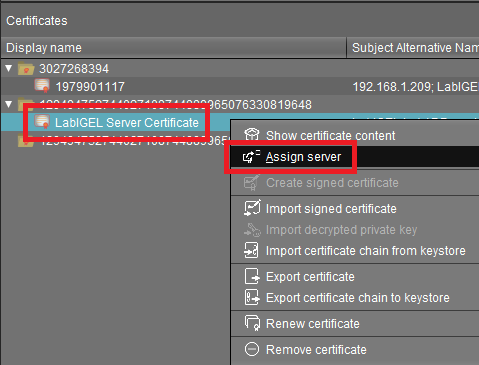
Right-click the new server certificate and click Assign server, as shown in Figure 74.
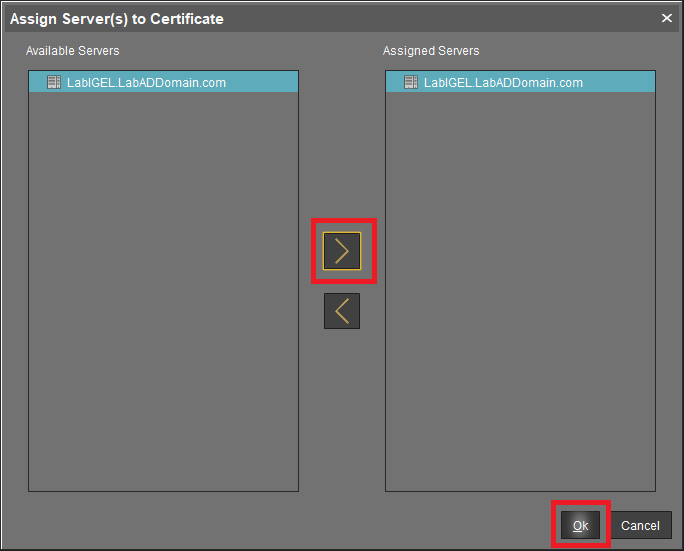
Assign the server and click Ok, as shown in Figure 75.
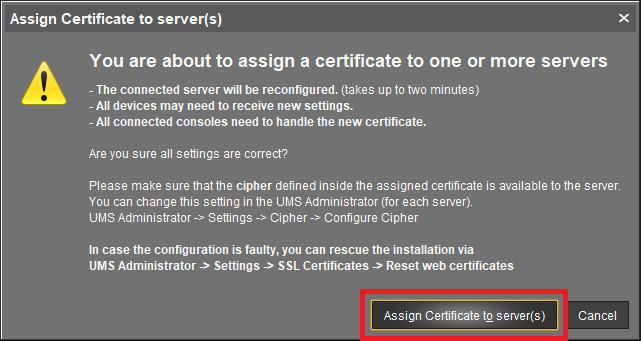
Click Assign Certificate to server(s), as shown in Figure 76.
The new server certificate is assigned and shows as Used, as shown in Figure 77.

Leave the UMS console open.
Access the Web App Console
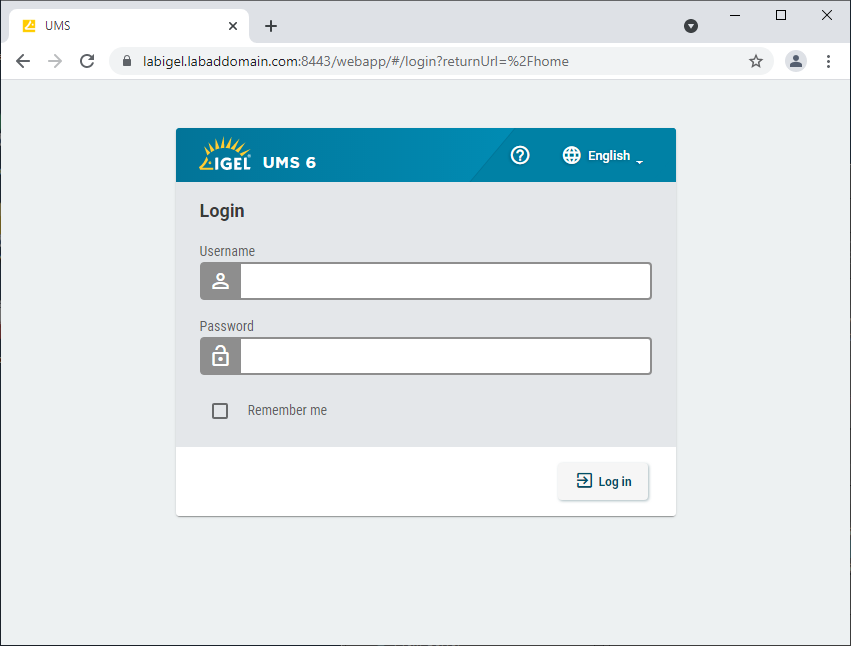
Although there is a UMS Web App icon in the UMS console, we can’t use that without getting an SSL certificate error. That icon uses the hostname of the IGEL server, not the FQDN. The Create signed certificate wizard doesn’t allow the addition of a hostname entry. To work around the SSL certificate error, using your internet browser, browse to https://IGELServerFQDN:8443/webapp, as shown in Figure 78. For me, that is https://LabIGEL.LabADDomain.com:8443/webapp.
Enter the CaSe seNseTivE account information used in Figure 42 and click Log in, as shown in Figure 79.
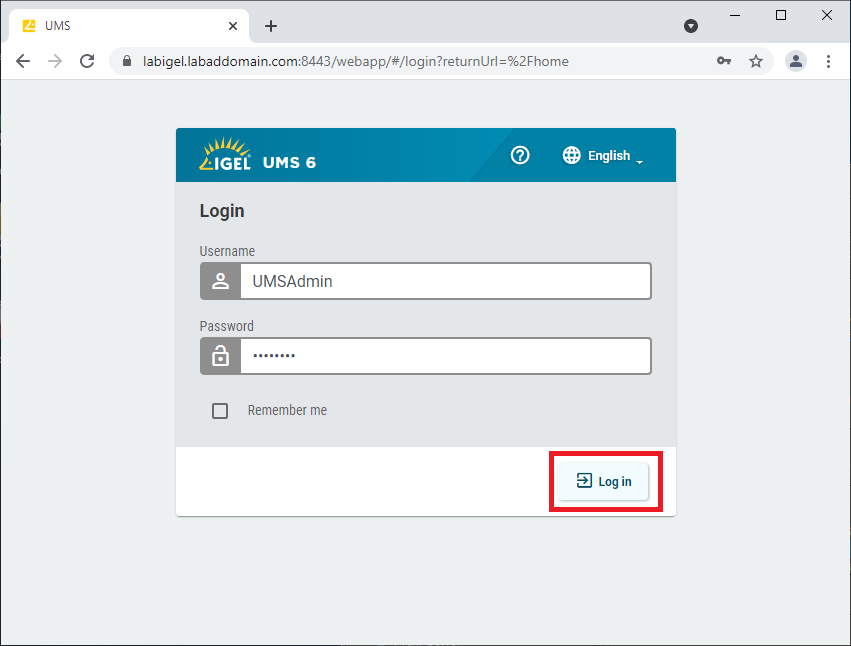
Figure 80 shows the Web App console.
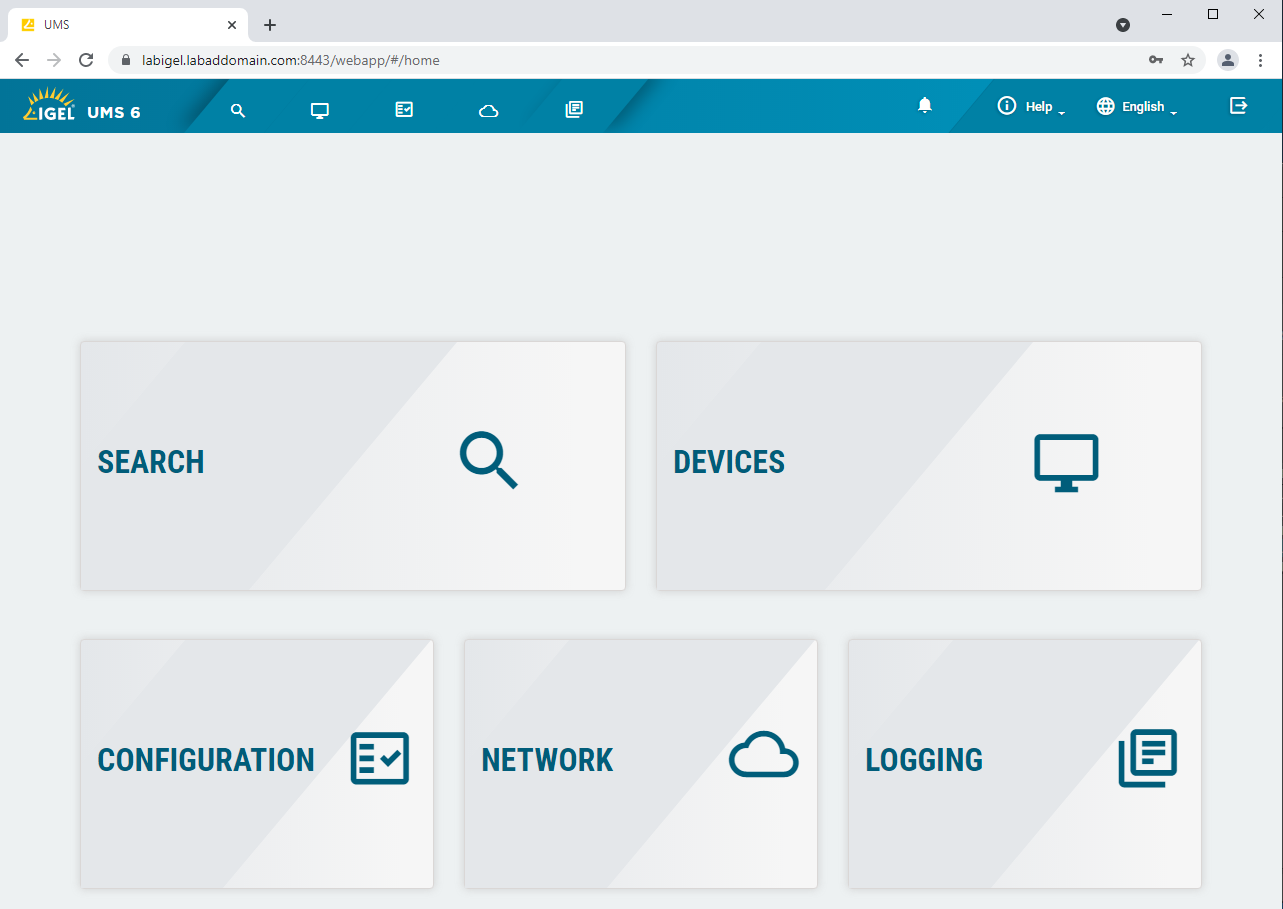
We use this Web App console more in the Horizon and CVAD series.
Configuring and Using Your IGEL Device
Do you want your new IGEL device(s) initially registered automatically in the UMS console? I recommend doing so for this lab.
There are two ways to prepare for auto-registration, DNS or DHCP. For this lab, I recommend using DNS.
For more information, please read Registering Devices Automatically.
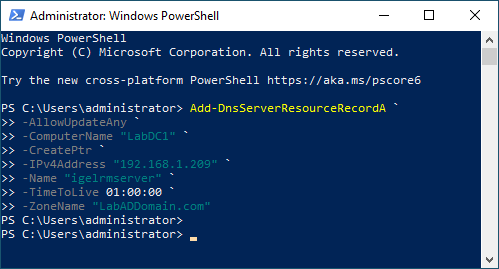
From the lab’s management computer, start an elevated PowerShell session and type in the following, as shown in Figure 81.
Add-DnsServerResourceRecordA `
-AllowUpdateAny `
-ComputerName "Name of First DC" `
-CreatePtr `
-IPv4Address "IP Address of UMS Server" `
-Name "igelrmserver" ` #not case sensitive
-TimeToLive 01:00:00 `
-ZoneName "Your AD domain name"
For me, this is:
Add-DnsServerResourceRecordA `
-AllowUpdateAny `
-ComputerName "LabDC1" `
-CreatePtr `
-IPv4Address "192.168.1.209" `
-Name "igelrmserver" ` #not case sensitive
-TimeToLive 01:00:00 `
-ZoneName "LabADDomain.com"
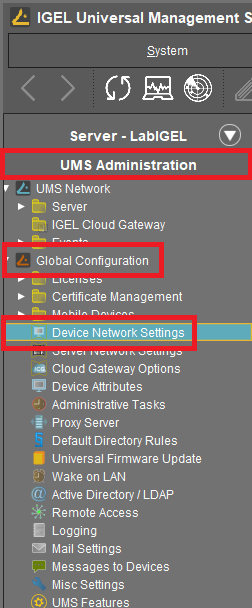
In the UMS console, click UMS Administration, expand Global Configuration, and click Device Network Settings in the left pane, as shown in Figure 82.
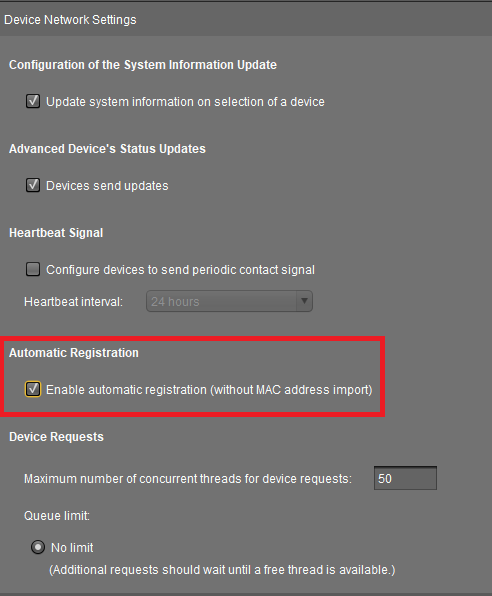
In the right pane, select Enable automatic registration (without MAC address import), as shown in Figure 83.
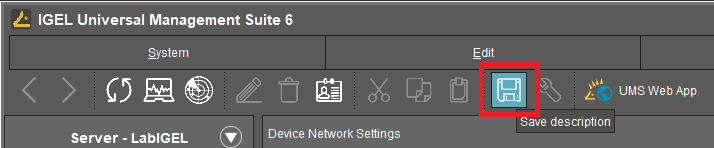
Click the Save (floppy) icon on the toolbar, as shown in Figure 84, to save the Automatic Registration change.
Reboot the UDP.
In the left pane, click Server – <IGEL Server Name>, click Devices, and click the Refresh icon on the toolbar, as shown in Figure 85. Your IGEL device(s) appear in the right pane.
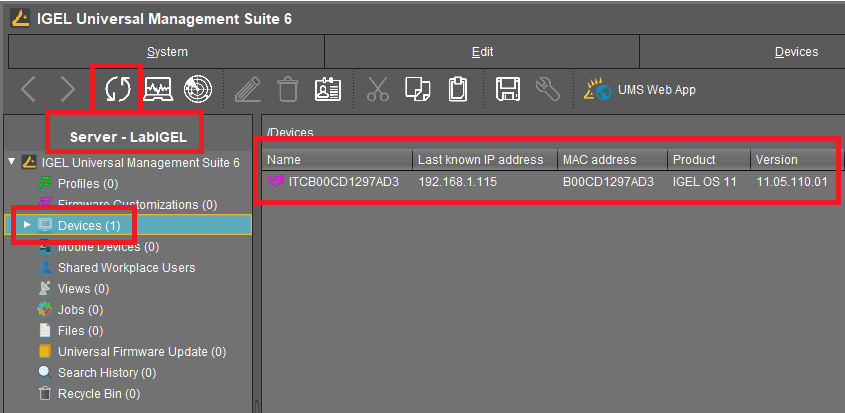
Double-click the device to see all the details in the middle pane, as shown in Figure 86. Notice the 90-day device license.

Update the Firmware
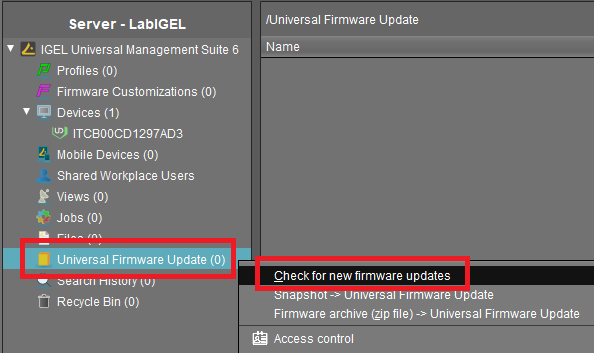
In the left pane, right-click Universal Firmware Update, and click Check for firmware updates, as shown in Figure 87.
UMS now checks for any firmware updates, as shown in Figure 88. The checking could take several minutes.
You see a list of firmware updates when the checking process completes, as shown in Figure 89. I widened the dialog box to show more details.
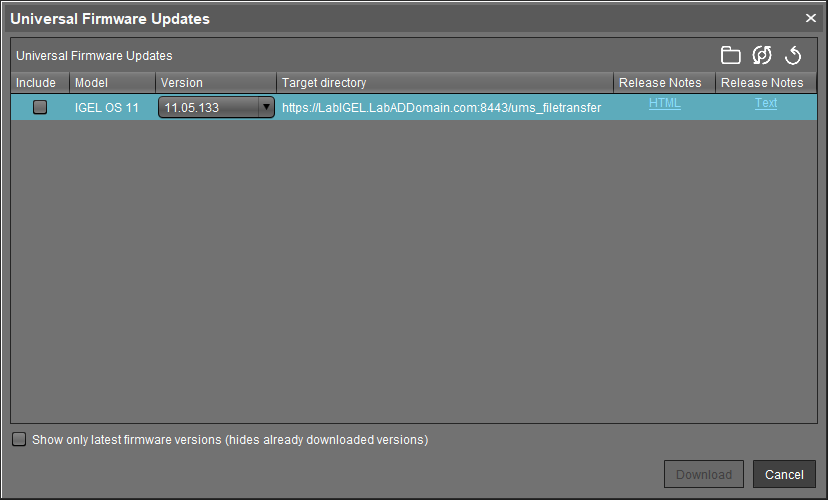
To view the Release Notes for each firmware update, click the link in the appropriate column for either HTML or Text.
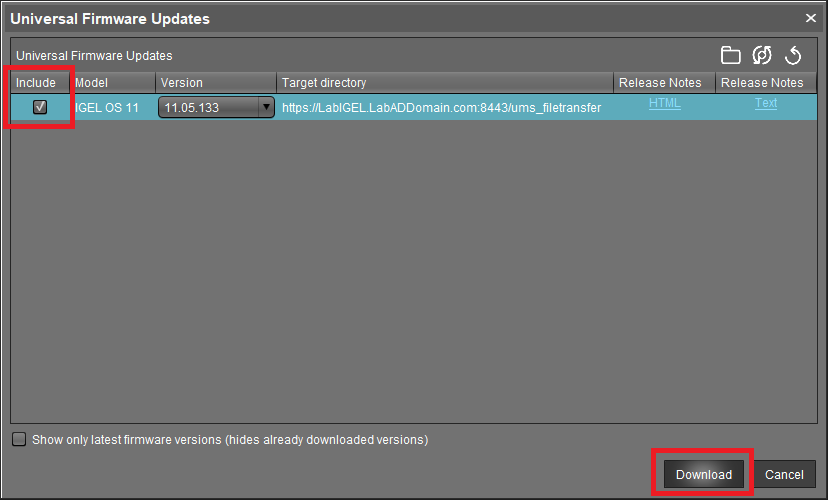
To download the firmware update to the IGEL server, select the checkbox in the Include column, and the Download button becomes available. Click Download, as shown in Figure 90.
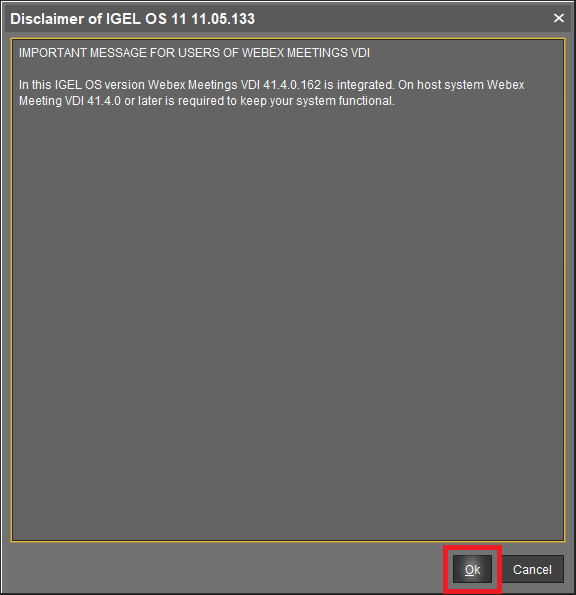
If the firmware update contains important changes, you may receive a notification. Click Ok after reading the content, as shown in Figure 91.
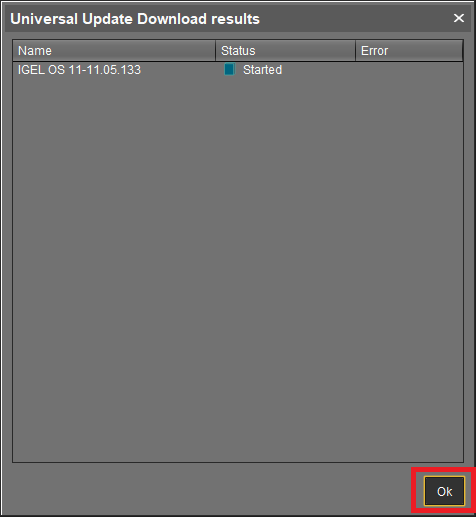
As shown in Figure 92, the firmware download starts. Click Ok.
The firmware download status is displayed, as shown in Figure 93.
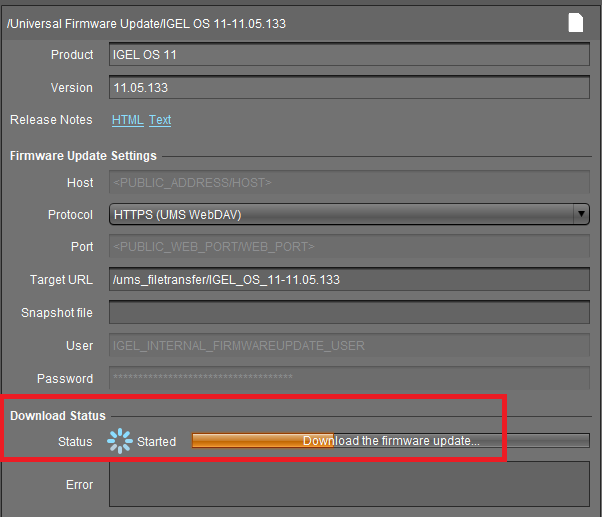
It may take several minutes to download the firmware update file.
If there are any errors, check the Error box for an explanation. Resolve the issue and attempt the download again. If you need to re-download the firmware, make sure you delete the faulty firmware download and empty the recycle bin before trying it again.
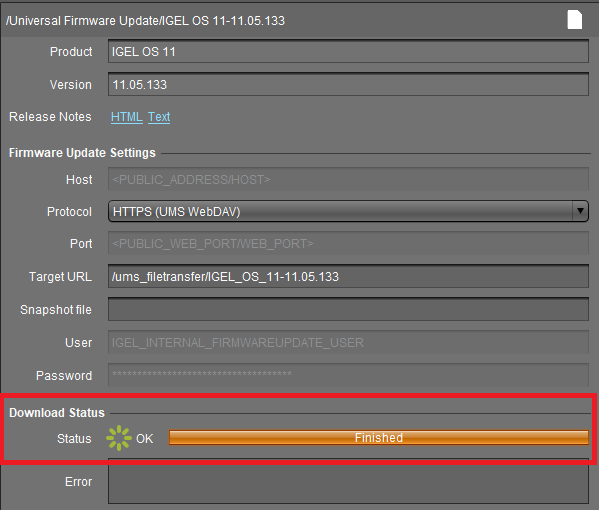
Once the download completes, as shown in Figure 94, we are ready to update the firmware on the UDP.
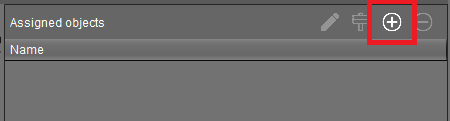
In the right pane (Assigned objects), click the “+“, as shown in Figure 95.
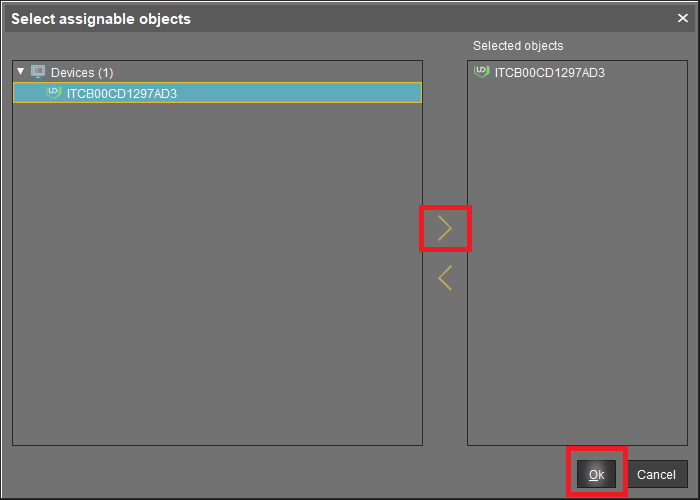
Select the UDP device and click Ok, as shown in Figure 96.
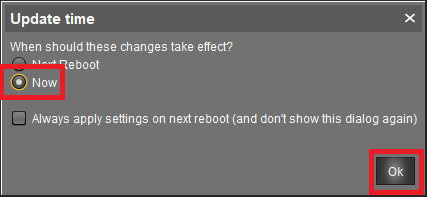
Select Now and click Ok, as shown in Figure 97.
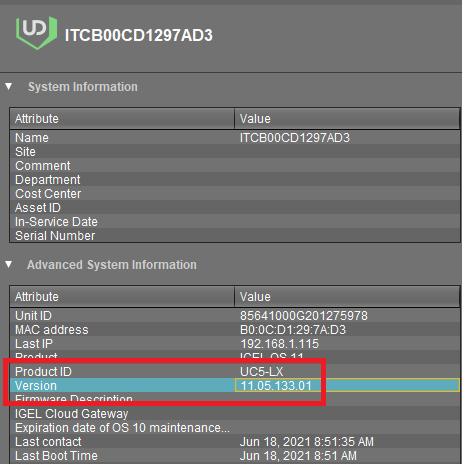
The firmware is updated, and the UDP reboots (make sure to press the key to boot from the UDP). Once the reboot completes, refresh the UDP in UMS, and the console shows the UDP’s firmware is updated, as shown in Figure 98.
There are many changes the console allows, and they are beyond the scope of this article. Here are some IGEL resources for you.
Join the excellent IGEL Slack Community
Up next: Create a ControlUp Management Server