With the Server 2022 template created and added to vCenter, the next step is to create VMs from the template. The decision is whether to use Server 2019 or 2022. I prefer to use the latest server OS when creating new VMs. The decision rests on whether the software vendor for the software used on the new VMs supports the latest server OS. We use the VMs built in this article for the first three Microsoft infrastructure servers: two domain controllers and a certificate authority. This article covers creating the VMs from a template in both VMware vCenter and Citrix XenCenter. My lab’s infrastructure VMs reside in my XenServer pool, as explained in the Introduction article.
From the Introduction article, these are the VMs we are building.
| Name | Description | IP Address |
| LabDC1 | Domain Controller, DNS, DHCP | 192.168.1.201 |
| LabDC2 | Domain Controller, DNS, Citrix, and RDS License Server | 192.168.1.202 |
| LabCA | Certificate Authority | 192.168.1.203 |
VMware
Note: All my Windows infrastructure servers run in XenServer 8.2. As of 28-Aug-2021, XenServer 8.2 does not officially support Windows Server 2022. I am walking you through the process of creating a VM from the VMware Server 2022 template. The VMs created in this article series still use Windows Server 2019 because XenServer 8.2 doesn’t support Server 2022. I plan to use the Server 2022 Template to create the Remote Desktop Services Hosts for the Learning the Basics of VMware Horizon 8 2106 article series.
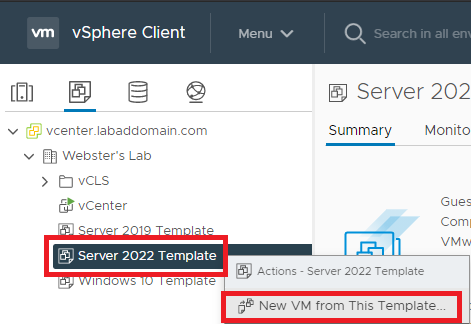
In vCenter, right-click the Server 2022 Template and click on New VM from This Template…, as shown in Figure 1.
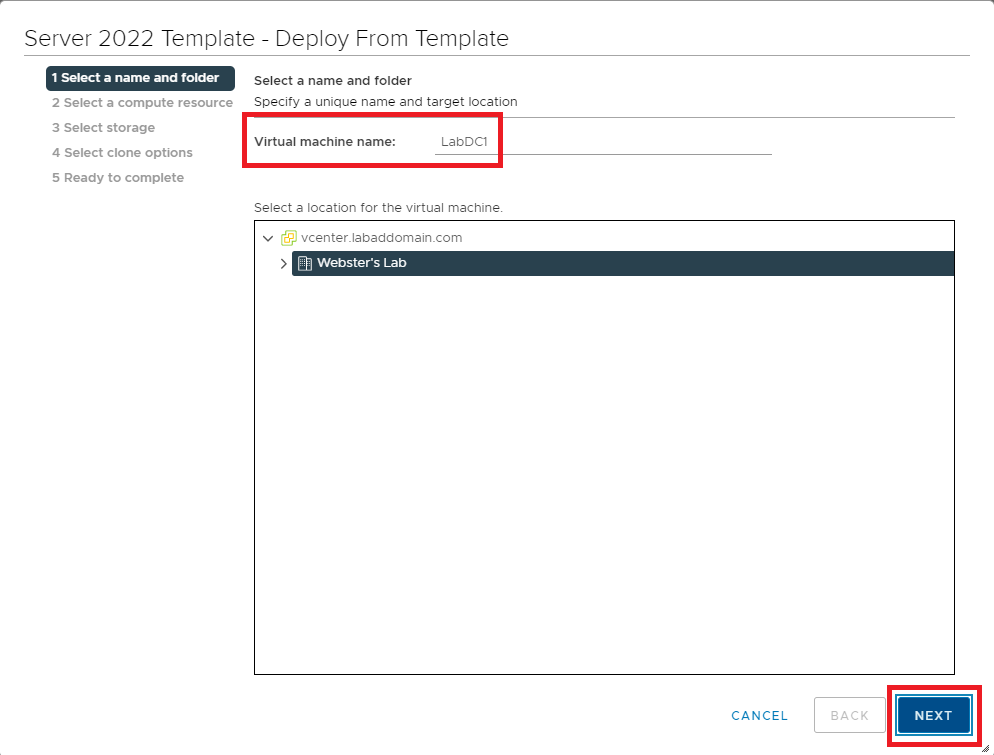
Enter a Virtual machine name and click Next, as shown in Figure 2.
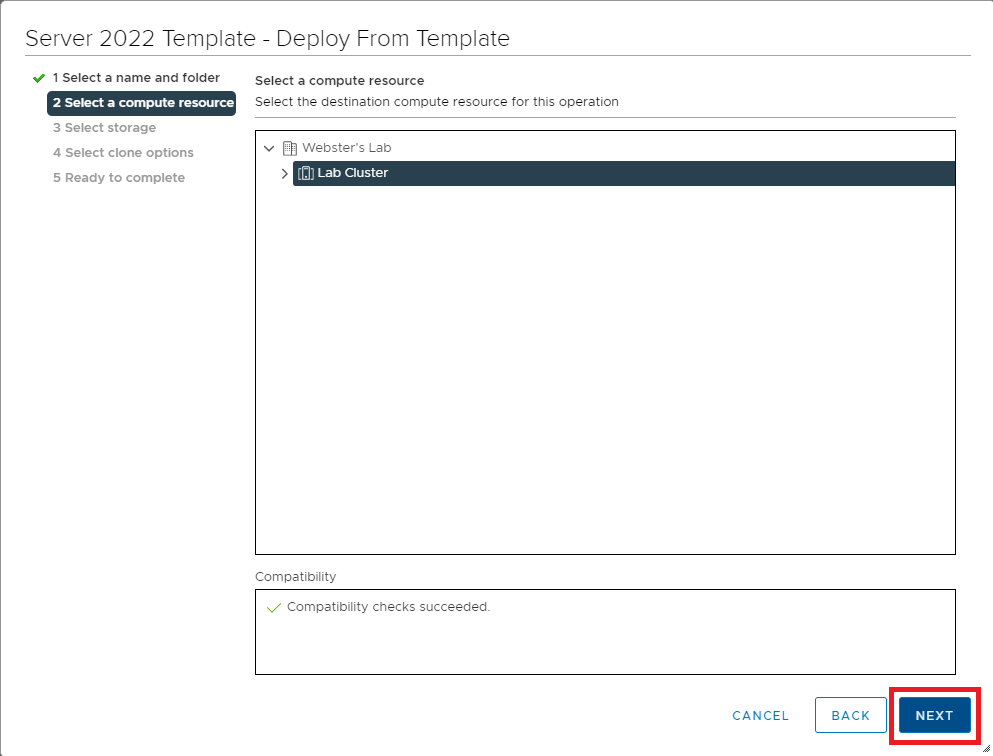
Click Next, as shown in Figure 3.
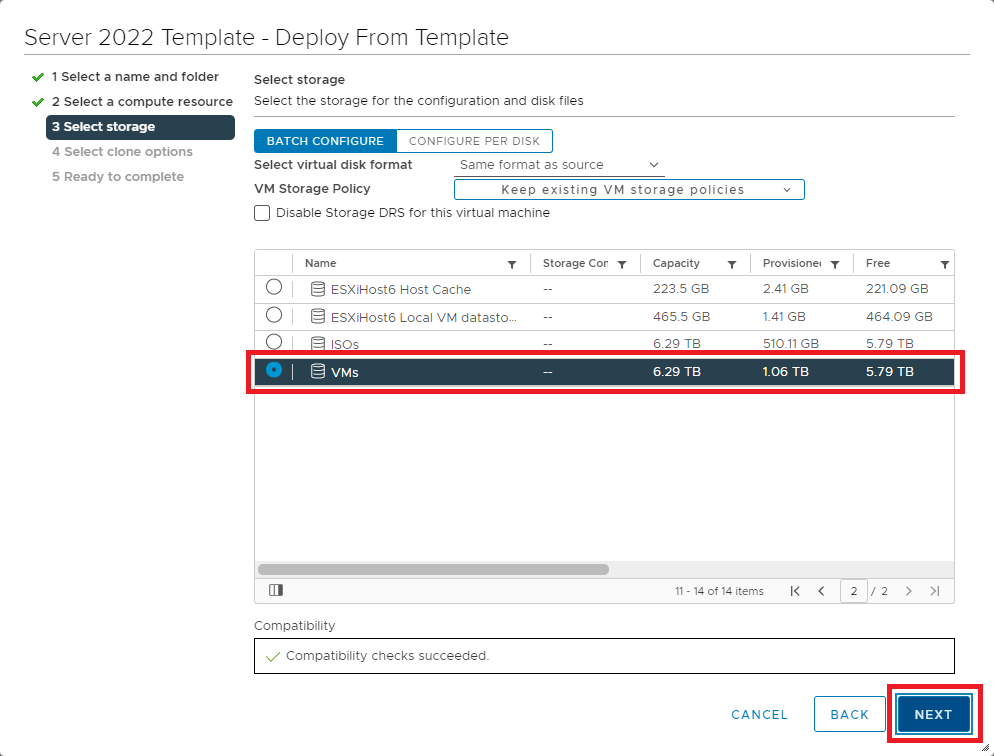
Select the NFS shared datastore created earlier in this series and click Next, as shown in Figure 4.
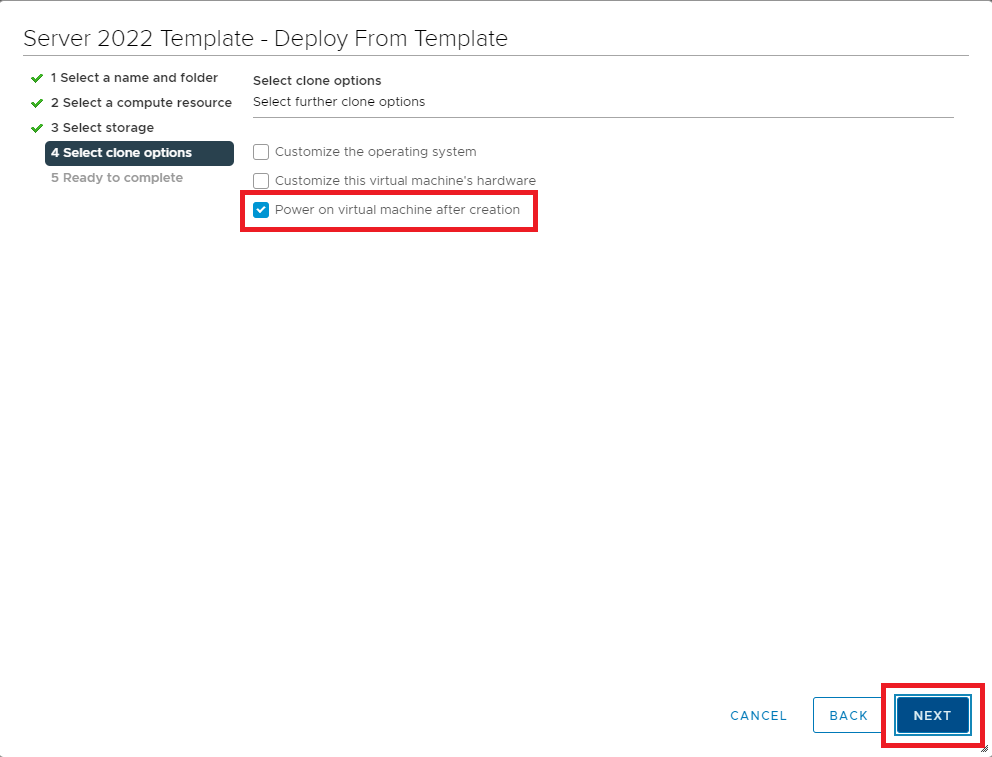
Select Power on virtual machine after creation and click Next, as shown in Figure 5.
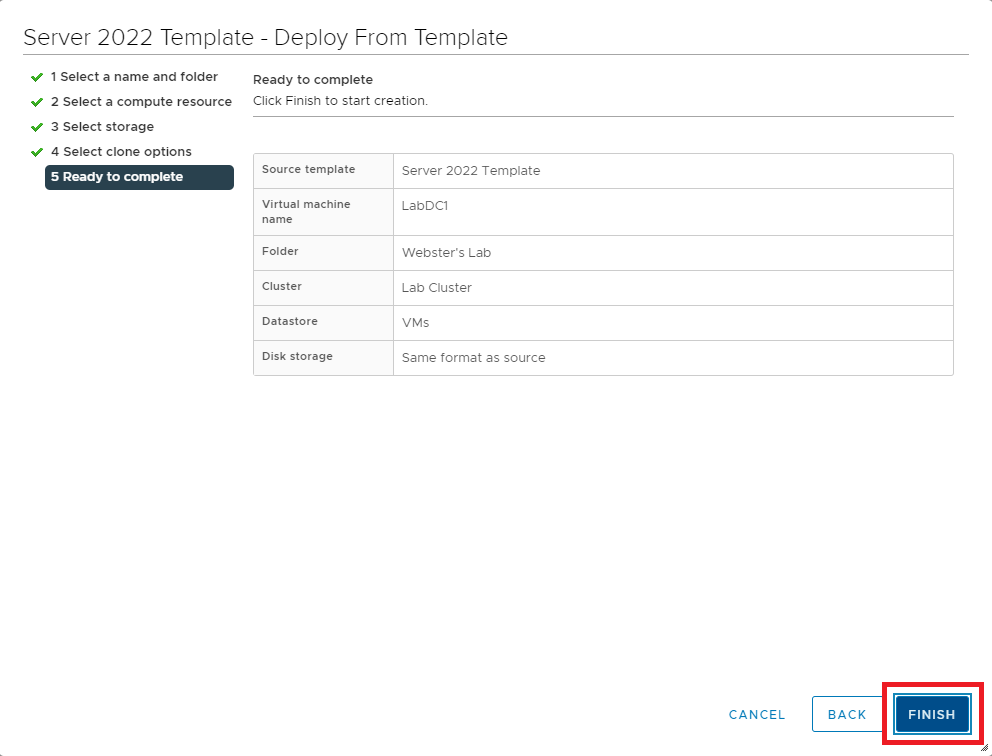
Verify that the configuration data for the new VM is correct and click Finish, as shown in Figure 6. If any item is incorrect, click Back, correct the item(s), and continue.
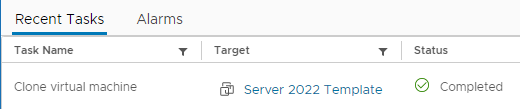
It took about 3.5 minutes to create the VM from the template in my lab.
Wait for the creation of the VM to complete, as shown in Figure 7.
Connect to the VM using Remote Console.
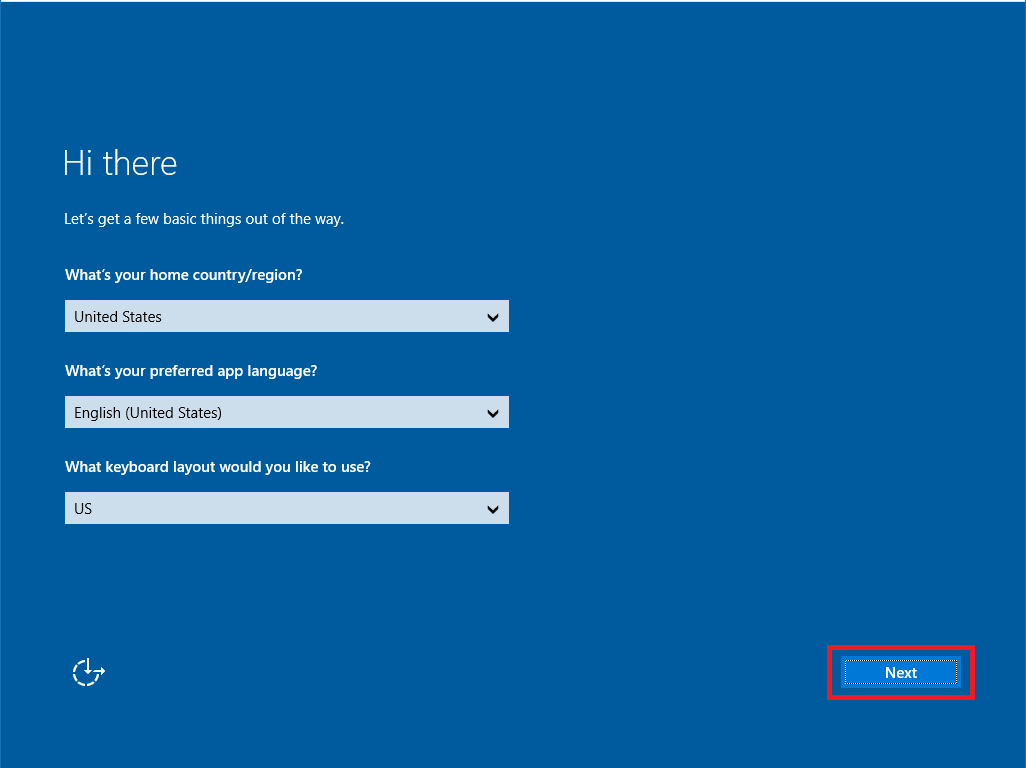
We need to complete the Out of Box Experience.
Select the appropriate settings and click Next, as shown in Figure 8.
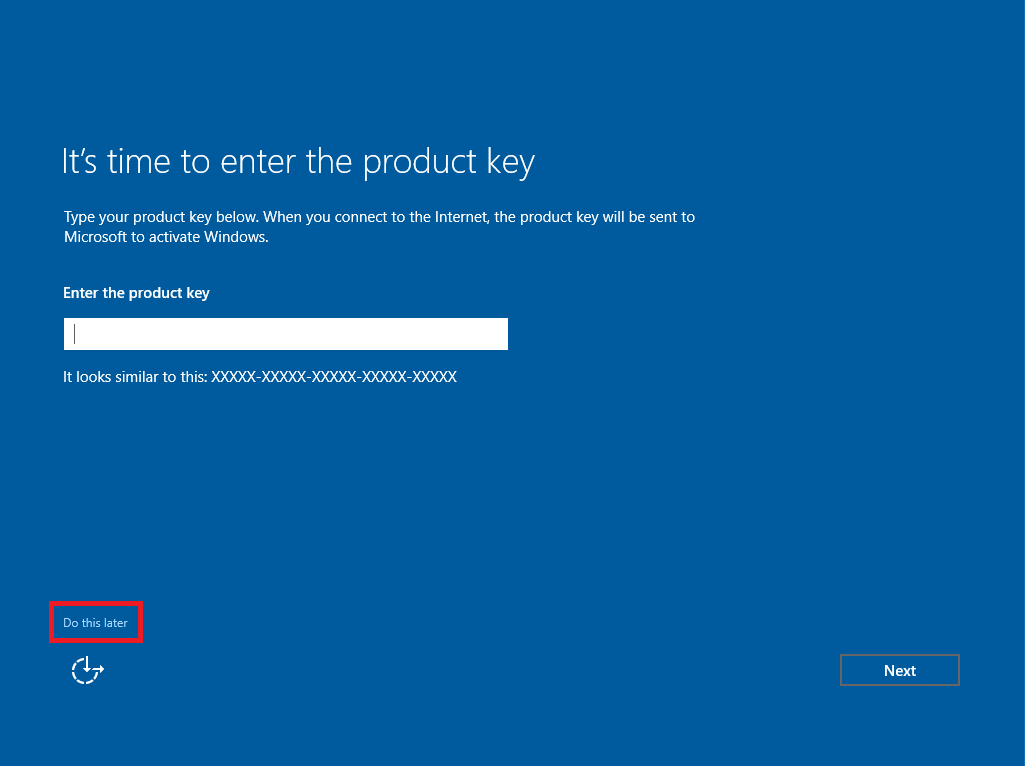
Click on Do this later when asked for a product key, as shown in Figure 09.
Click Accept to accept the license terms, as shown in Figure 10.

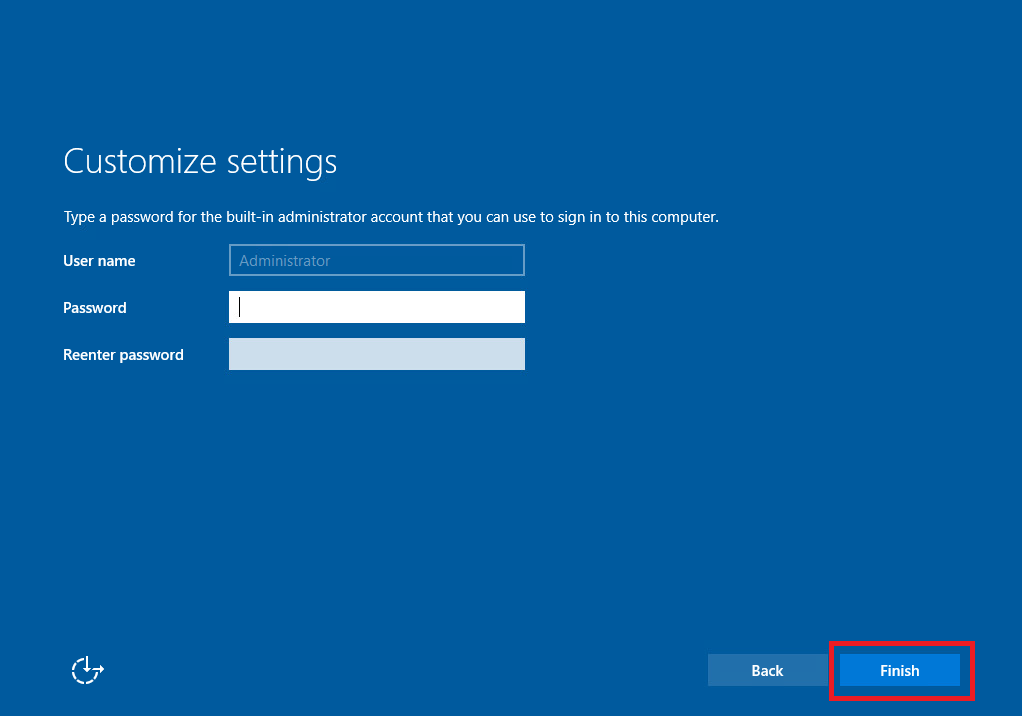
Enter the credentials for the local Administrator account and click Finish, as shown in Figure 11.
Since we enabled Remote Desktop in the Template, the new VM has it enabled.
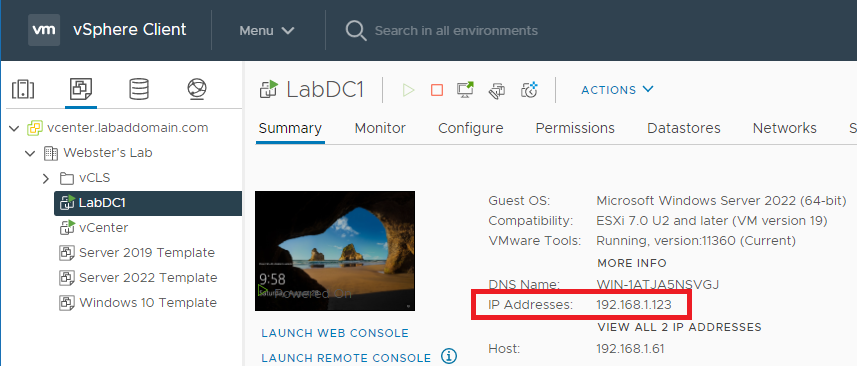
In vCenter, select the new template VM, and in the right pane, look at the IP address, as shown in Figure 12.
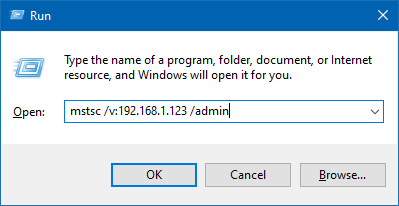
As shown in Figure 13, click Start, Run, and type in mstsc /v:ipaddress /admin, and press Enter [where IP Address is the IP address shown in Figure 12].
Using Remote Desktop at this point makes it easier for me to get screenshots.
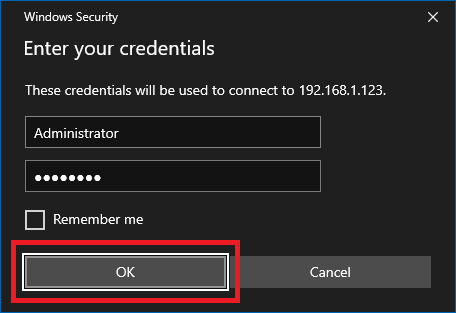
Enter the local Administrator credentials, and click OK, as shown in Figure 14.
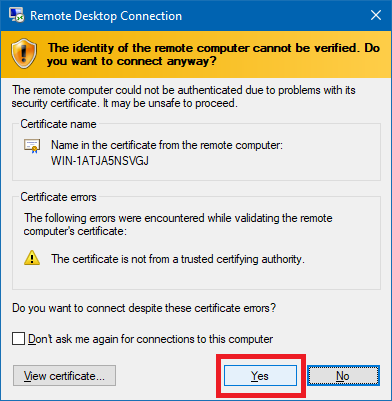
Click Yes, as shown in Figure 15.
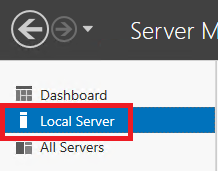
Click Local Server in the left pane of Server Manager, as shown in Figure 16.
I made the settings in bold to this VM.
- Computer name: LabDC1
- Note: Some software and licensing products use the CasE sEnsiTivE name. The Citrix License Server is one of those.
- Ethernet0: As shown in Figures 17 and 18.
- Click the link IPv4 address assigned by DHCP
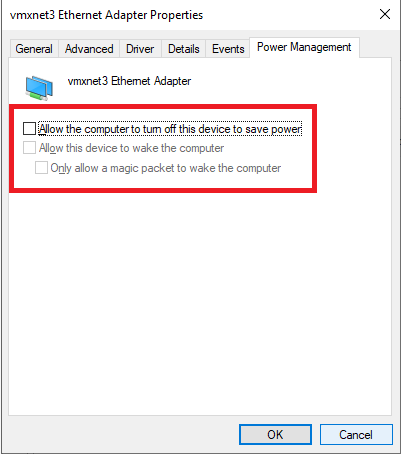
- Right-click the vmxnet3 Ethernet Adapter
- Click Properties
- Click the Configure button
- In the Power Management tab, deselect all three items, and click OK to save the changes
- Right-click the vmxnet3 Ethernet Adapter
- Click Properties
- Click Internet Protocol Version 4 (TCP/IPv4)
- Click Properties
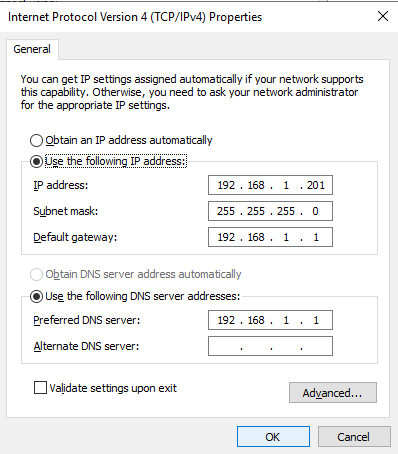
- Select Use the following IP address
- Because this is a server, assign it a static IP address
- Enter the appropriate Subnet mask
- Enter the appropriate Default gateway
- Select Use the following DNS server addresses
- Enter at least the Preferred DNS server (for most labs, this is usually the same as the Default gateway)
- Note: Once your click OK, the Remote Desktop connection is lost. Use mstsc again to connect using the assigned static IP address.
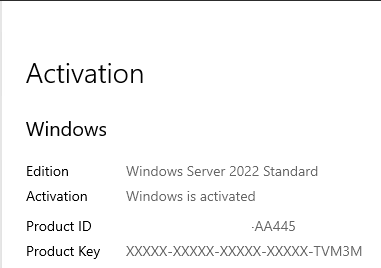
- Product ID: I used a license key from my Microsoft Action Pack Subscription, as shown in Figure 19.
Feel free to make any other configuration changes you wish to this VM.
Repeat this process to create any additional VM required.
XenServer
As of 28-Aug-2021, XenServer 8.2 does not officially support Windows Server 2022.